Nail art can be fun and easy, even if you’re just starting out. This guide will walk you through simple designs that look great and don’t require a lot of skill or tools. Whether you’re into classic looks or want to try something trendy, these ideas are perfect for beginners.
Let’s get creative with some easy-to-follow nail designs that will have your nails looking fabulous in no time!
1. Polka Dot Party
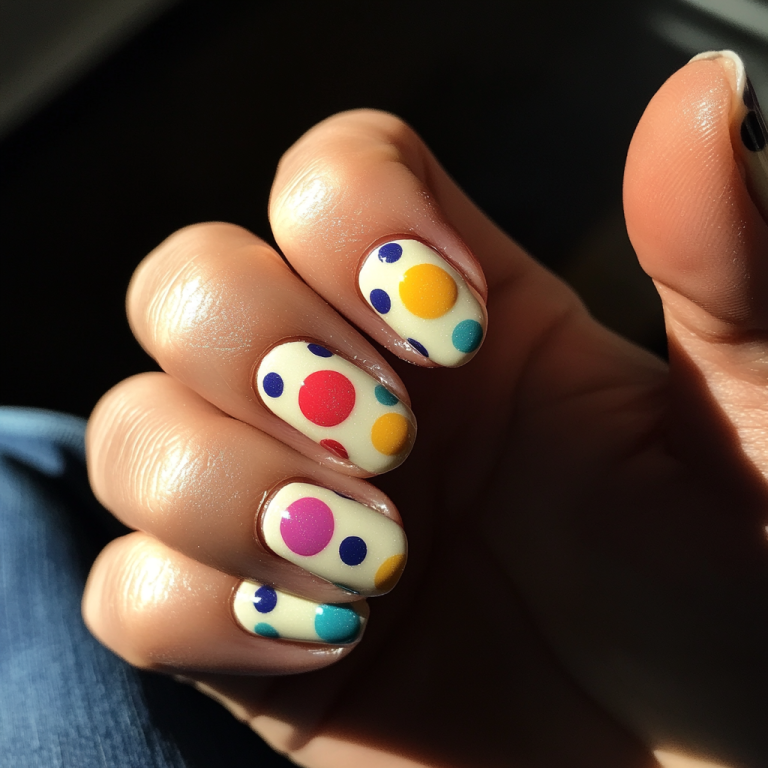
Unleash your inner artist with a playful Polka Dot Party on your nails! This Simple Dots Nail Art is perfect for beginners and a fun way to add a pop of color to your look. All you need is your favorite nail polish colors and a bobby pin or a dotting tool.
1. Start with a base coat to protect your nails and ensure a smooth canvas.
2. Apply your chosen background color and let it dry completely.
3. Dip the round end of your bobby pin or dotting tool into a contrasting nail polish.
4. Gently press the tool onto your nail to create dots. You can make a single row for a minimalist look or cover the entire nail for a full-on polka fiesta.
5. Experiment with different sizes and colors of dots to create a unique design.
6. Once your dots have dried, seal your playful masterpiece with a top coat for lasting shine and protection.
Voilà! You’ve got a festive Polka Dot Party at your fingertips, no prior nail art experience necessary.
2. Classic French Manicure
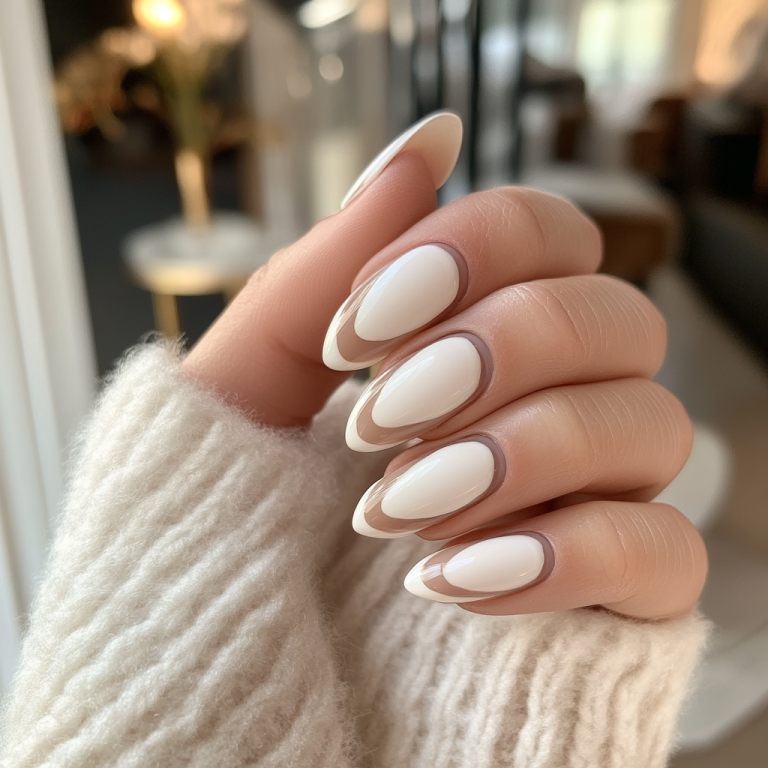
The classic French manicure epitomizes timeless elegance with its simple, clean lines and neutral palette. To achieve this look:
1. Prep your nails by shaping them into a natural, slightly rounded or square-tip form.
2. Apply a base coat to protect the nail and enhance the polish’s adherence.
3. Paint a sheer pink or nude polish over the entire nail bed, letting it dry completely.
4. Using a white polish, carefully draw a thin strip across the tip of each nail. Tip guides or tape can help create a crisp edge for beginners.
5. Seal the design with a clear top coat for a glossy finish and added durability.
This sophisticated style is perfect for both casual and formal occasions, offering a polished look without the need for intricate design skills.
3. Color Block Nails
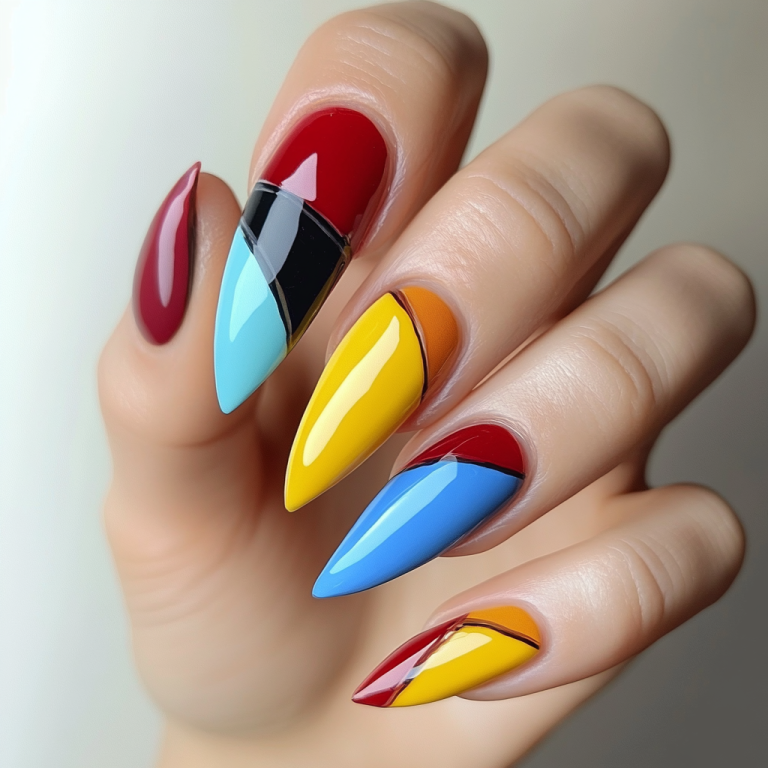
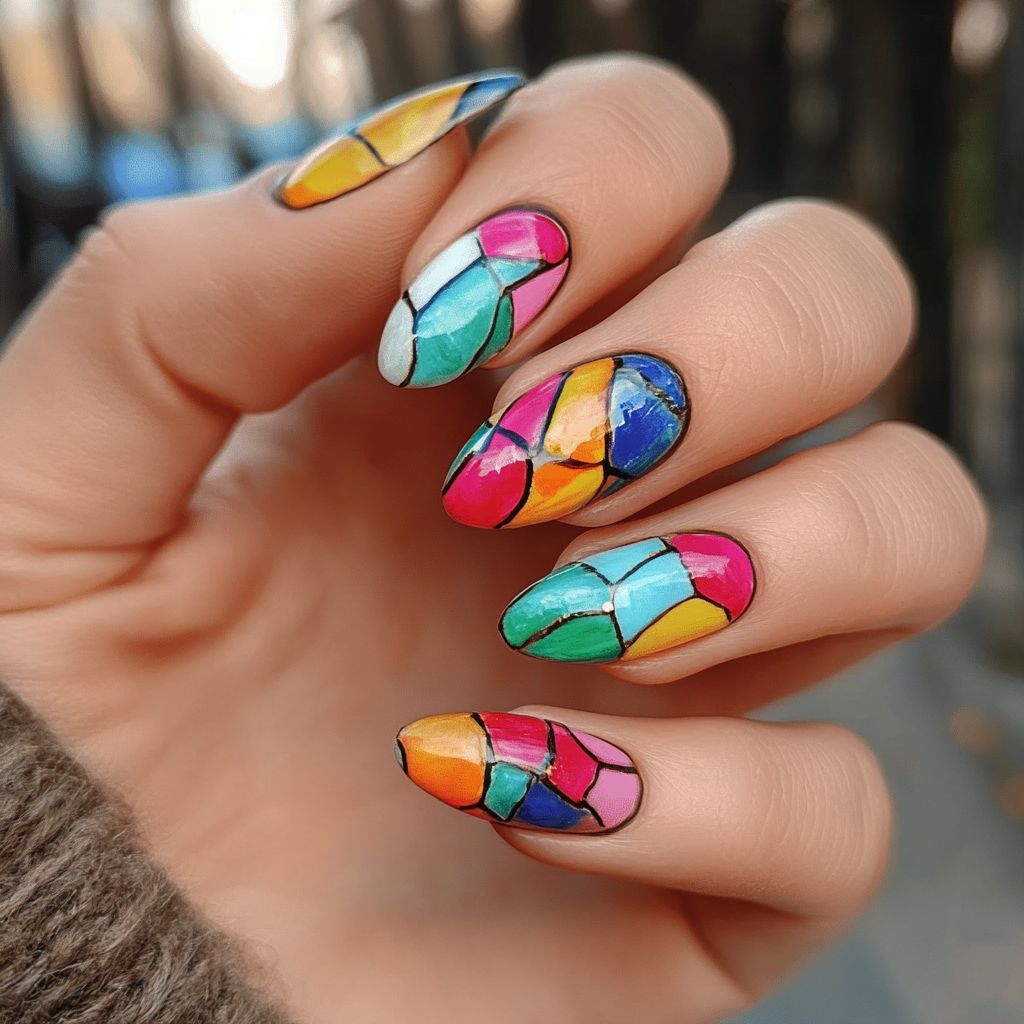
Color block nails are a striking choice for those looking to make a statement with their manicure. This trend involves painting blocks of different colors on each nail, creating a patchwork of vibrant shades that stand out. It’s a bold and beautiful look that’s surprisingly simple to achieve, even for beginners.
To get started, choose two or more contrasting colors that complement each other. Pastels can offer a softer look, while neon shades will give you a more dramatic effect. Apply a base coat to protect your nails and ensure a smooth application. Then, paint each nail a different color or create geometric shapes on a single nail using tape as a guide. Remember to let each color dry before applying the next to keep the lines clean and crisp.
Finish with a clear topcoat to seal in your design and add extra gloss. The result is a modern, playful look that’s perfect for any season or occasion. Whether you’re going to a party or just want to add a pop of color to your everyday style, color block nails are the way to go.
4. Striped Simplicity
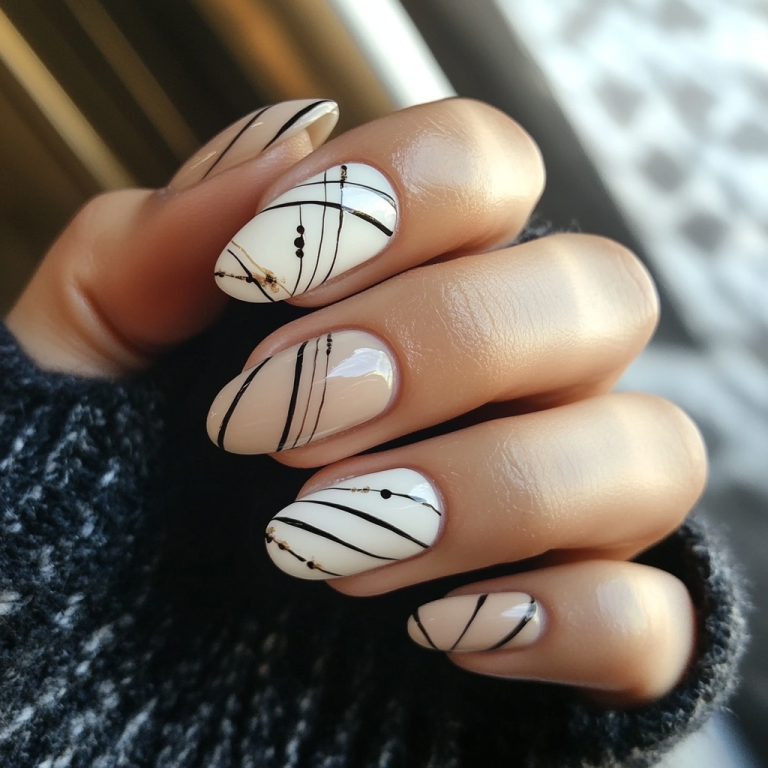
Add a touch of elegance to your nails with the timeless appeal of stripes. This design is as simple as it gets, yet it offers a sophisticated look. To create this look:
1. Choose two contrasting polish colors for a striking effect or similar shades for a more subtle feel.
2. Apply your base coat and let it dry completely.
3. Use striping tape or a thin brush to paint straight lines across each nail. You can opt for horizontal, vertical, or diagonal lines.
4. Keep your hand steady to ensure the lines are crisp and even.
5. Wait for the stripes to dry before carefully removing the tape, if used.
6. Seal your design with a top coat for a lasting finish and added shine.
Experiment with the thickness and number of stripes to find your favorite style. Striped simplicity is versatile and perfect for casual outings or formal events alike.
5. Ombre Effect
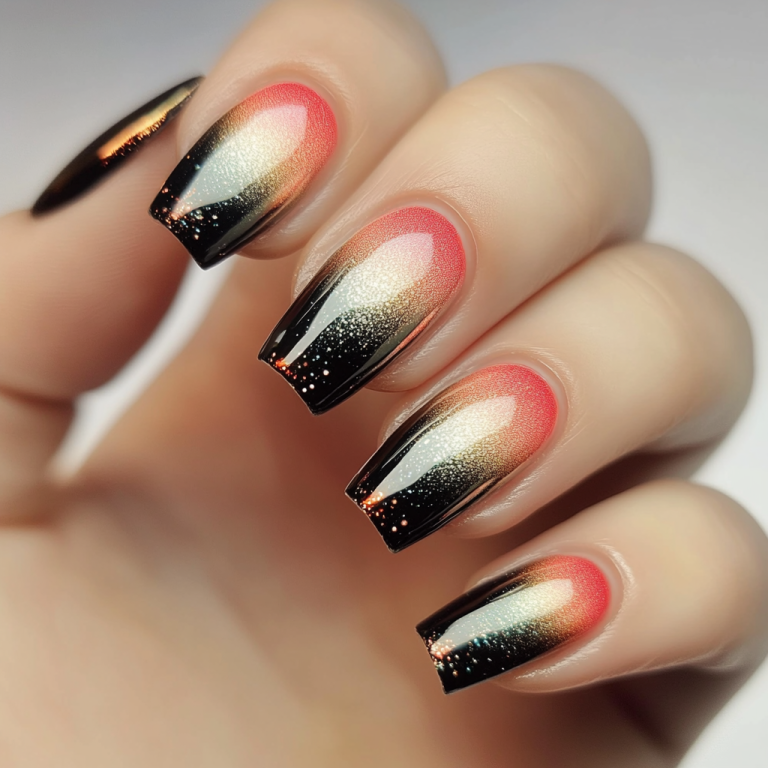
The ombre effect is a chic way to add a touch of gradient glamour to your nails, perfect for beginners looking for a simple yet stylish design. To achieve this look, you’ll need two nail polish colors that blend well together. Start by applying a base coat to protect your nails and then paint your nails with the lighter of the two colors.
Once dry, take a makeup sponge and apply both colors onto it, slightly overlapping them. Dab the sponge onto your nails, creating a smooth gradient from one color to the other. Finish with a clear top coat for a glossy effect that will make your ombre nails shine. With a little practice, you’ll be able to flaunt a flawless fade that’s sure to turn heads!
6. Glitter Accent Nails
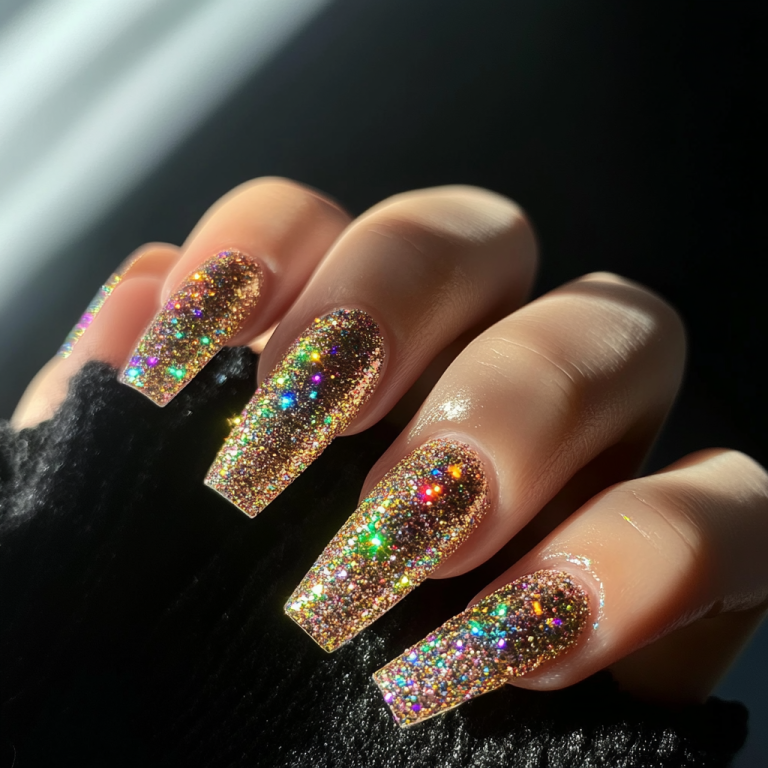
Add a dash of glam to your manicure with Glitter Accent Nails. This simple technique involves applying a base coat of your favorite polish, followed by choosing one nail on each hand to be your accent nail. On these, apply a glitter polish, either covering the entire nail or adding a gradient effect.
It’s a quick way to elevate your look and make a sparkling statement without professional tools or skills. Whether you opt for subtle shimmer or bold sparkles, this easy design is perfect for any occasion that calls for a touch of glitz.
7. Floral Fingertips
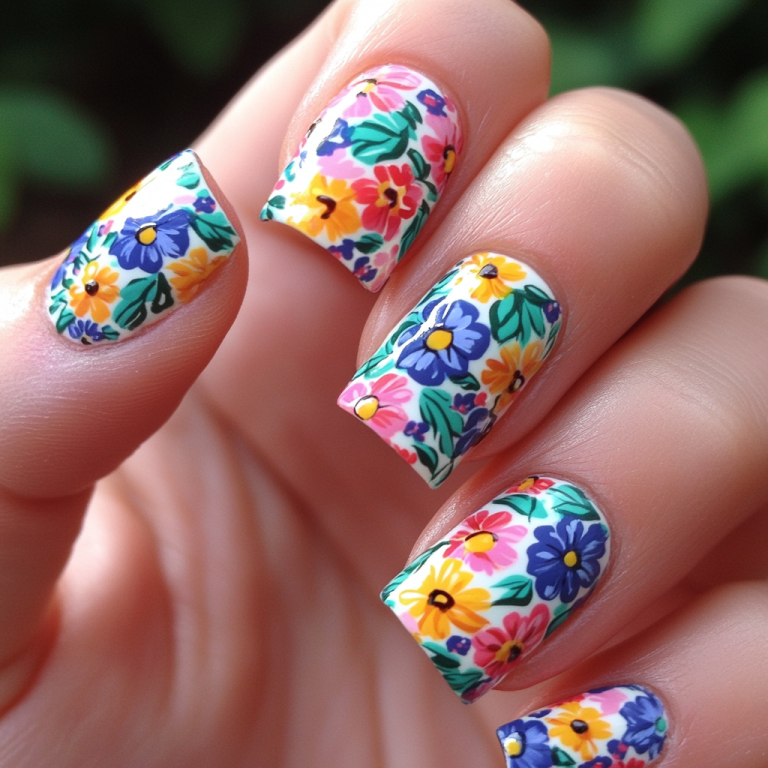
Add a touch of nature to your nails with simple yet gorgeous flower designs. Begin by painting your nails with a base color of your choice. Once dry, use a thin brush or a dotting tool to create small dots in a circle to form the base of your flowers. Choose a contrasting color to add petals around each dot.
You can create a variety of flowers by changing the number of petals and colors. Finish with a clear top coat to protect your floral masterpiece. This design is forgiving for beginners and can be as detailed or as simple as you like.
8. Minimalist Chic
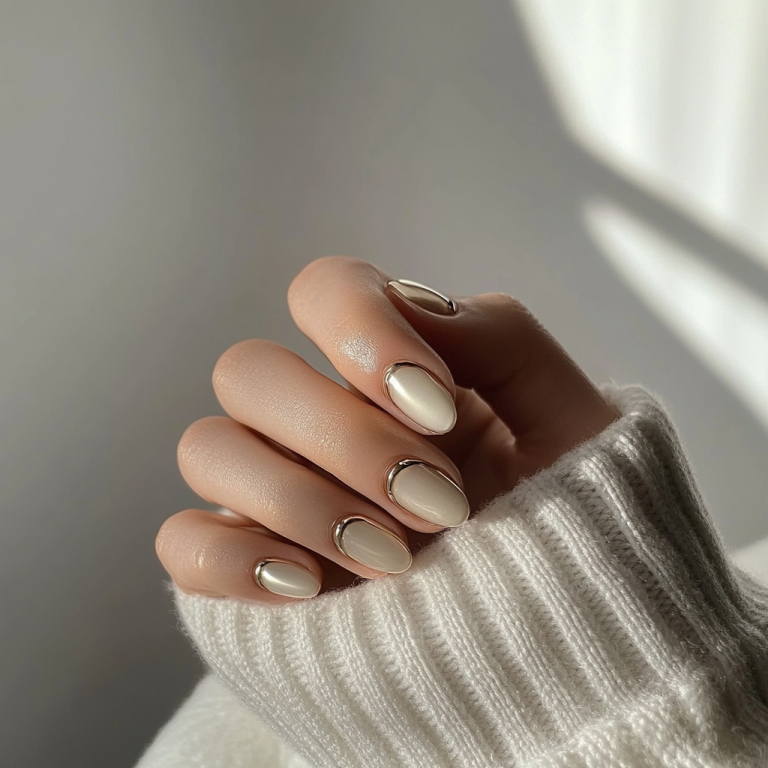
For those who adore the ‘less is more’ philosophy, Minimalist Chic nails are your go-to for making an understated yet impactful style statement. Achieve this look by opting for a neutral color palette with shades of nude, soft pink, or a sheer white. Apply a single coat of polish for a translucent effect or two for full coverage. To add a dash of sophistication, try a single, thin stripe in black or gold down the center or near the tip of the nail.
Alternatively, you can place a small dot or a tiny geometric shape near the nail bed or at one corner of the nail. Seal your design with a clear topcoat for a glossy finish that speaks elegance in every gesture. Minimalist Chic nails exude effortless style, perfect for any occasion that calls for a touch of refined simplicity.
9. Geometric Gems
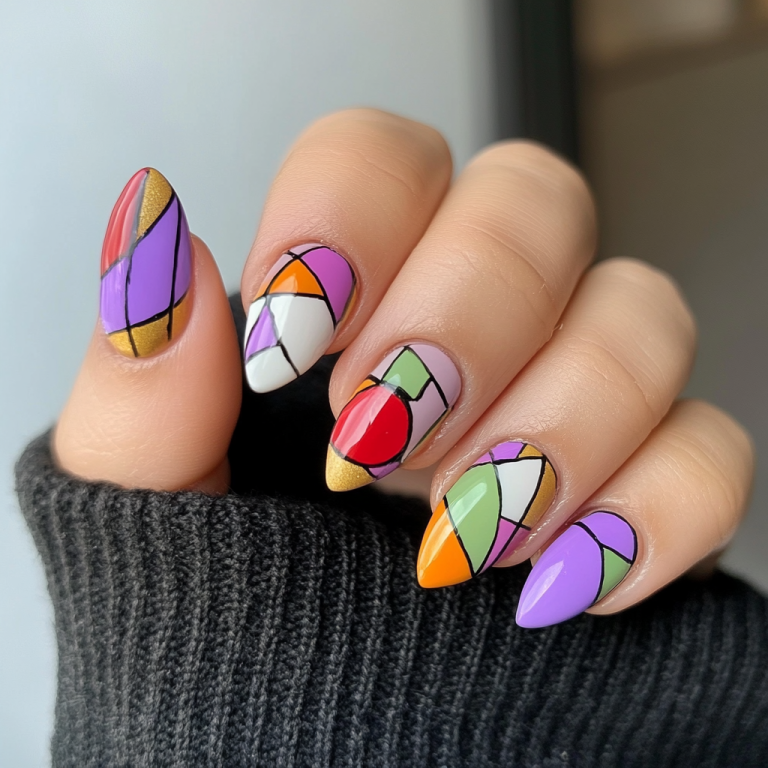
Unleash your inner artist with geometric nails that are both chic and simple to create. Start by choosing two to three complementary colors. Apply your base coat and let it dry. Then, use tape or stencils to map out triangles, squares, or stripes on each nail. Fill in the shapes with your chosen colors, peel off the tape while the polish is still wet, and seal your design with a top coat.
These geometric patterns give a modern twist to your nails and are perfect for any occasion. Mix and match different shapes for a playful look, or keep it sophisticated with a monochrome palette and clean lines.
10. Sticker Magic
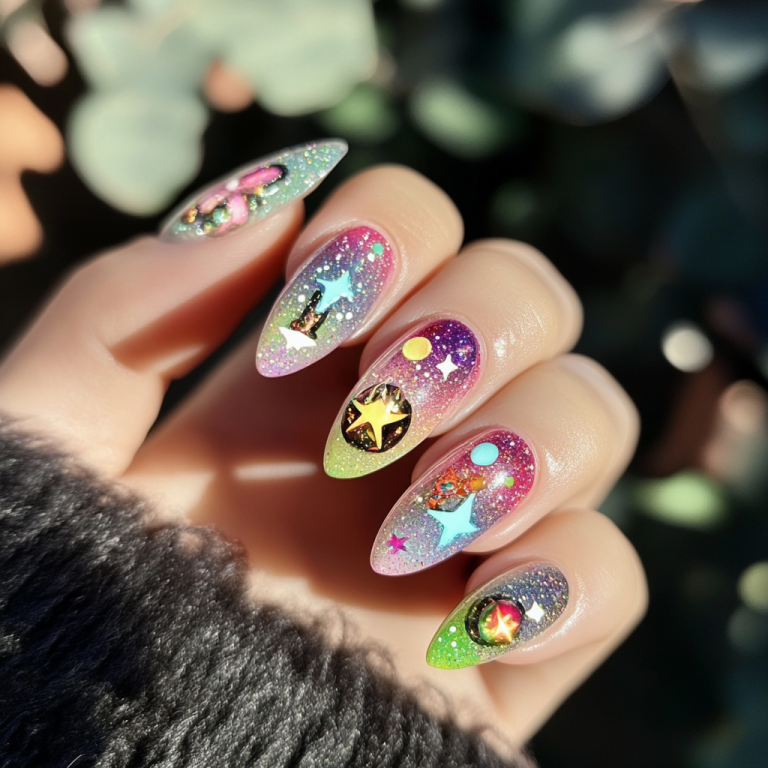
Nail decals are the perfect shortcut for creating intricate designs without steady hands or artistic prowess. These small stickers come in endless patterns, from florals and geometrics to characters and seasonal themes. To use them, simply apply a base coat of polish and let it dry. Then, peel off your chosen decal with tweezers, place it gently on the nail, and seal it with a top coat.
Voilà! You’ve just added a professional-looking touch to your manicure with minimal effort. Nail decals are a fun way to experiment with different styles and can be easily swapped out with your mood or outfit.
11. Splatter Fun
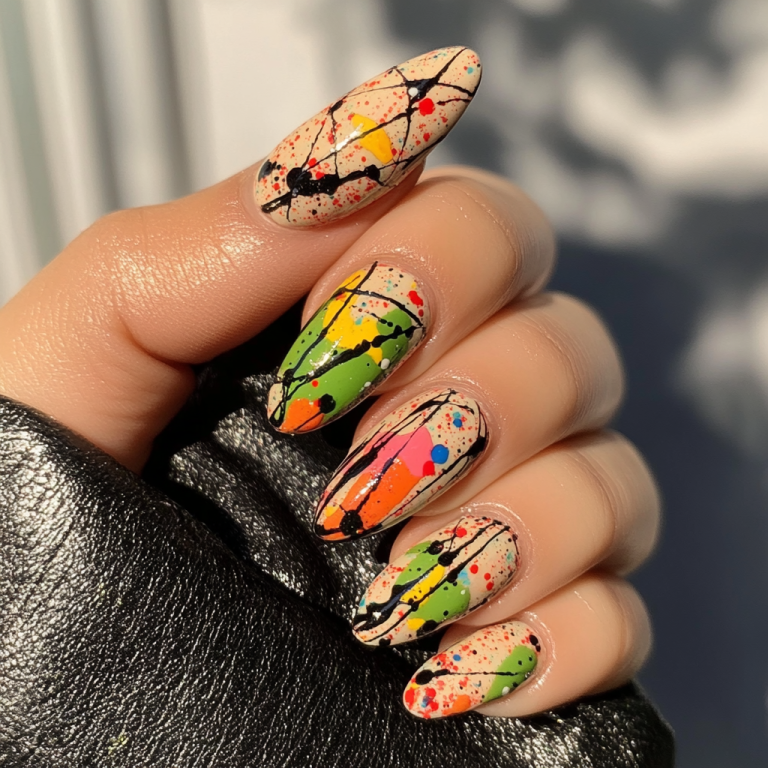
Unleash your inner artist with the Splatter Fun technique, a perfect way to dive into freestyle nail art. To create this playful design, you’ll need a white base coat to serve as your canvas. Once dry, dip a straw into a color of your choice and gently blow through it to splatter the paint onto your nails.
Repeat with as many colors as you like for a vibrant, abstract look. Remember to cover your workspace and use tape around your nails to minimize clean-up. Seal your masterpiece with a clear top coat for lasting wear. Embrace the mess and enjoy the unique patterns you’ll create with each splatter!
12. Flaunting Your DIY Nail Art
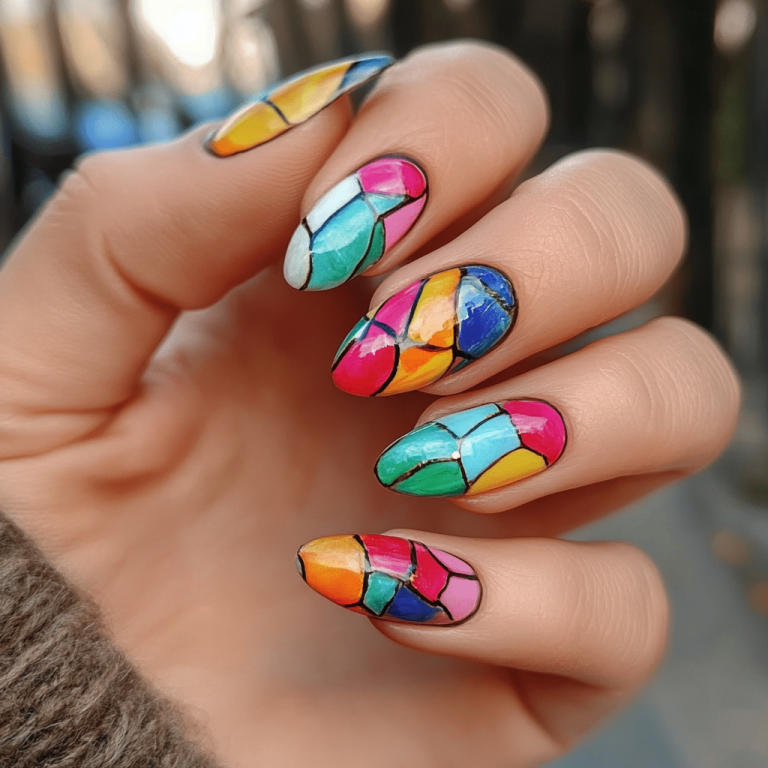
Congratulations on mastering the basics of DIY nail art! You’ve embarked on a creative journey that adds a personal touch of elegance and fun to your look. By experimenting with the 11 easy designs, you’ve not only enhanced your nail-painting skills but also discovered the joy of expressing your unique style. Remember, practice makes perfect, so keep experimenting with colors, patterns, and techniques.
Share your masterpieces on social media, inspire your friends, and wear your DIY nail art with pride. With each brushstroke, you’re not just painting your nails; you’re showcasing your personality. Embrace your inner artist and let your nails be your canvas for self-expression.

I personally think the Striped Simplicity design is overrated. Polka Dots all the way! Whos with me? 🙋♀️
Wait, are we really considering polka dots and stripes as easy nail designs for beginners? Id stick with solid colors for now.
I cant believe they didnt include the iconic watermelon nail design! Its a classic for beginners and so fun to create.
I personally think the Polka Dot Party design is overrated. Lets discuss the underrated gems like Color Block Nails!
I cant believe they didnt include a tutorial for Galactic Glitter nails! That design is out of this world! 🌌💅