As winter sets in, so does the urge to refresh my style. Cozy sweaters, warm boots, and yes, stunning nail designs.
I always look for easy DIY tutorials. I want my nails to sparkle just like the season.
This December, I found 17 simple and gorgeous tutorials. They promise festive and stylish nails.
Perfect for holiday parties or a quiet night by the fire. Let’s dive in and give our nails a winter wonderland makeover!
1. Sparkling Snowflakes Tutorial
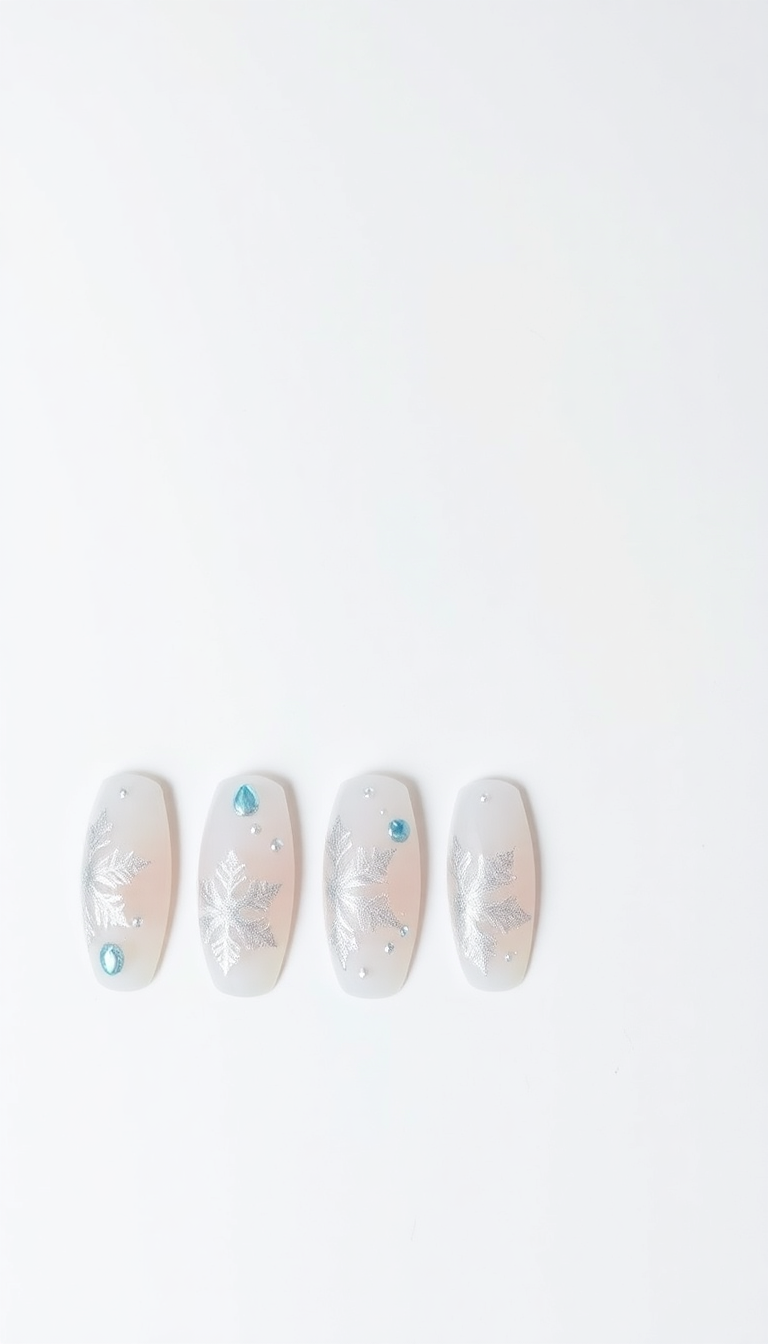
Welcome to my favorite winter tutorial: Sparkling Snowflakes!
First, pick a deep blue polish for your base. Once dry, use a thin brush to paint white snowflakes.
Add silver glitter for a frosty touch. Seal with a top coat.
Voila, winter magic on your nails!
2. Cozy Cable Knit Nails
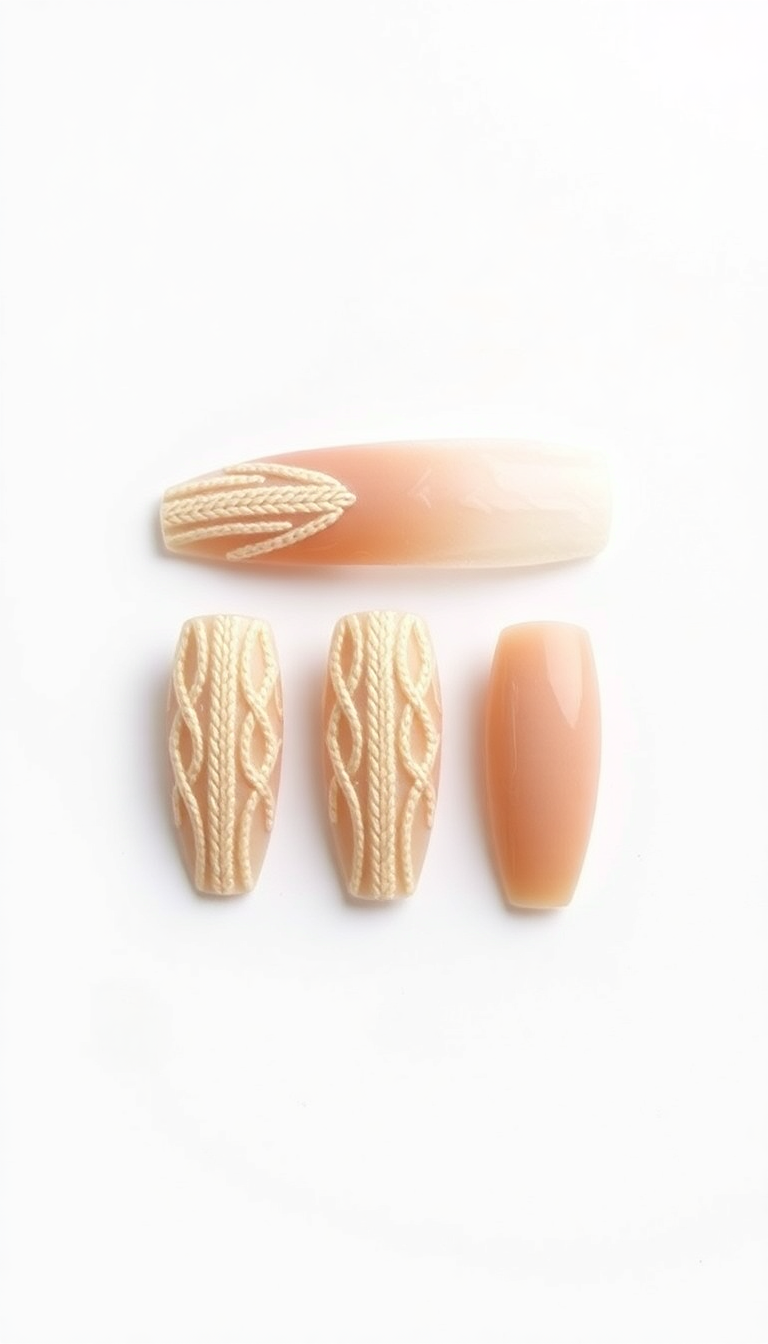
Cable knit patterns aren’t just for sweaters anymore. I tried a cozy cable knit nail design and loved it!
This style uses a stamping kit with a knit pattern plate. It’s simple.
First, apply your base color. Next, use the stamping kit to press the knit design onto each nail.
Finish with a top coat. Your nails look just like a warm winter sweater.
Perfect for chilly days!
3. Elegant Icy Blue Glitter
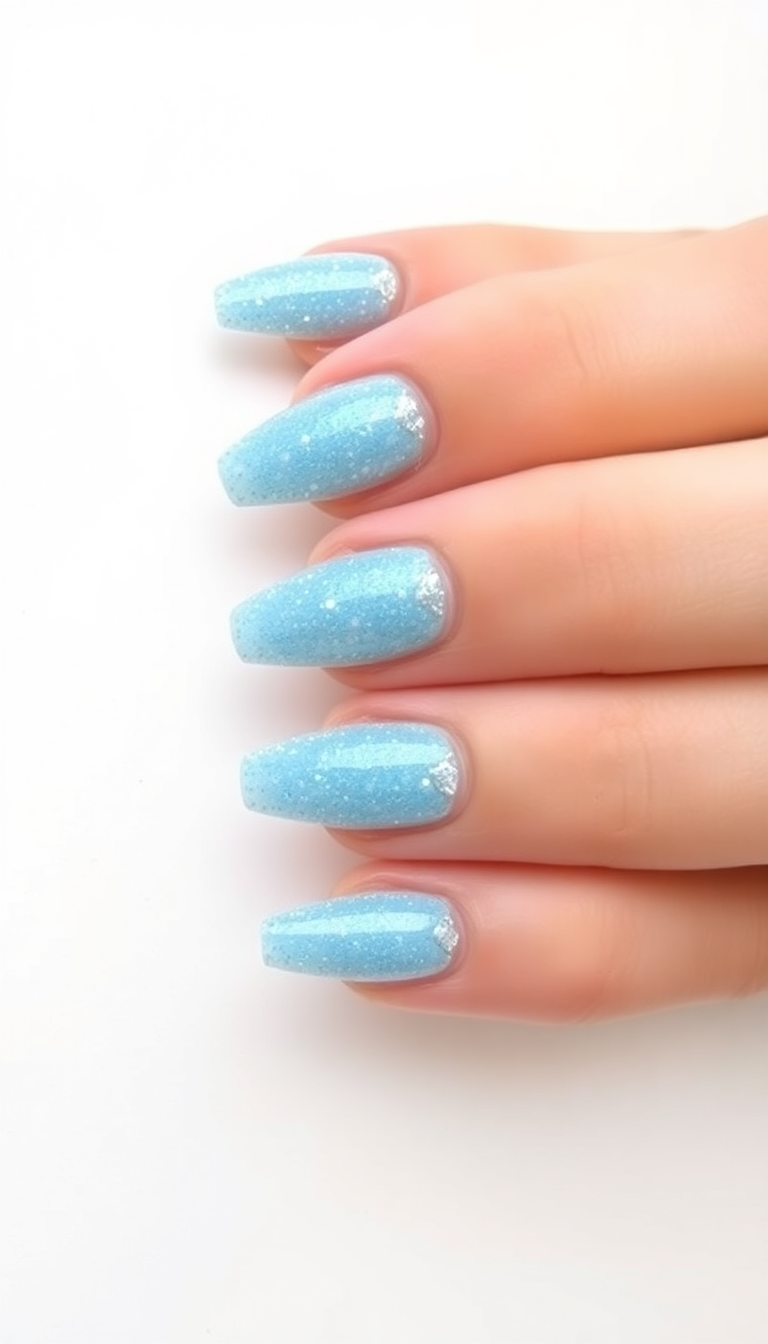
I adore the icy blue glitter design for winter. It sparkles like fresh snow under a moonlit sky. The shade mirrors frosty mornings perfectly.
Applying it requires minimal effort but offers maximum impact. Just a few strokes and you achieve a look that’s both festive and elegant.
4. Classic Red and Gold Holiday Glam
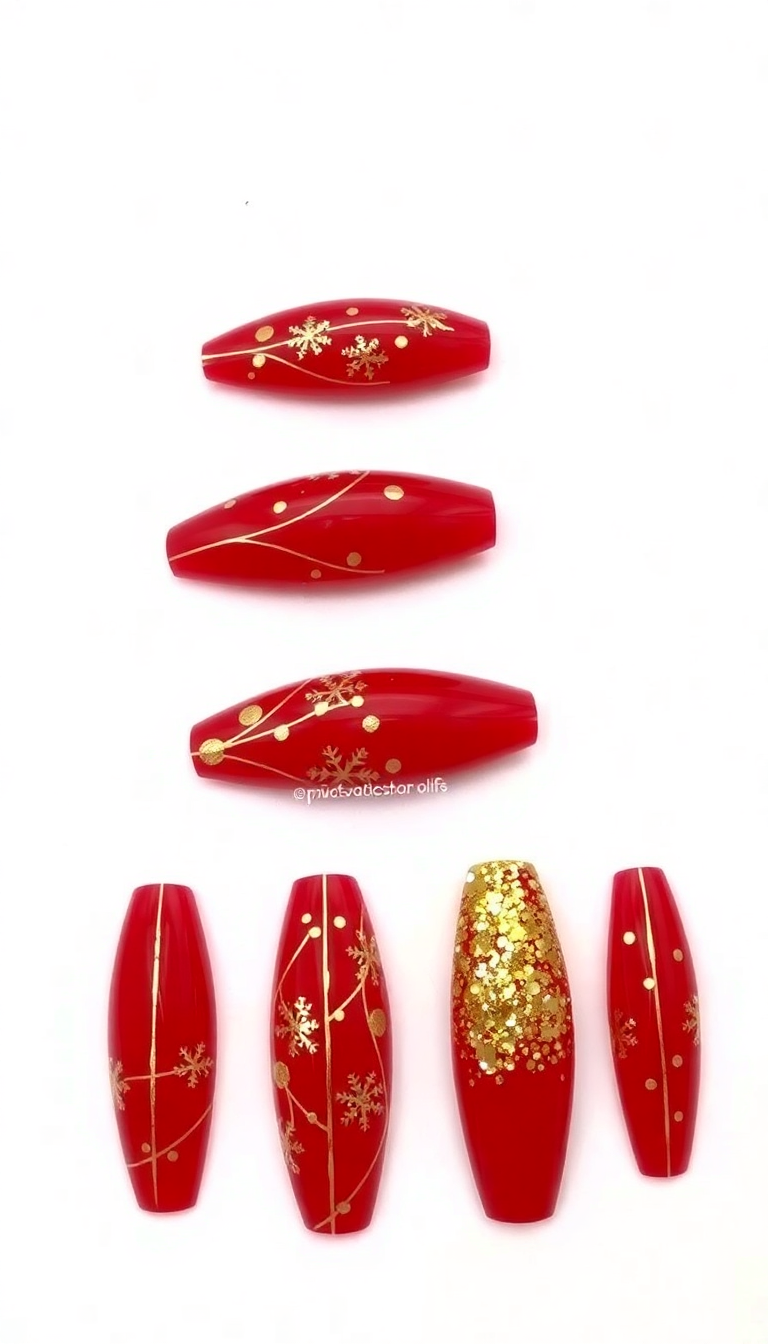
Red and gold nails scream classic holiday cheer. I start with a bright red base. Once dry, I add gold stripes.
The shine of the gold against the vivid red turns heads. I finish with a glossy top coat, ensuring my nails sparkle under festive lights. This look pairs perfectly with any holiday outfit and truly embodies the spirit of the season.
5. Frosty Ombre Effect
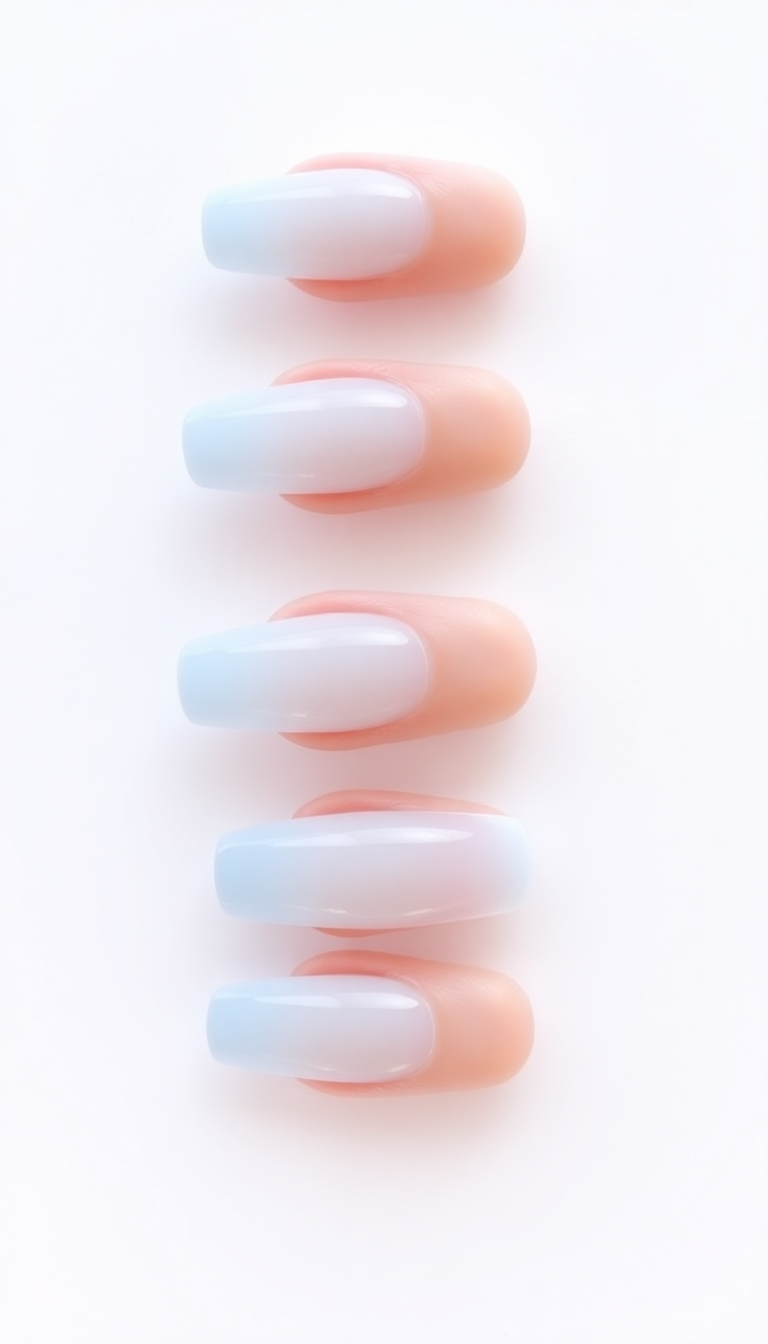
Frosty ombre nails give a cool, icy touch to winter looks. Start with a pale blue base.
Gradually blend in white from the tip. Seal it with a top coat for shine.
You’ll love the snowy fade!
6. Festive Green and Red Stripes
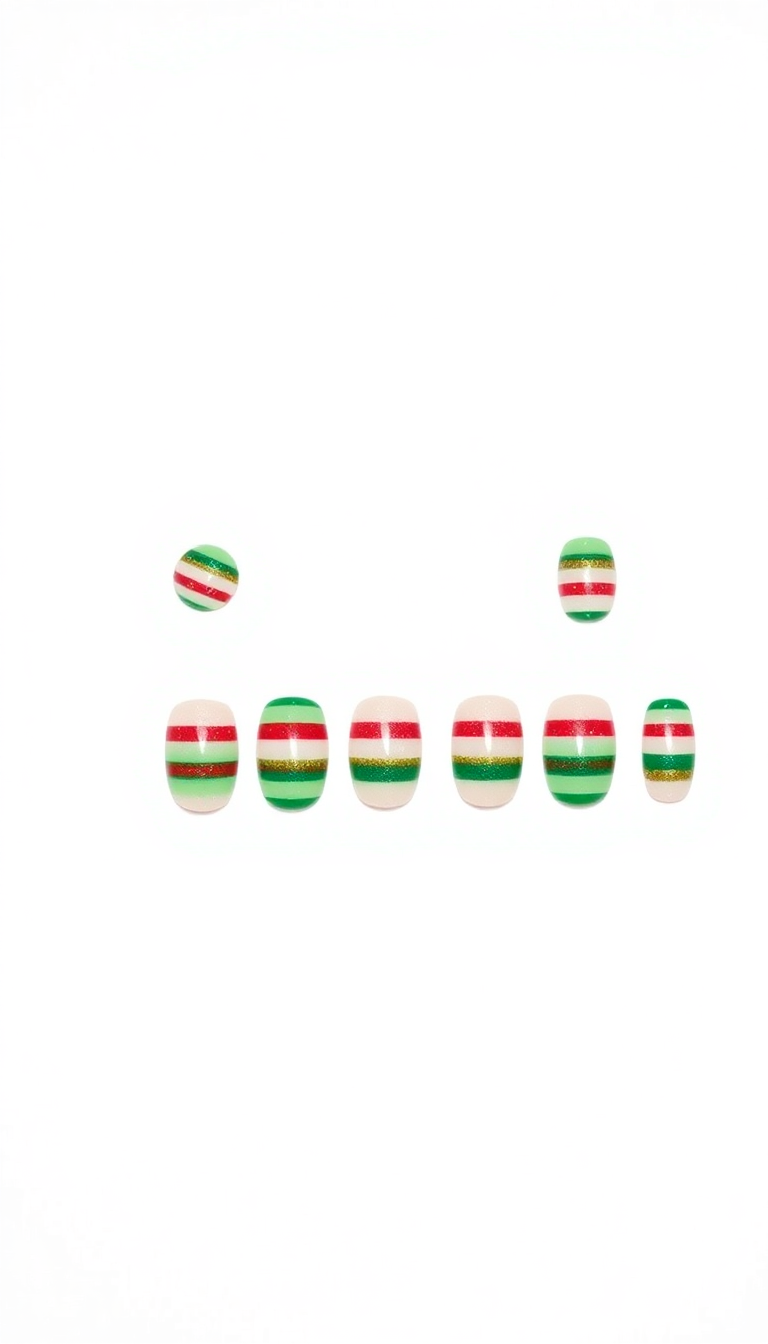
This design screams holiday cheer! Start with a vivid red base. Once dry, add green stripes.
Alternate thickness for a fun twist. Seal with a top coat. Enjoy your festive nails!
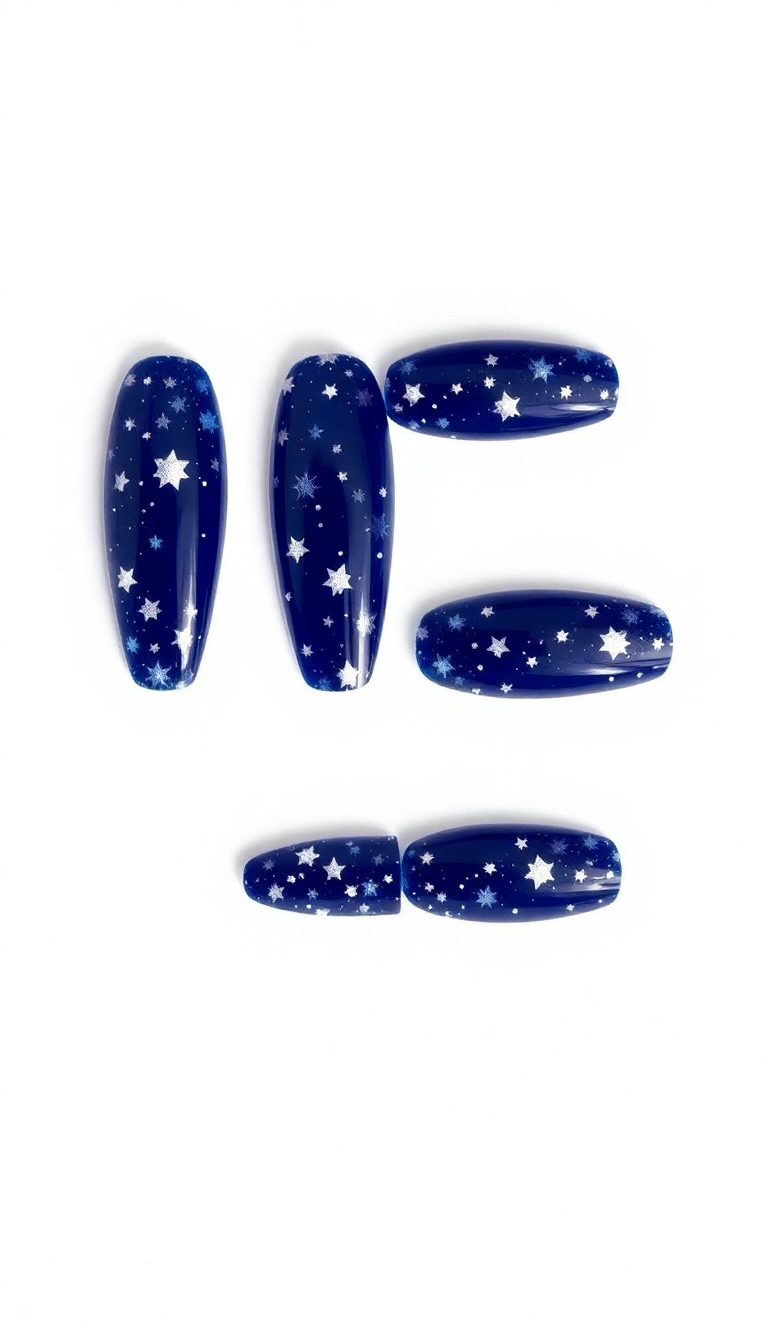
7. Midnight Blue and Silver Stars
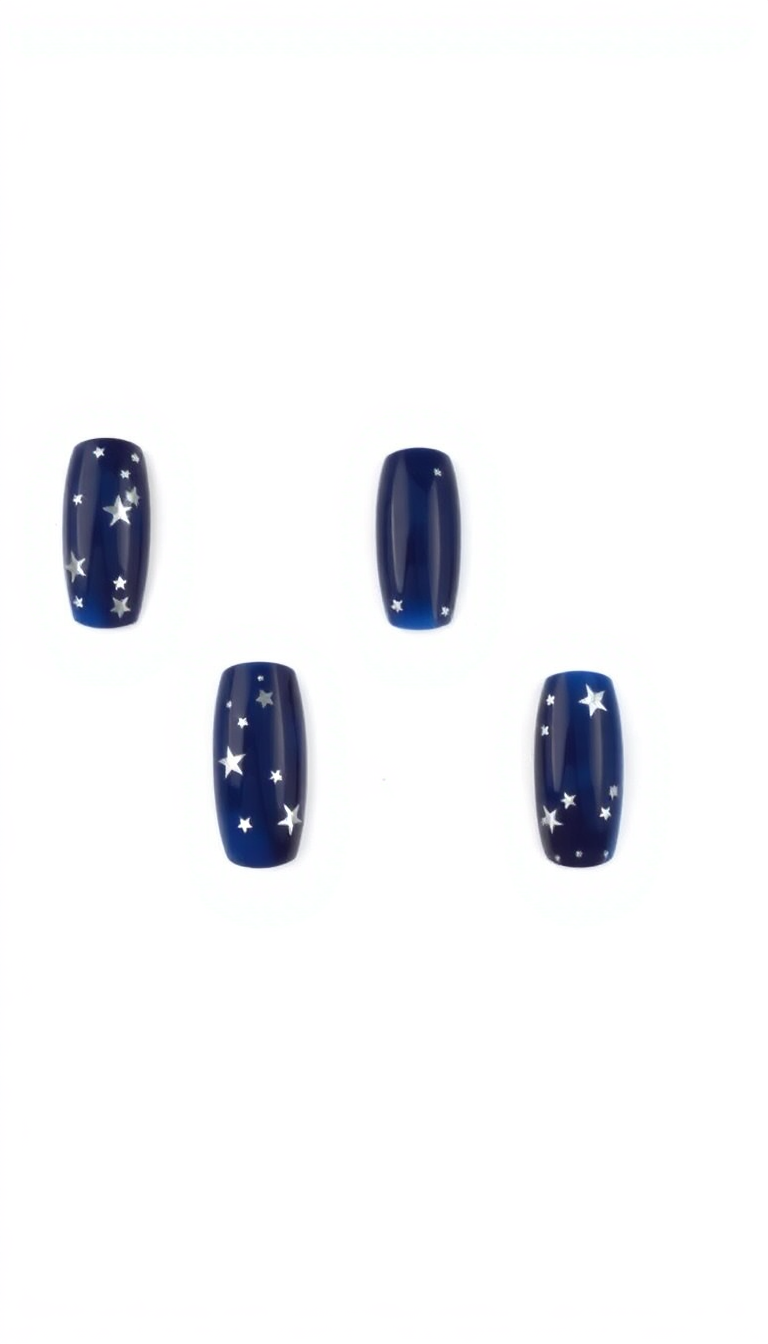
Midnight blue and silver stars create a sky on your nails. First, apply the deep blue polish. Let it dry.
Then, dot tiny silver stars with a fine brush. Each star twinkles like a real one in the winter night. This design brings the magic of chilly, starry nights right to your fingertips.
It’s simple yet so enchanting.
8. Warm Winter Sweater Patterns

Every year, I knit cozy winter sweaters. They keep my family warm.
My favorite patterns resemble snowflakes. I use soft, chunky yarns for extra warmth.
My grandkids love their festive designs.
9. Playful Penguin Art
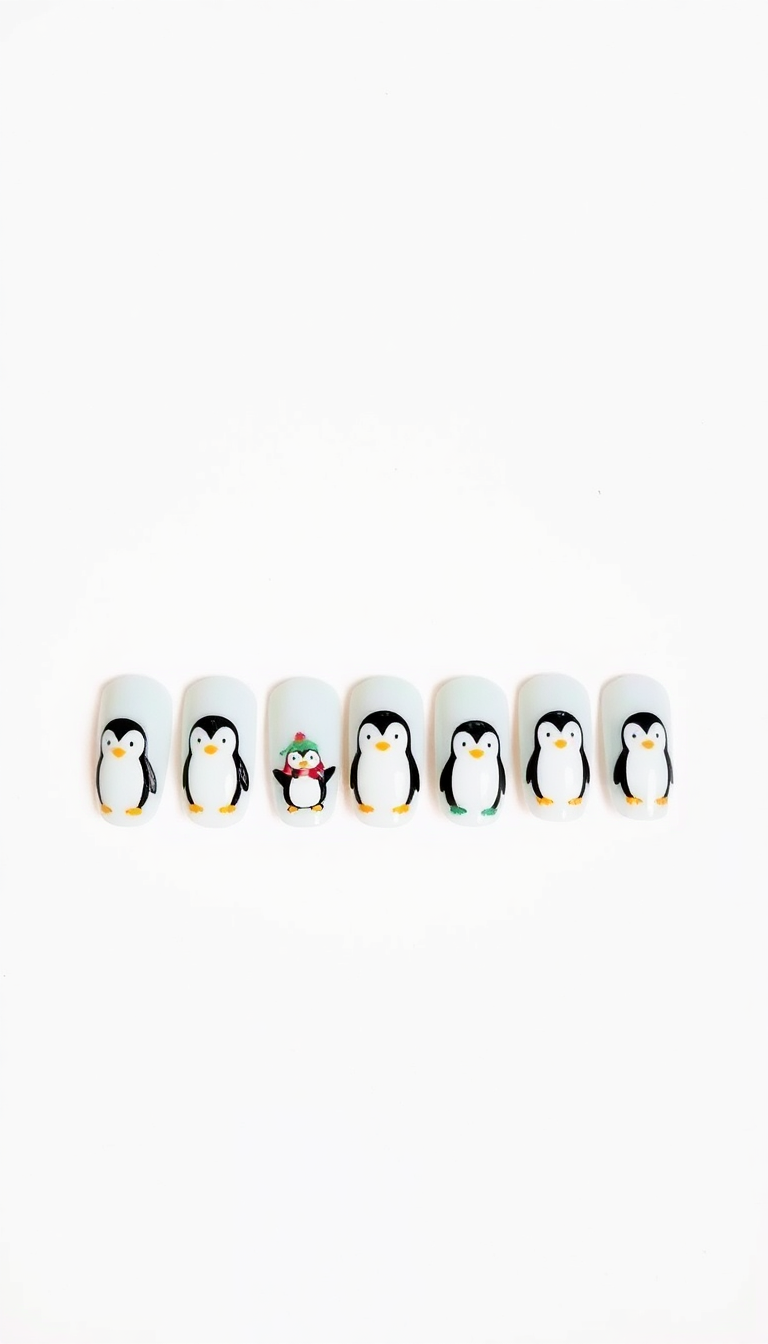
Who doesn’t love penguins? For my next winter nail design, I chose playful penguin art. First, I painted a snowy background.
Then, I added tiny, adorable penguins. Each was unique, some wearing hats, others scarves. It’s a fun look that always gets compliments.
10. Glitzy New Year’s Eve Fireworks
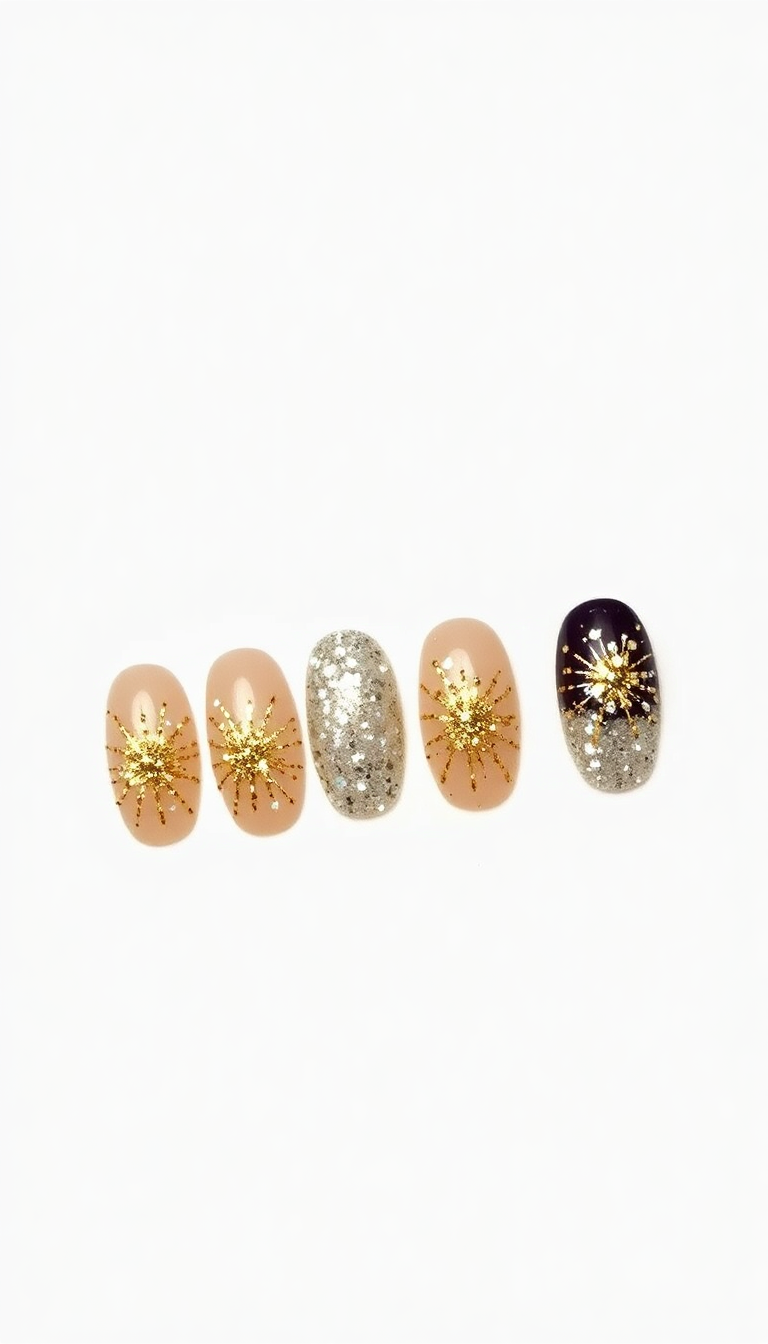
New Year’s Eve calls for sparkle! My nails must shine as bright as the fireworks. I use glitter polish, add rhinestones, and finish with a glossy topcoat.
This design captures the excitement perfectly. It’s my go-to for party nails!
11. Snow-Covered Mountain Scenery
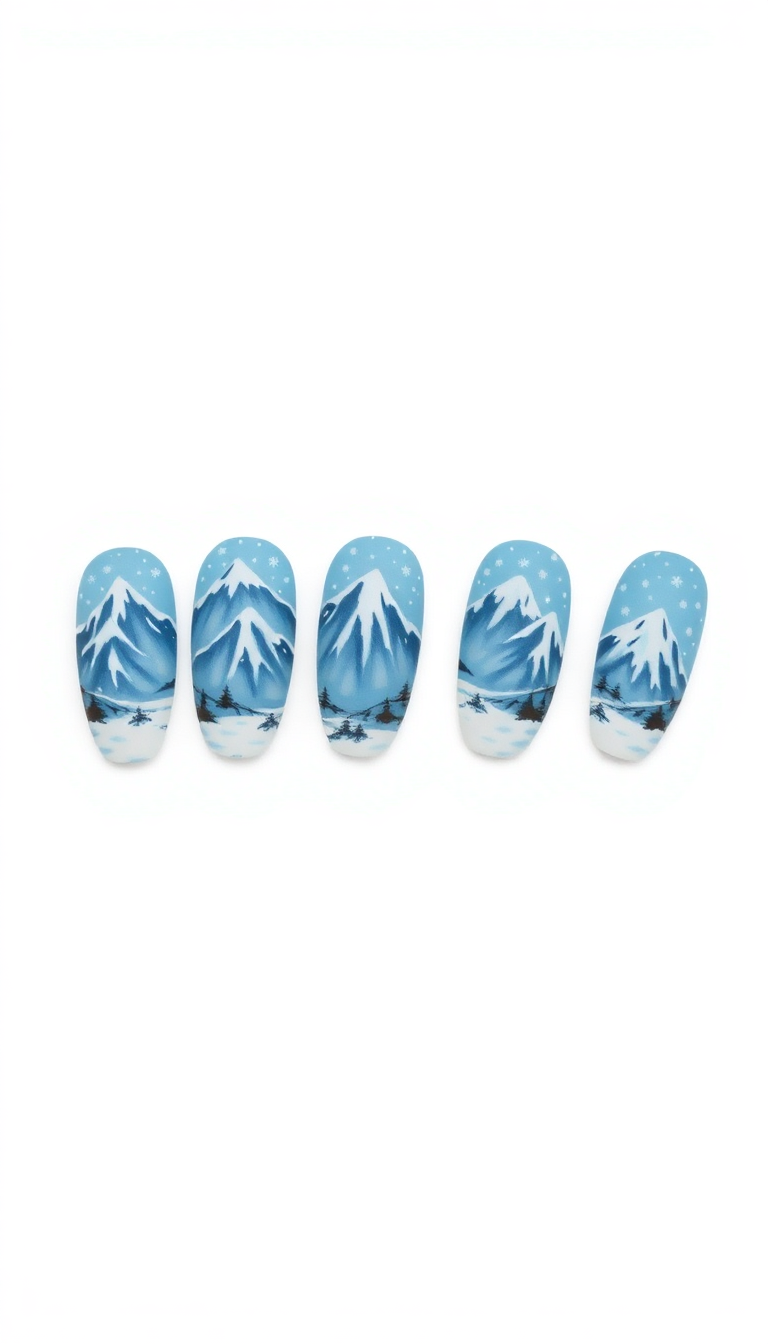
Picture a snowy peak on your nails. It’s serene, pure.
I chose pale blue and white polish. Tiny brush strokes add realistic detail.
I finished with a shimmering top coat to mimic glistening snow. It’s like wearing a winter wonderland at your fingertips.
12. Delicate Frosted Window Designs

Winter brings the beauty of frost, and I love reflecting this in my nail art. Delicate frosted window designs are my go-to. They remind me of icy mornings.
You can achieve this look with white and silver polish. Use a fine brush to mimic the intricate patterns of frost on glass. It’s subtle yet striking.
13. Shimmering White and Silver Flakes

Sparkling white and silver flakes on my nails feel like magic. They shine under holiday lights.
Perfect for any party. Simple, yet so elegant.
They make any outfit pop with wintry charm.
14. Bold Black and White Contrast

Bold black and white contrast nails make a statement. Start with a clean white base.
Add black stripes or dots for drama. Seal with a top coat for shine.
Simple yet striking, they’re perfect for winter festivities. Try this design for a chic, timeless look.
15. Rustic Woodland Inspired Art

Ever tried a forest on your nails? I painted tiny trees and deer for a rustic look. The earthy tones were perfect.
I used dark greens and browns, adding white specks as snow. It felt like holding a piece of serene woodland on my fingertips.
16. Sweet Candy Cane Stripes
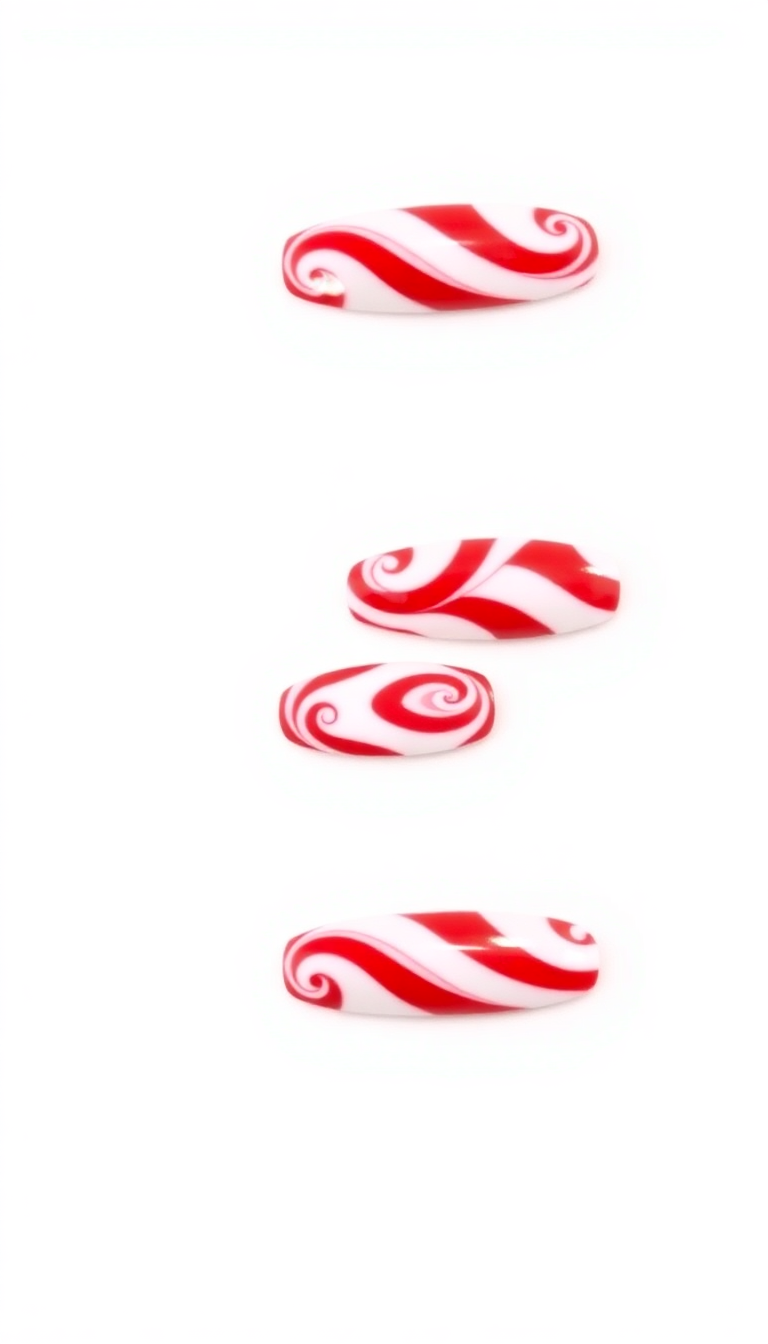
Candy cane stripes on nails shout holiday cheer! You just need white and red polish.
Paint your base coat white. Let it dry.
Then add thin red stripes. Seal it with a top coat.
Now you have festive nails perfect for winter celebrations! It’s simple, fun, and so seasonal.
17. Twinkling Starry Night Sky
Gaze at my nails, each a tiny, gleaming star in the vast, dark sky of night. I chose deep blue and silver glitter to capture the twinkling essence.
A fine brush helped me dot each star precisely. You can almost feel the chill of a clear winter night just by looking at them.
Each nail becomes a part of the starry expanse, a personal galaxy at my fingertips.