Winter is here, and so is the time to glam up our nails. I love experimenting with gel polish.
It lasts long and shines bright. Today, I’ll share 17 nail stamping tricks that are easy and fun.
These techniques will help you create stunning nail art. Let’s dive into the world of colors and designs.
Who’s ready to give their nails a fabulous makeover?
1. Choosing the Right Stamping Kit
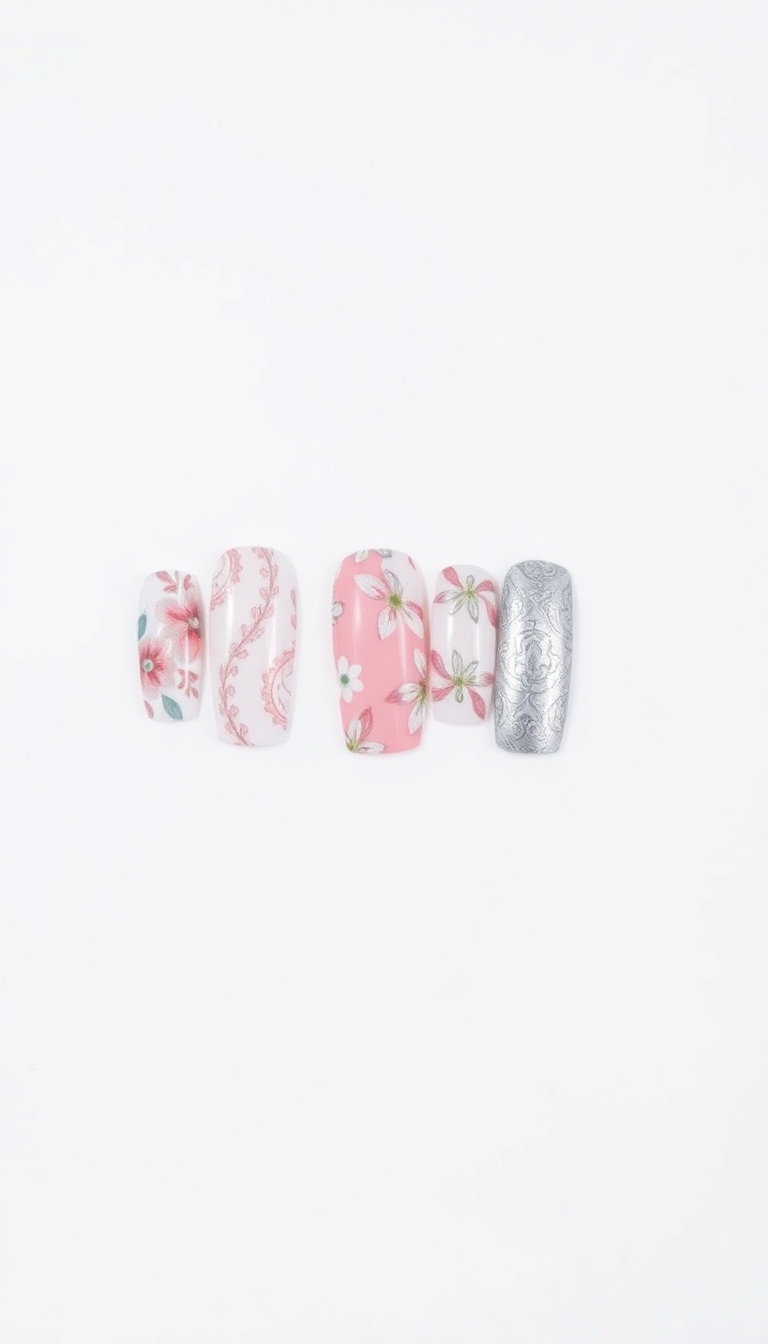
When I started with nail stamping, finding the right kit was key. I needed something versatile yet user-friendly.
A kit with a variety of plate designs helped me experiment. I prefer clear stampers for precision.
Quality polish made a big difference too. It took some trial and error, but now my winter nails always look professionally done.
2. Prepping Your Nails for Stamping
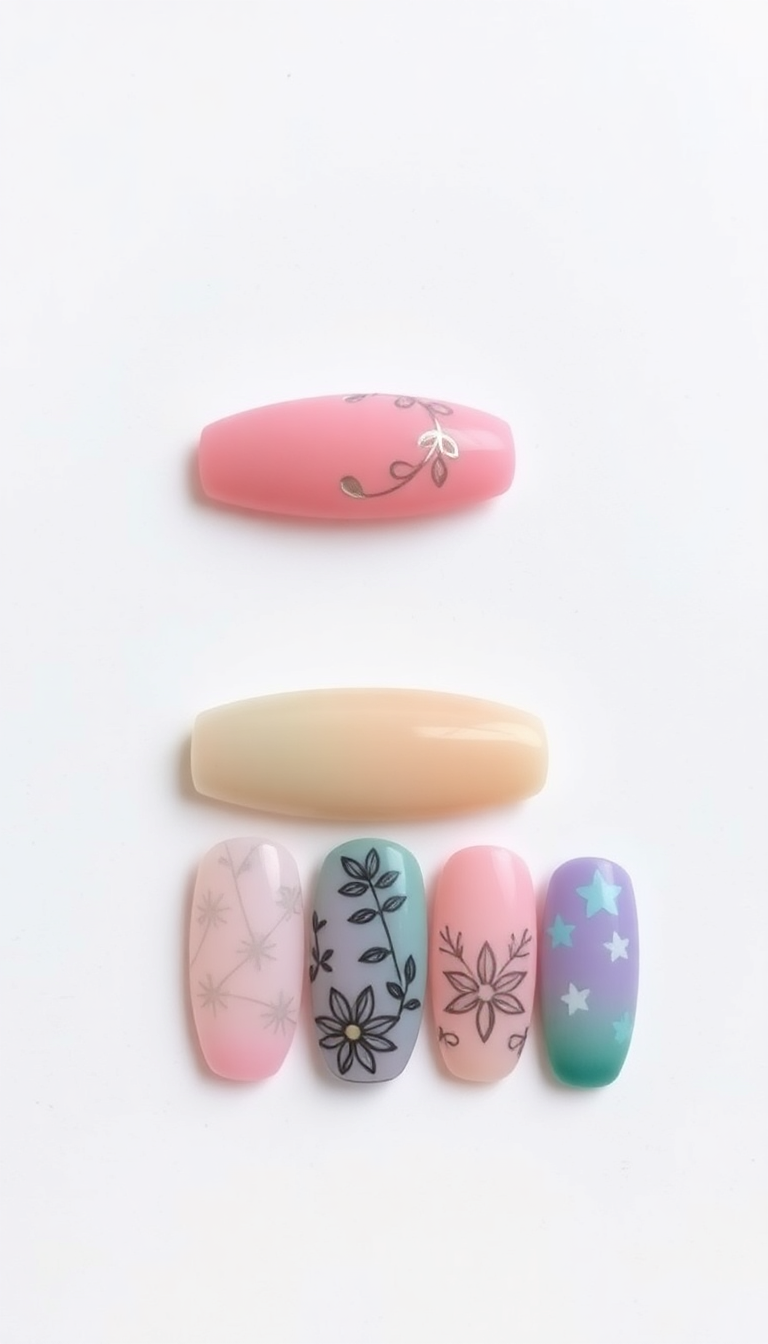
Before you start stamping, clean your nails. Use a lint-free wipe and some alcohol to remove any oils.
Then apply a base coat and let it dry completely. This helps your design adhere better and last longer.
Make sure each nail is smooth and ready for that perfect stamp.
3. Basic Stamping Step-by-Step
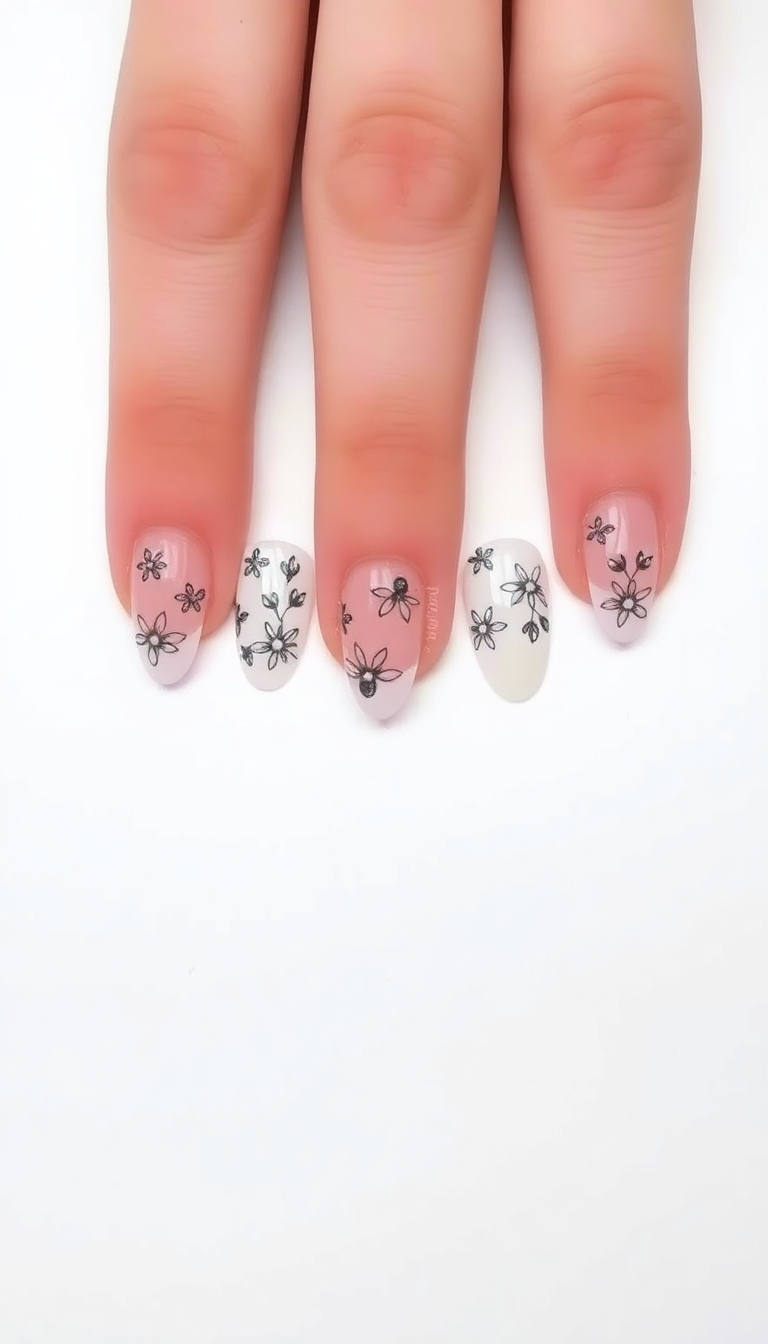
To start stamping, first apply a base coat. Let it dry completely. Choose a design from your stamping plate.
Apply a thin layer of polish over it. Use a scraper to remove excess polish. Press the stamper onto the design, then stamp it onto your nail.
Finish with a top coat to seal the design.
4. Advanced Stamping with Multiple Colors
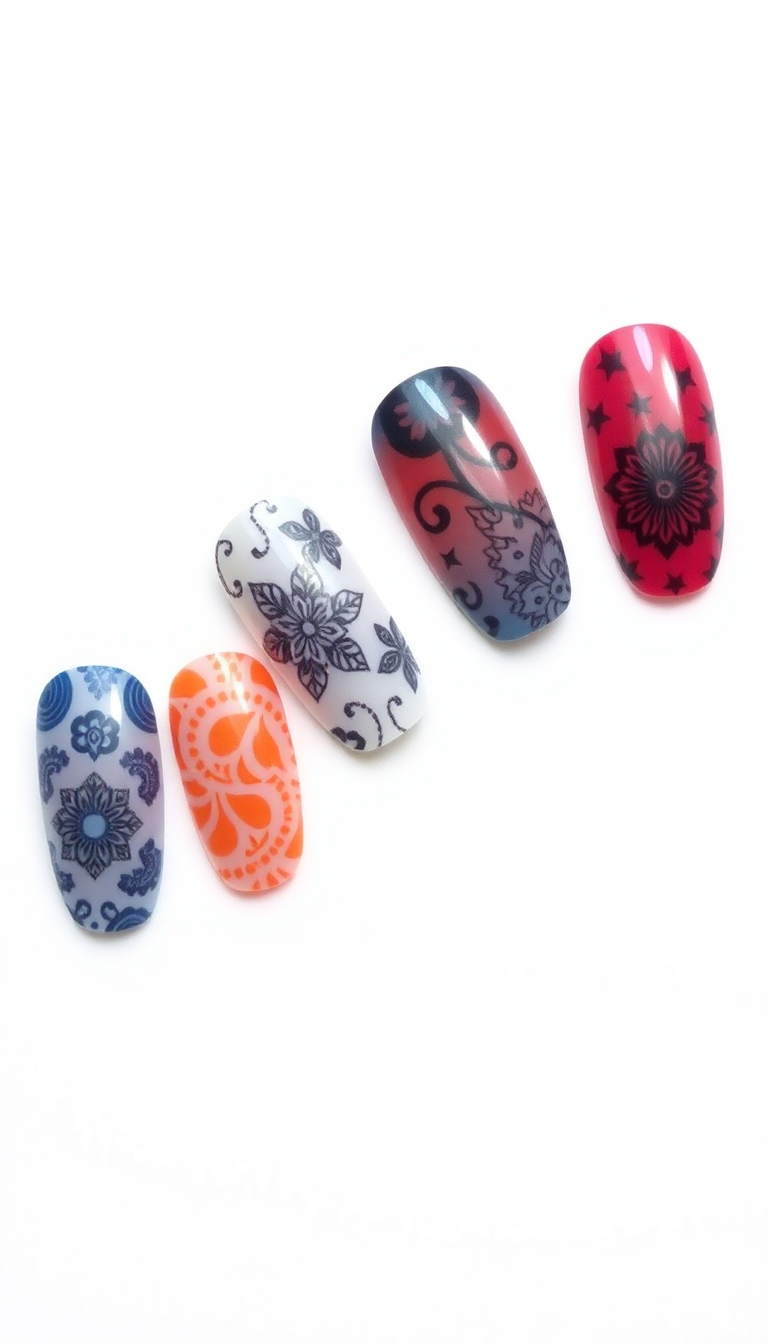
I love mixing colors in nail stamping. It elevates the design.
First, I apply a light base coat. Then, I pick contrasting colors for the stamps.
I ensure each stamp is crisp, layering them carefully. This technique creates a stunning, multi-dimensional look.
Each nail becomes a piece of art, perfect for winter fashion.
5. Incorporating Negative Space Designs
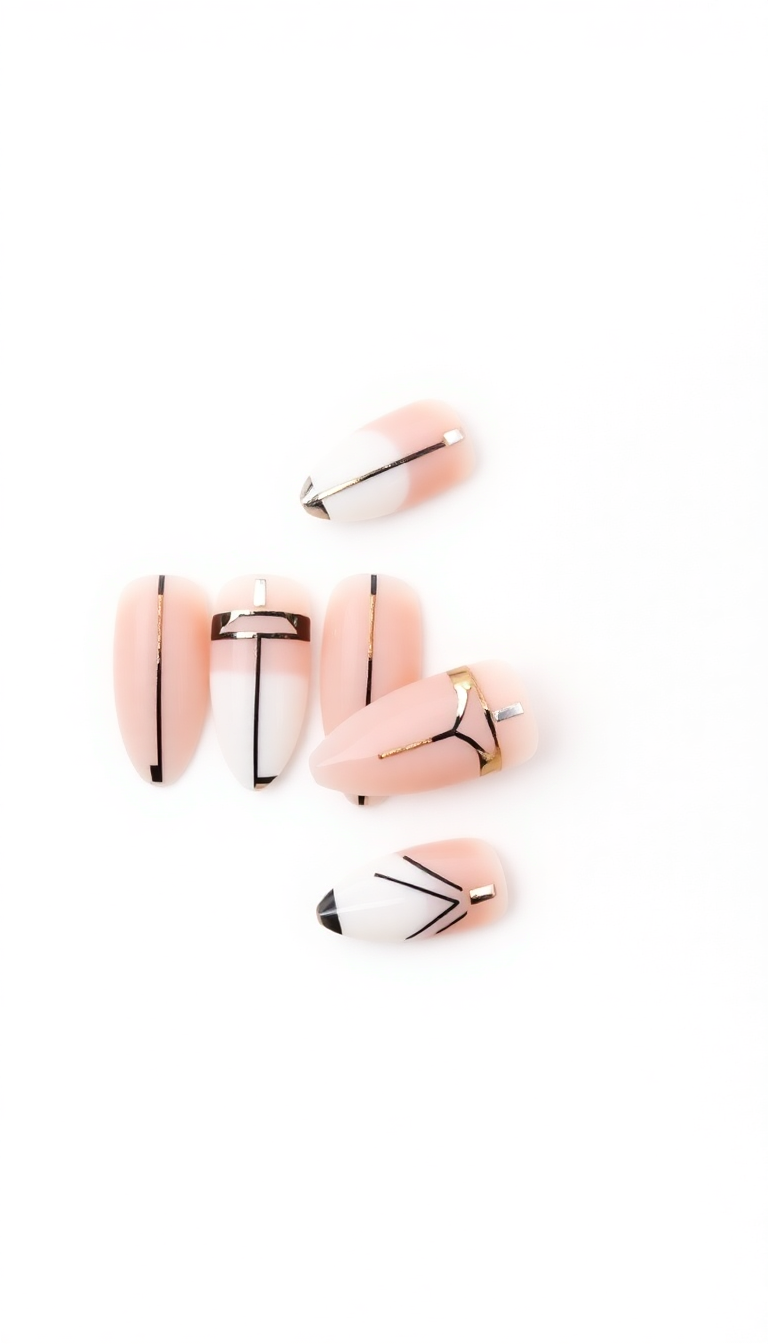
Negative space designs have become my go-to technique for a modern look. I start with a clear base coat, then apply my stamp sparingly.
The result is a chic, minimalist style. This method lets my natural nail peek through, creating an intriguing contrast.
It enhances the sophistication of any winter outfit.
6. Tips for Perfect Stamp Alignment
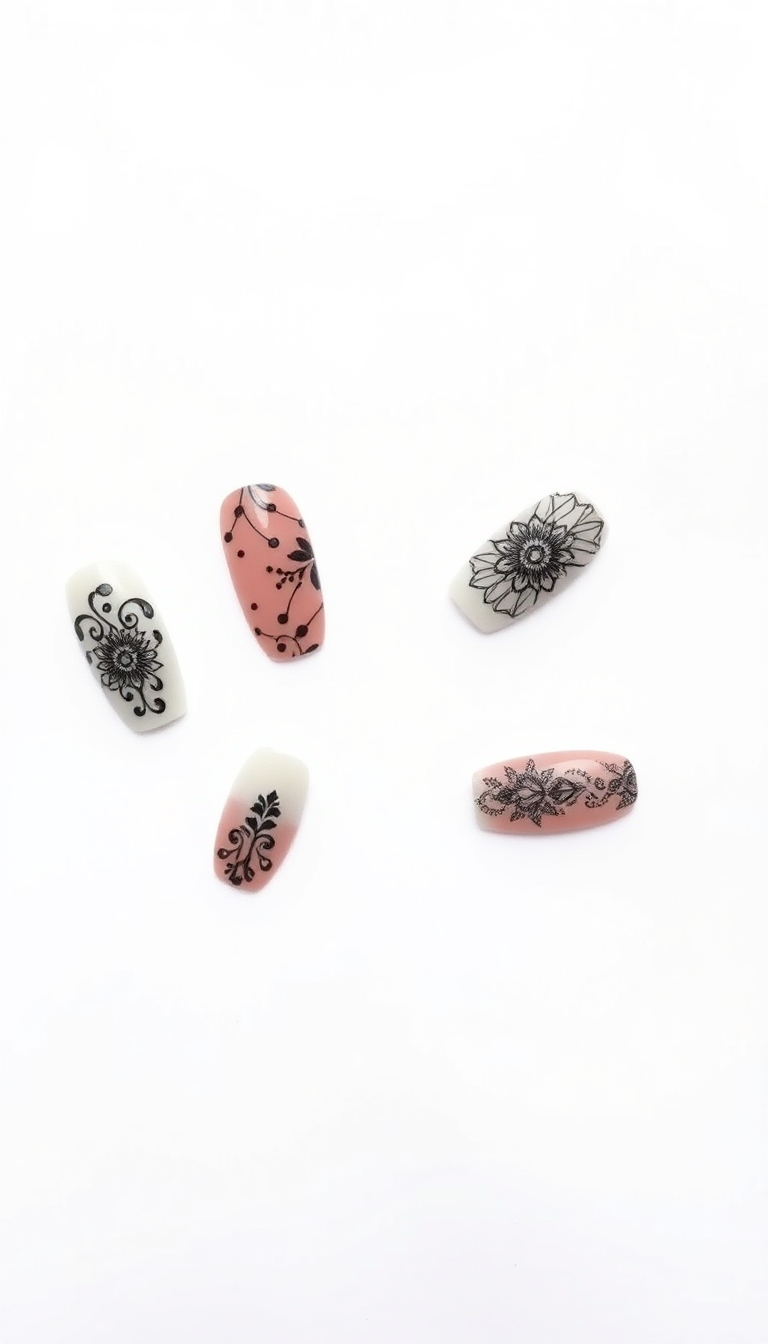
Perfect stamp alignment transforms a manicure. First, choose clear stampers; they show where you place designs.
Apply polish evenly on the plate. Press the stamper firmly but gently.
Always align the stamper with your nail’s center. Practice makes perfect, so keep trying until you master the placement.
7. Using Metallic Polishes for Extra Shine
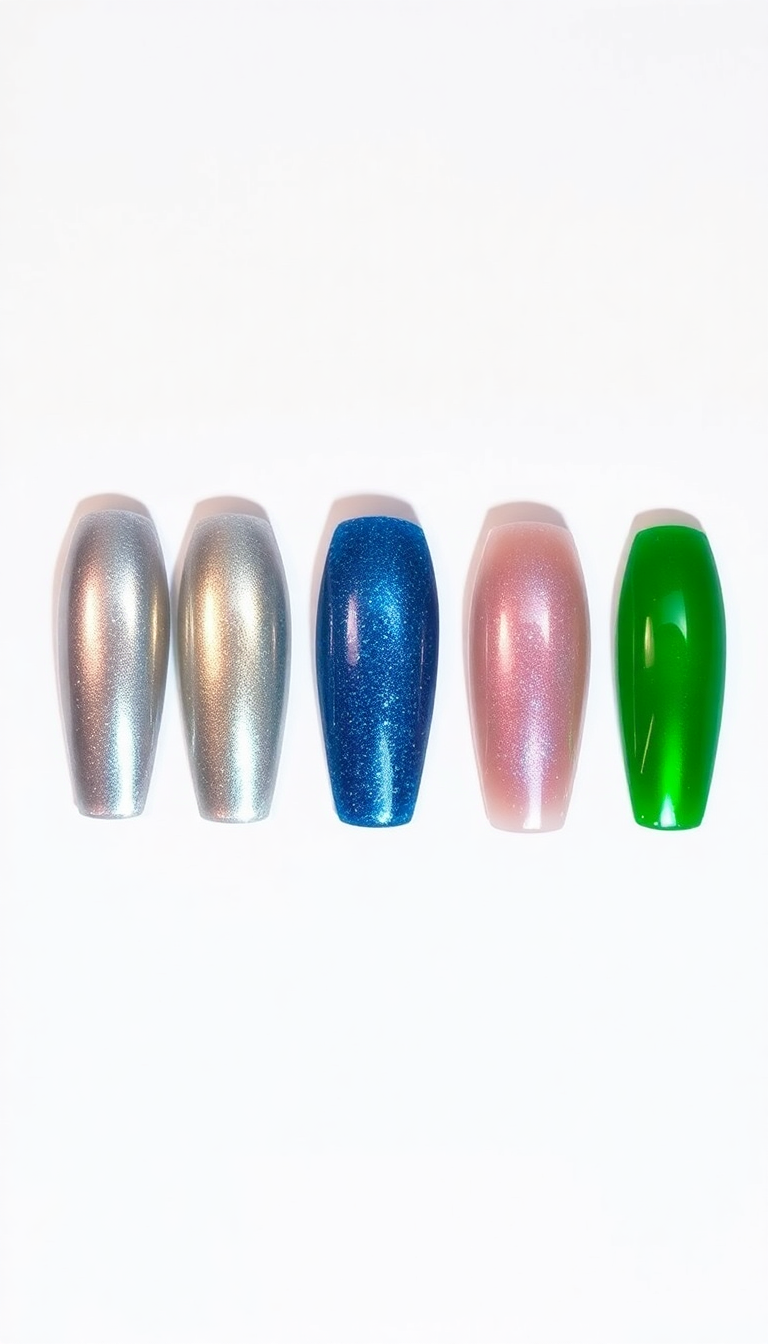
Metallic polishes bring out the best in stamp designs. They add a radiant shine that catches the eye.
I love how light reflects off the intricate patterns, enhancing every detail. For a more striking effect, I layer a clear top coat over the metallic polish.
This method seals in the design and boosts the overall sparkle.
8. Creating Ombre Effects with Stamps
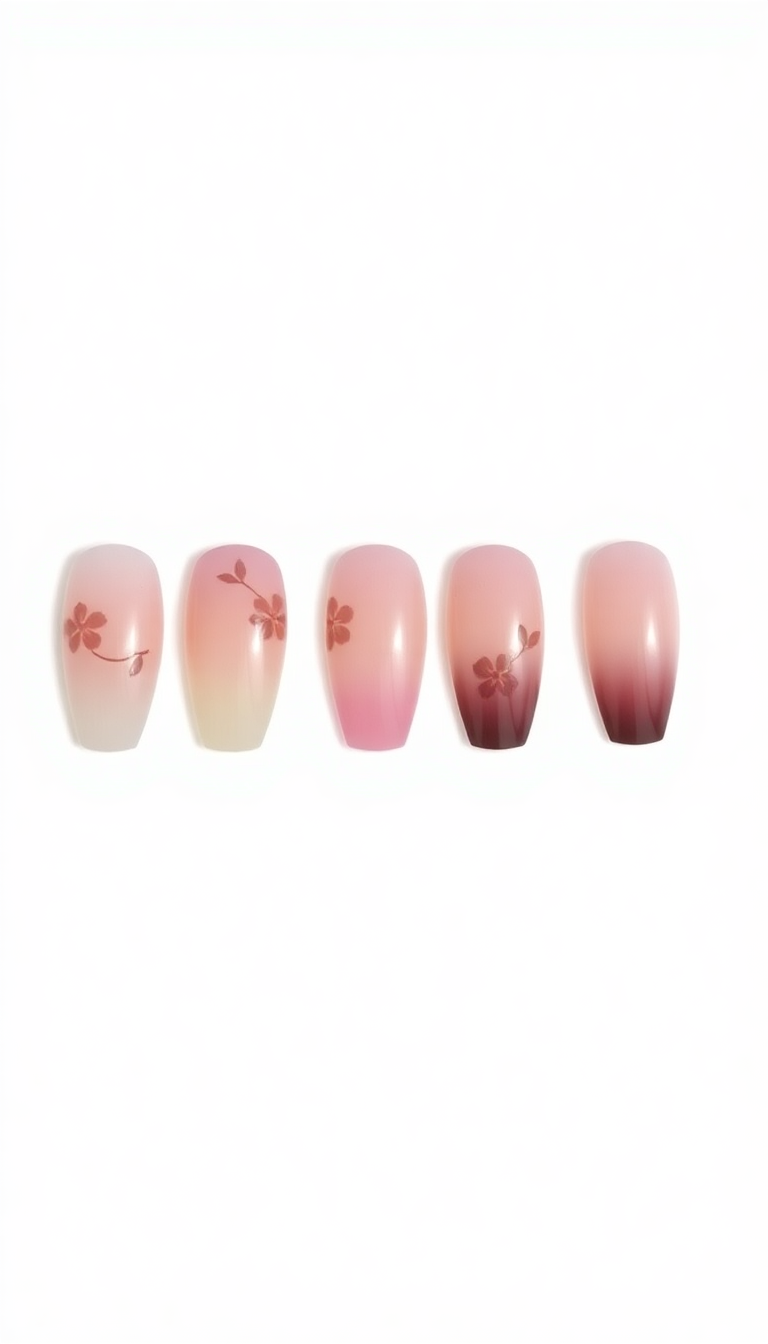
Creating ombre effects with stamps is simpler than it sounds. You start with a light color as your base. Then, pick two or three darker shades.
Apply a bit of each color on a sponge. Gently dab the sponge over the stamp. This mixes the hues subtly.
Stamp it onto your nail for a stunning ombre effect. Each nail can look like a mini masterpiece!
9. Seasonal Motifs to Try This Winter
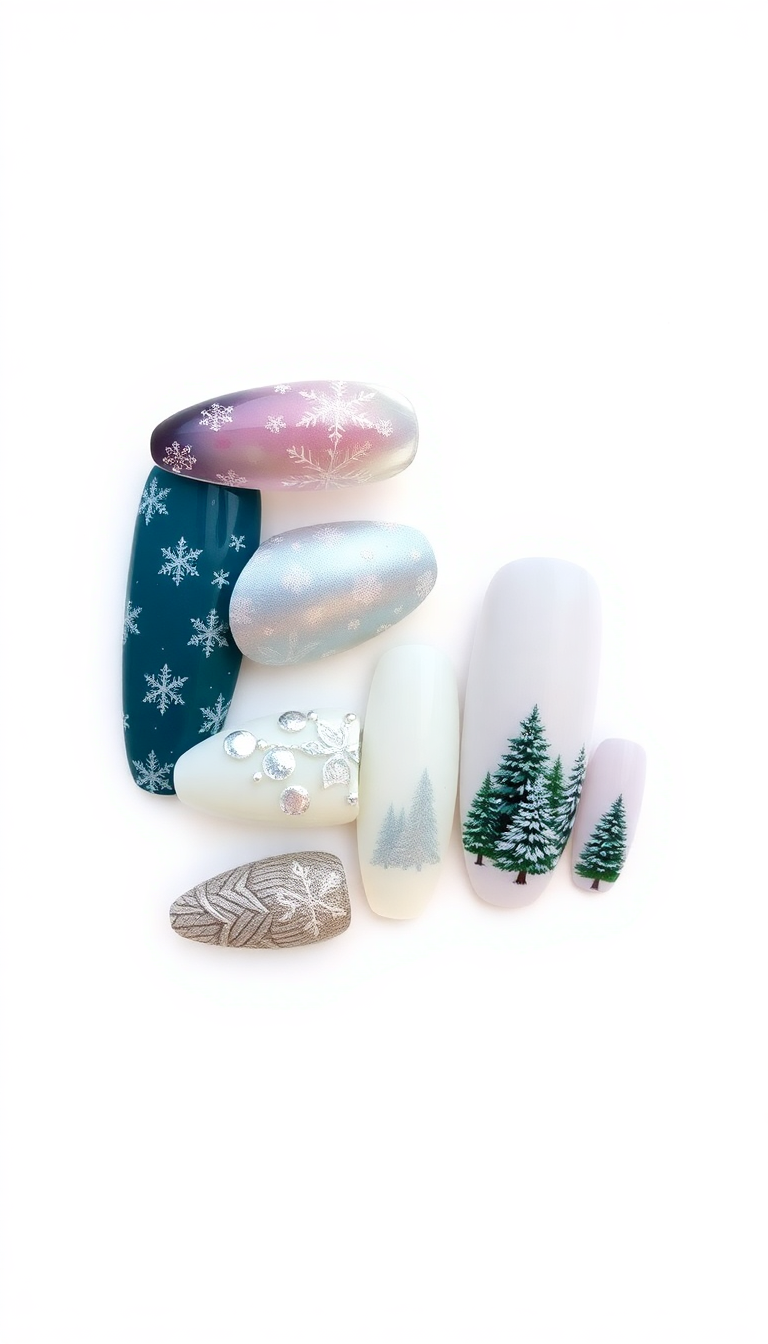
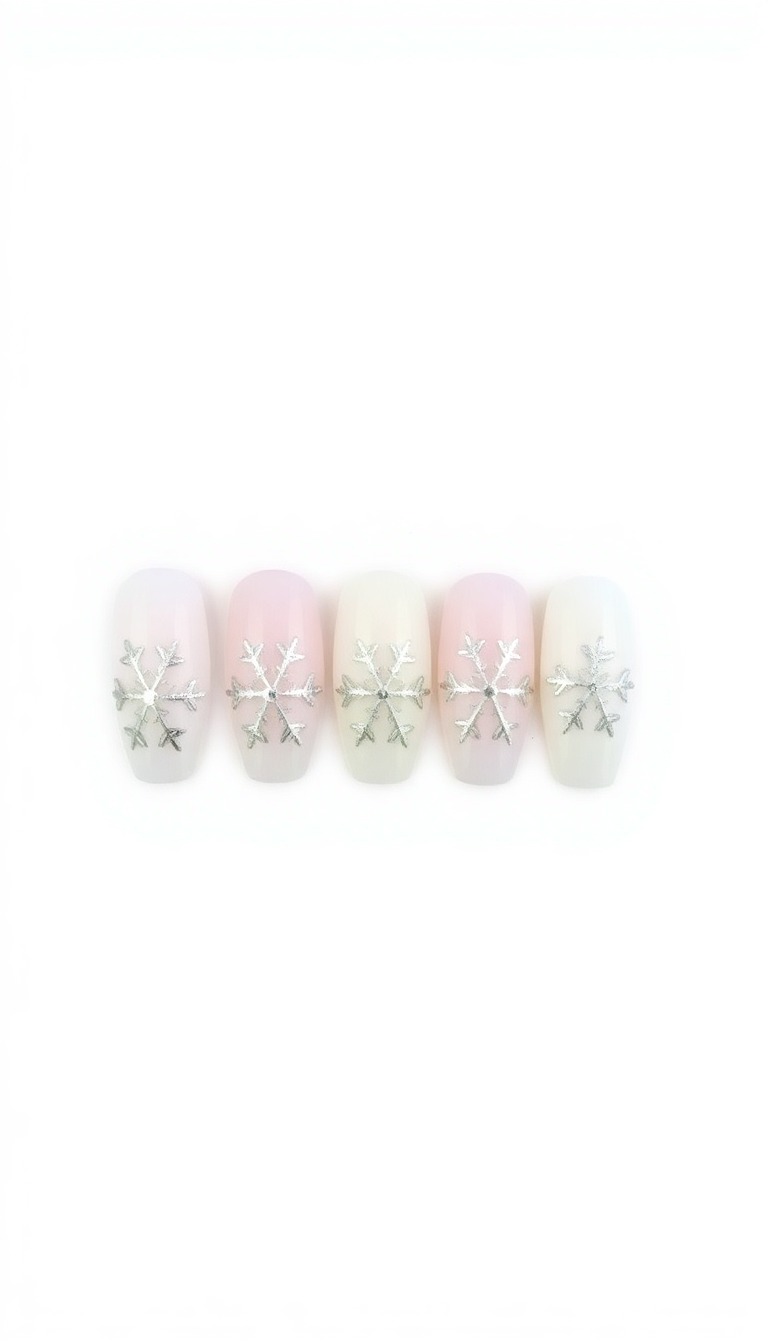
This winter, try frosty motifs on your nails. Snowflakes look magical.
Think cozy sweaters for a warm design. Reindeer add a playful touch.
Get creative with icy blue and silvery hues.
10. Layering Stamps for Intricate Patterns
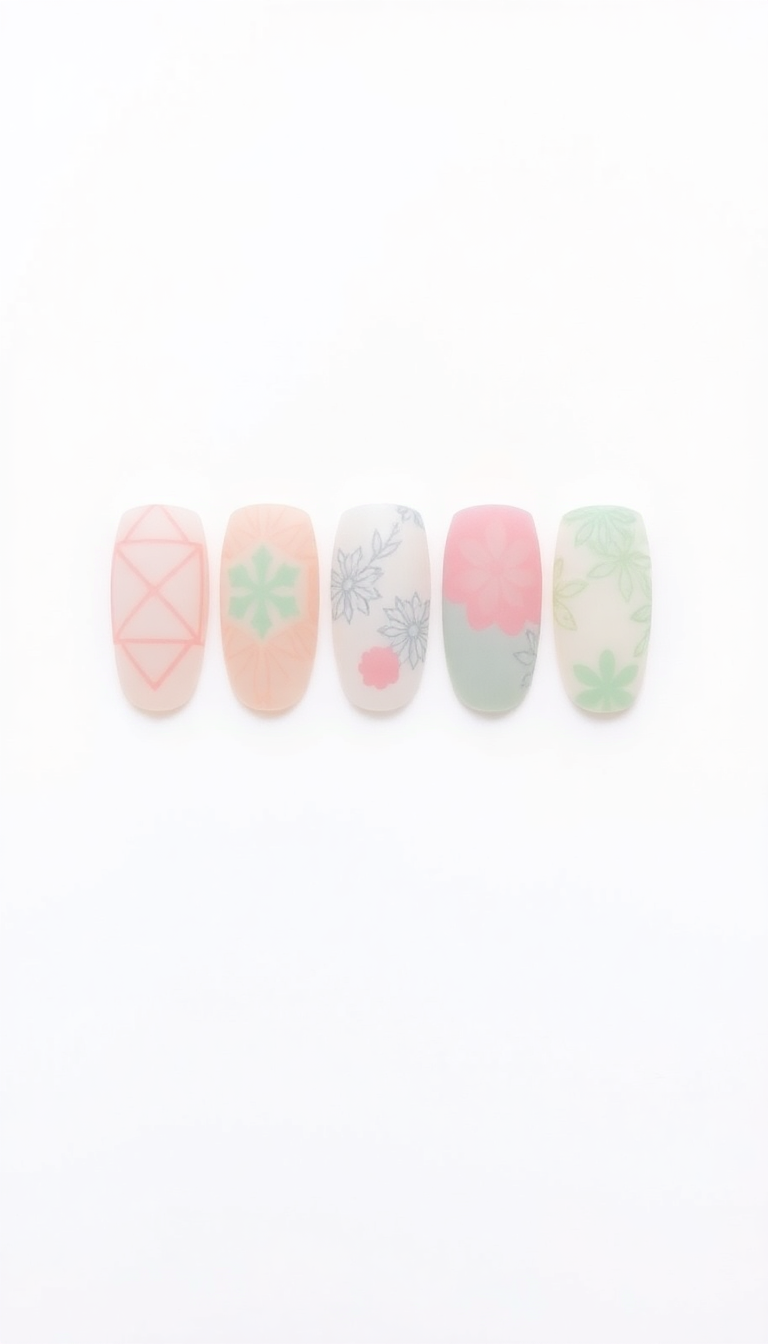
Layering stamps elevates my nail art. I start with a light base. Then, I choose intricate patterns, stamping each over the last.
The final look? A stunning, detailed masterpiece on my nails that catches every eye. Each layer adds depth, making the simplest designs pop.
It’s a favorite technique in my winter gel polish routine.
11. Fixing Common Stamping Mistakes
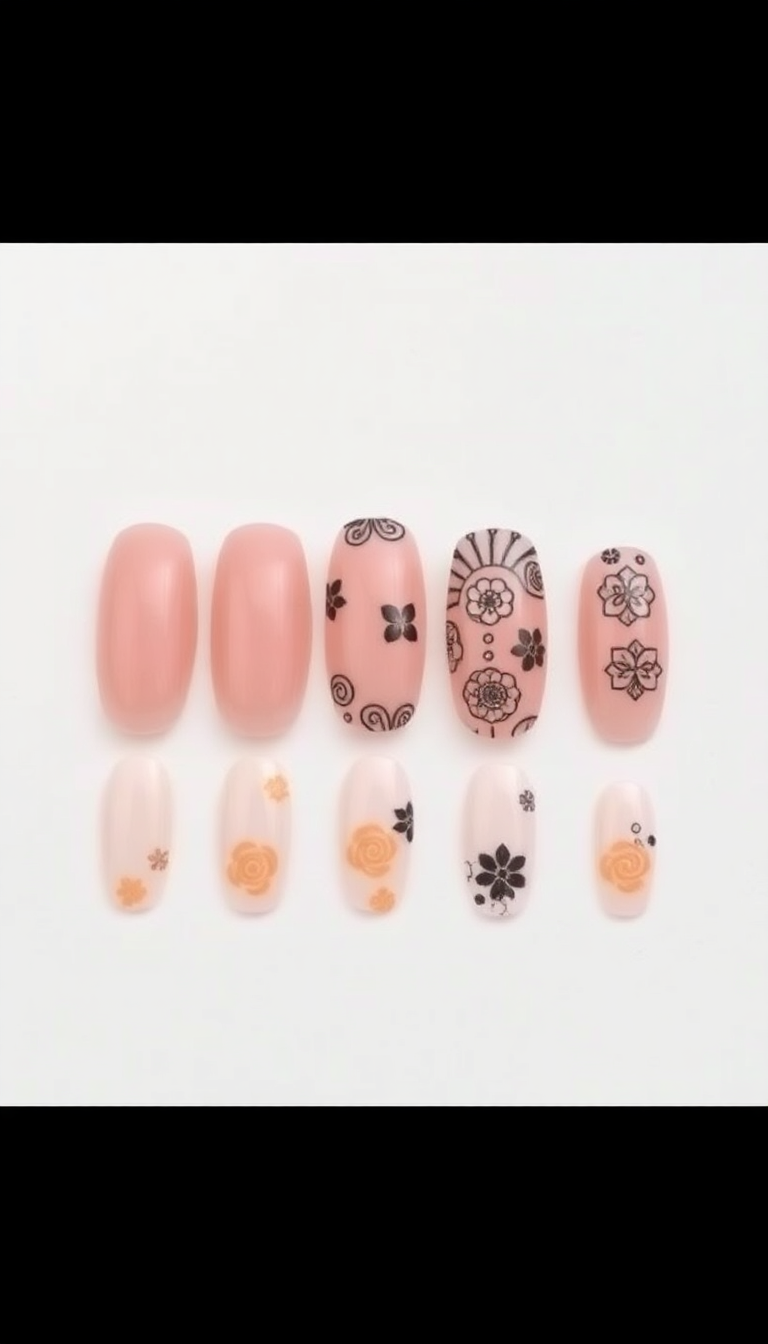
Mistakes happen, even to the best of us! If a design smudges, I dab a bit of polish remover on a brush and carefully erase the error. For misaligned patterns, I gently press a sticky tape over the mistake and lift it off.
Sometimes, the polish dries too quickly on the stamper. In that case, I speed up the transfer process to ensure a crisp image. If all else fails, adding a glitter topcoat often masks small imperfections and enhances the overall look.
Remember, practice makes perfect, and every attempt teaches you something new!
12. Sealing Your Art with Top Coat
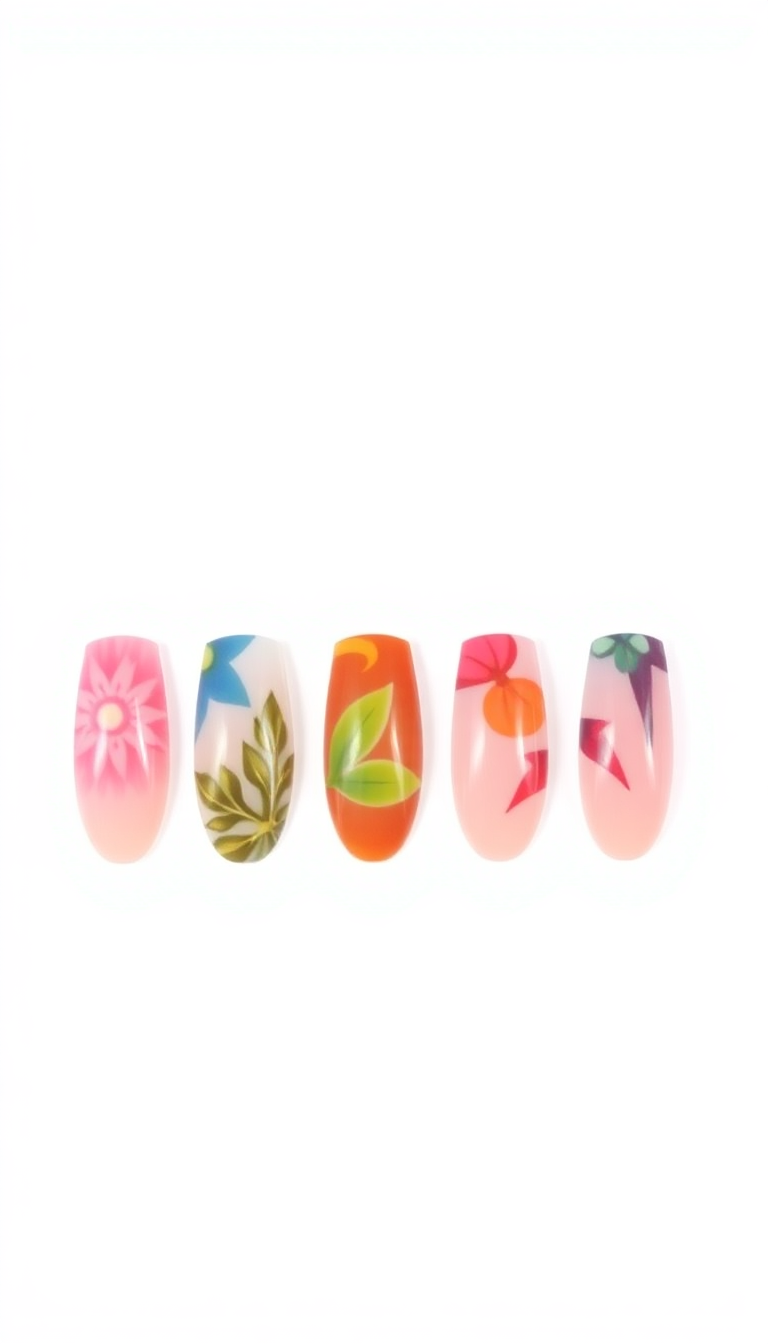
After applying your design, a top coat is crucial. It protects and enhances the shine.
Ensure even coverage to prevent chips. Your nail art stays pristine and glossy longer, ready to dazzle all winter.
Always choose a quality top coat for best results.
13. Quick Cleanup Techniques
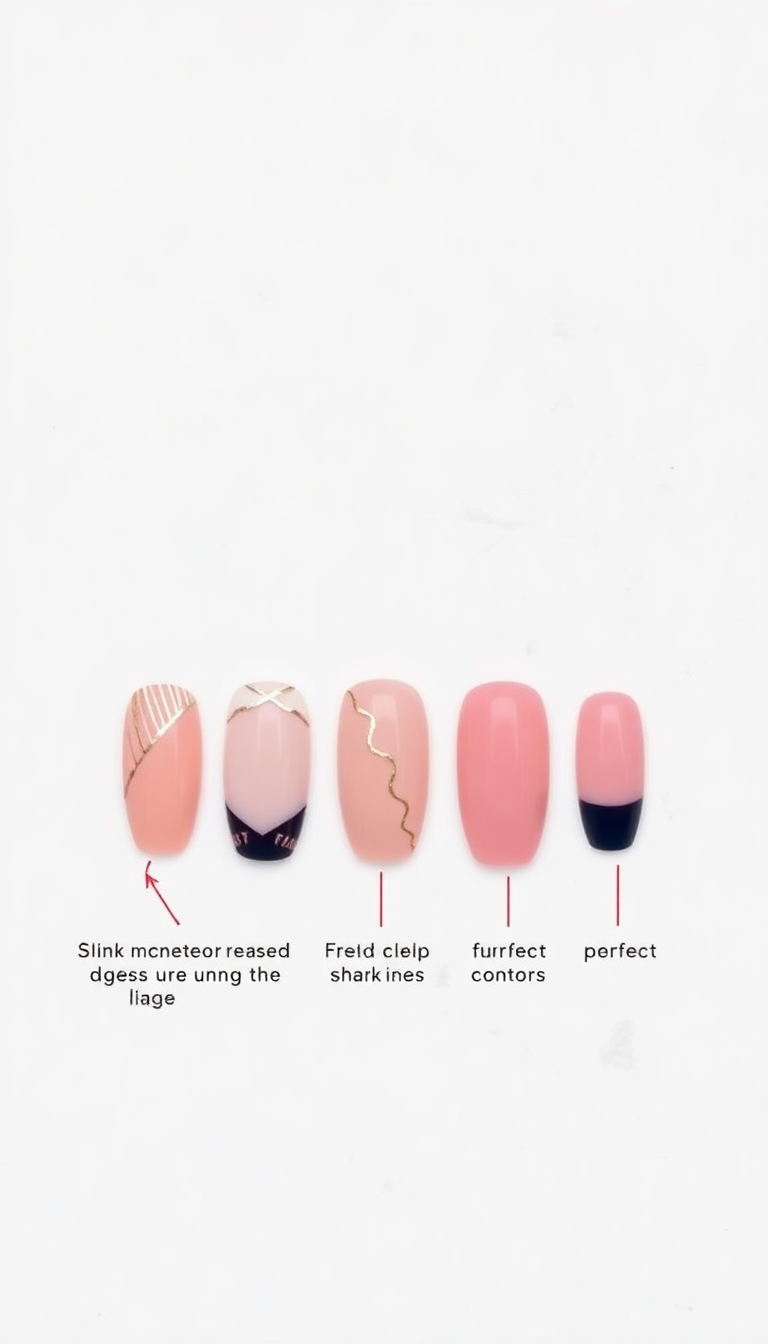
Quick cleanup techniques save time. Use tape around your nails to catch excess polish.
Peel it off after stamping. Clean any stray polish with a small brush dipped in remover.
This keeps your designs crisp and your workspace tidy.
14. Combining Stamping with Other Nail Art Techniques
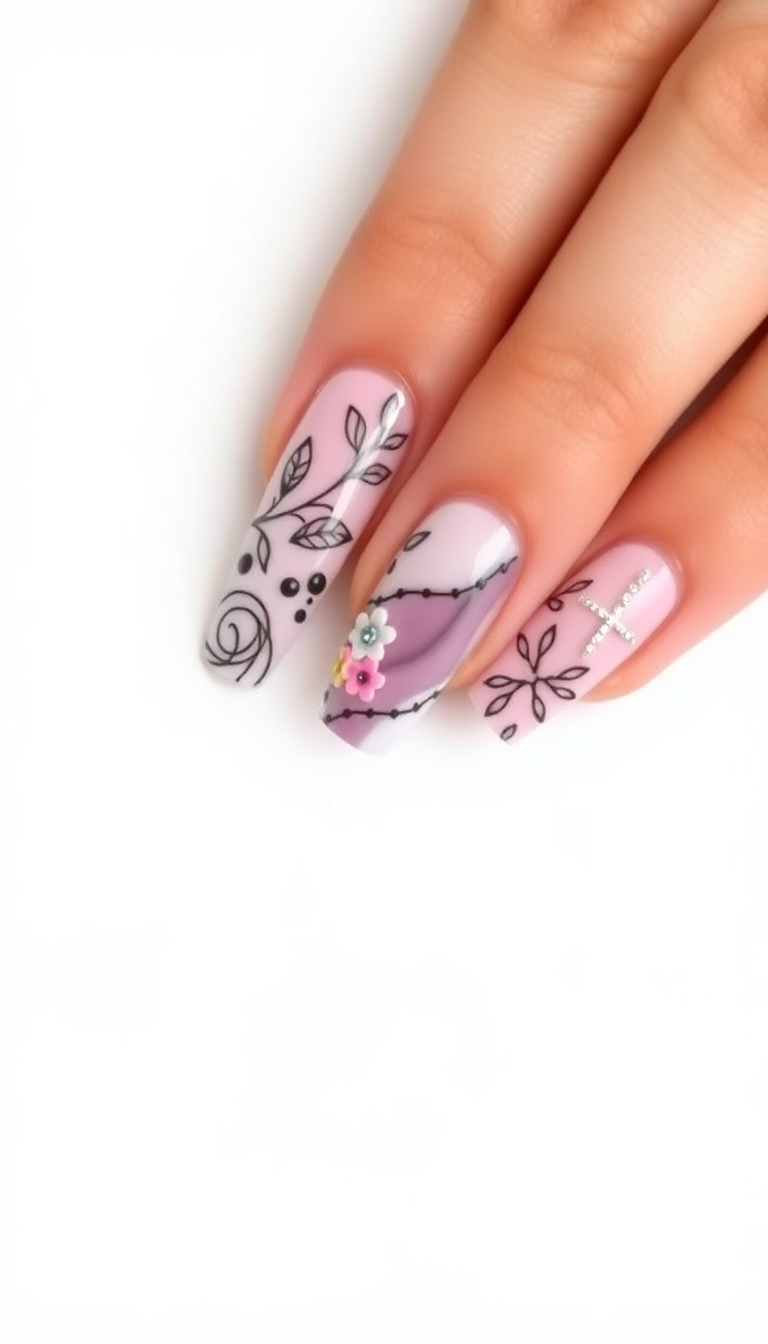
Stamping isn’t just a solo act. Combine it with rhinestones for bling. Try marbling for depth.
Mix matte and gloss finishes for contrast. These combos enhance your nail art, making each design unique and eye-catching. Keep experimenting to discover your favorite mix.
15. DIY Custom Stamping Plates
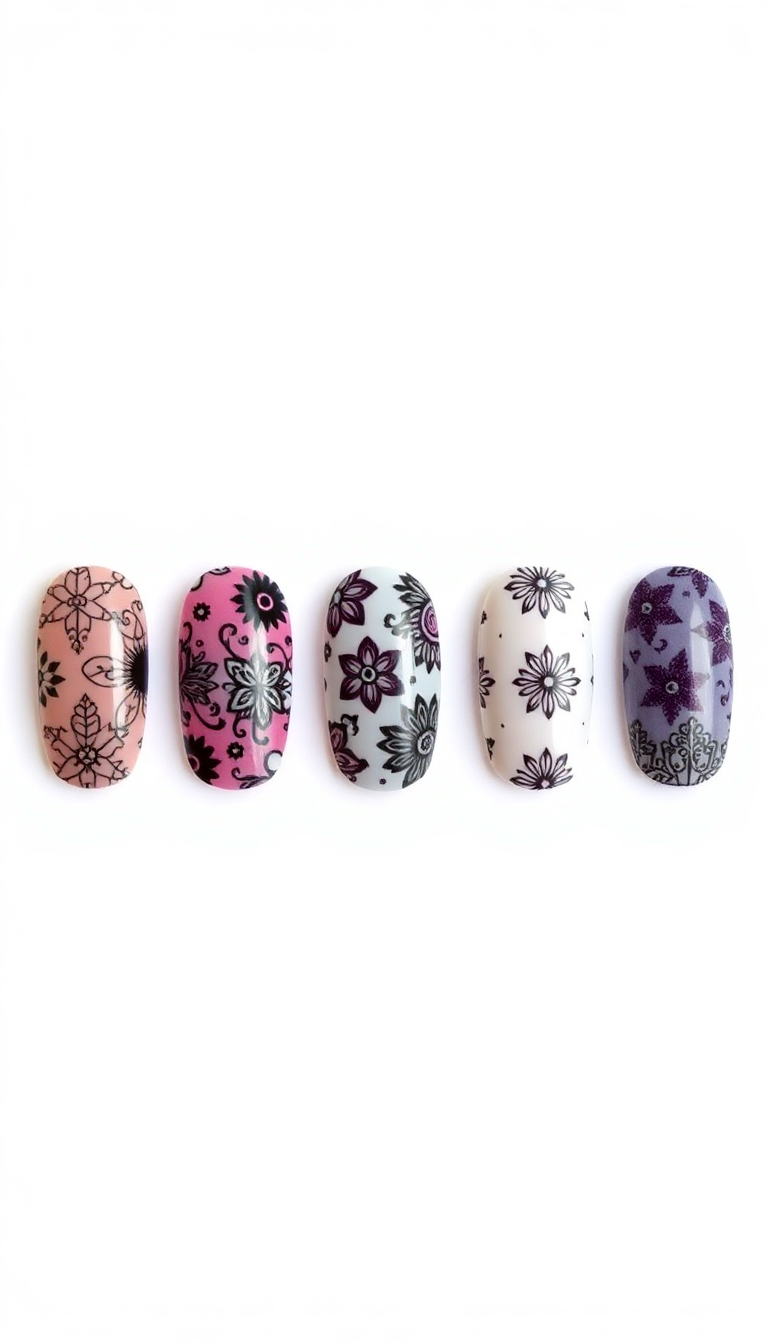
Nail art turns exciting when you make your own stamping plates. It’s simple and creative.
Just sketch designs on paper. Then, transfer these to a light metal sheet.
Cut out patterns with precision. Voila, your custom plate is ready!
Use it with your favorite gel polish for unique, stunning nails. Your DIY tool will impress everyone.
16. Stamping on Different Nail Shapes
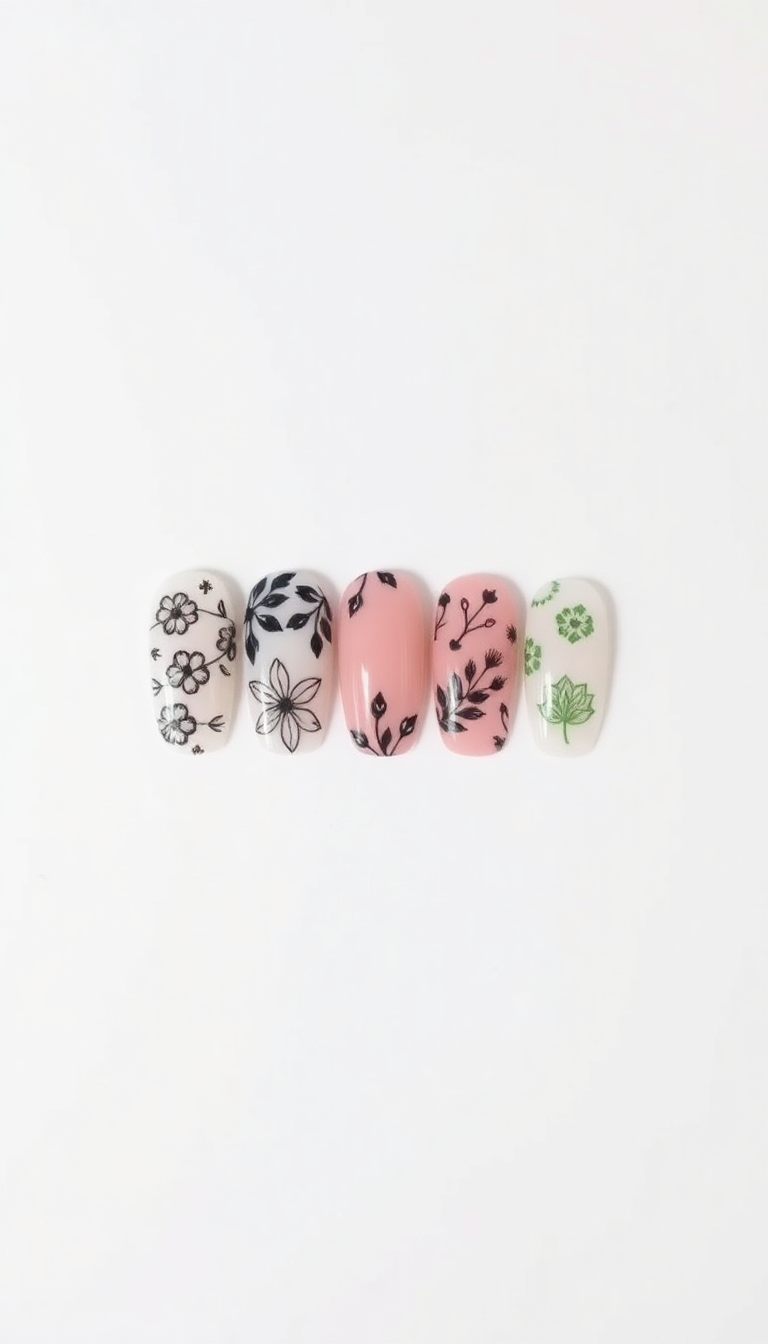
Different nail shapes require unique stamping approaches. For long nails, a vertical stamp pattern enhances length. On shorter nails, a horizontal or diagonal design may work better.
With almond or stiletto nails, focus on following their natural curve. Make sure the design fits within the nail’s boundaries. Adjust the stamp size and direction based on the nail’s shape for best results.
17. Maintaining Your Stamping Tools
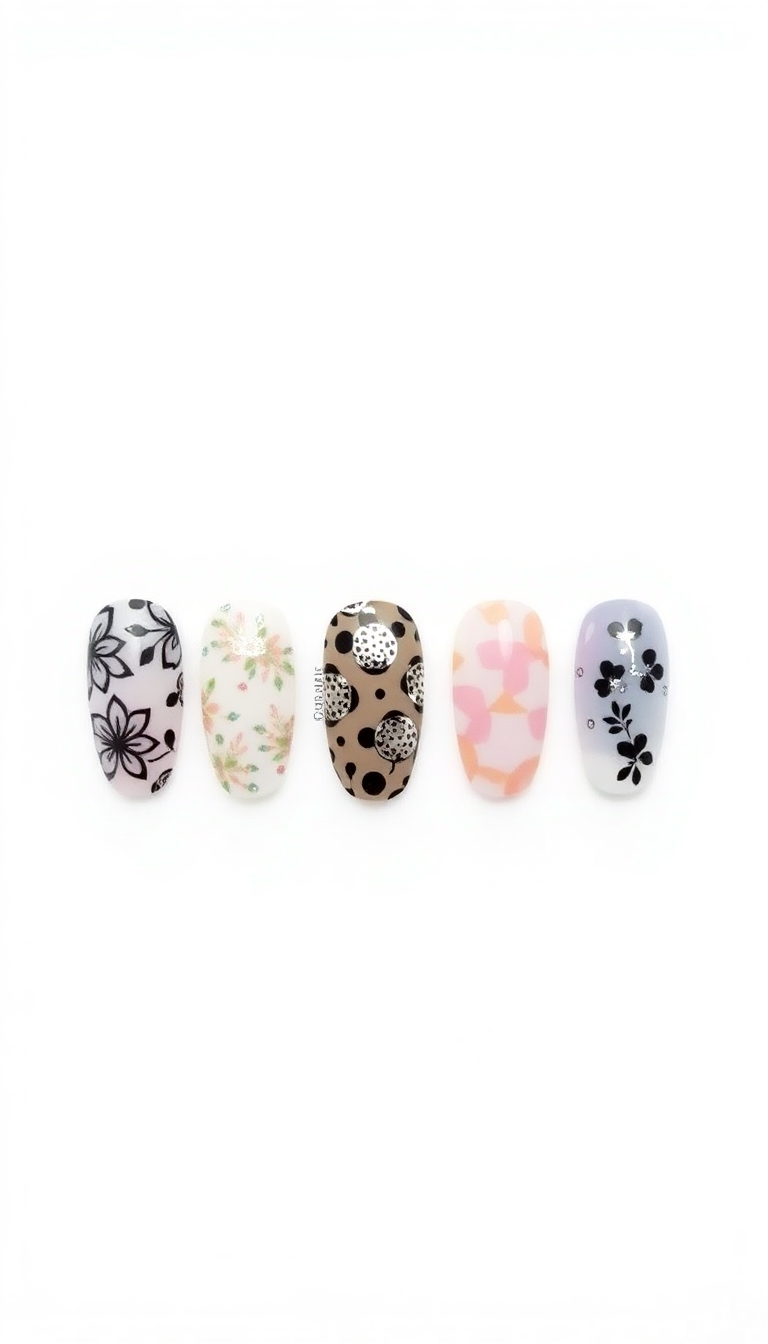
Keeping my stamping tools in top shape is crucial. I clean them right after use. Stamps, scrapers, and plates need gentle care.
I store them in a dry, cool place. Regular maintenance ensures lasting performance.

Is anyone else feeling overwhelmed by all these nail stamping steps? I just want a simple design! #KeepItSimple 💅🏼
I think stamping kits are overrated. Why not just freehand it? Whos got time for all that prep work anyway?
Do you think stamping nail art is a game-changer or just a passing trend? Share your thoughts on these techniques!
I personally think that advanced stamping with multiple colors can either make or break a nail design. Whats your take on this technique?
I wonder if advanced stamping with multiple colors is really necessary or just complicates things. Basic stamping seems easier!