Winter is here, and it’s time for cozy fashion choices. Nail art is no exception.
I love gel manicures for their shine and longevity. However, achieving that salon-perfect look at home can be tricky.
Today, I share essential tips that ensure flawless gel nails every time. From proper nail preparation to the right curing techniques, I’ll guide you through everything.
Let’s dive into the world of beautiful winter nails together.
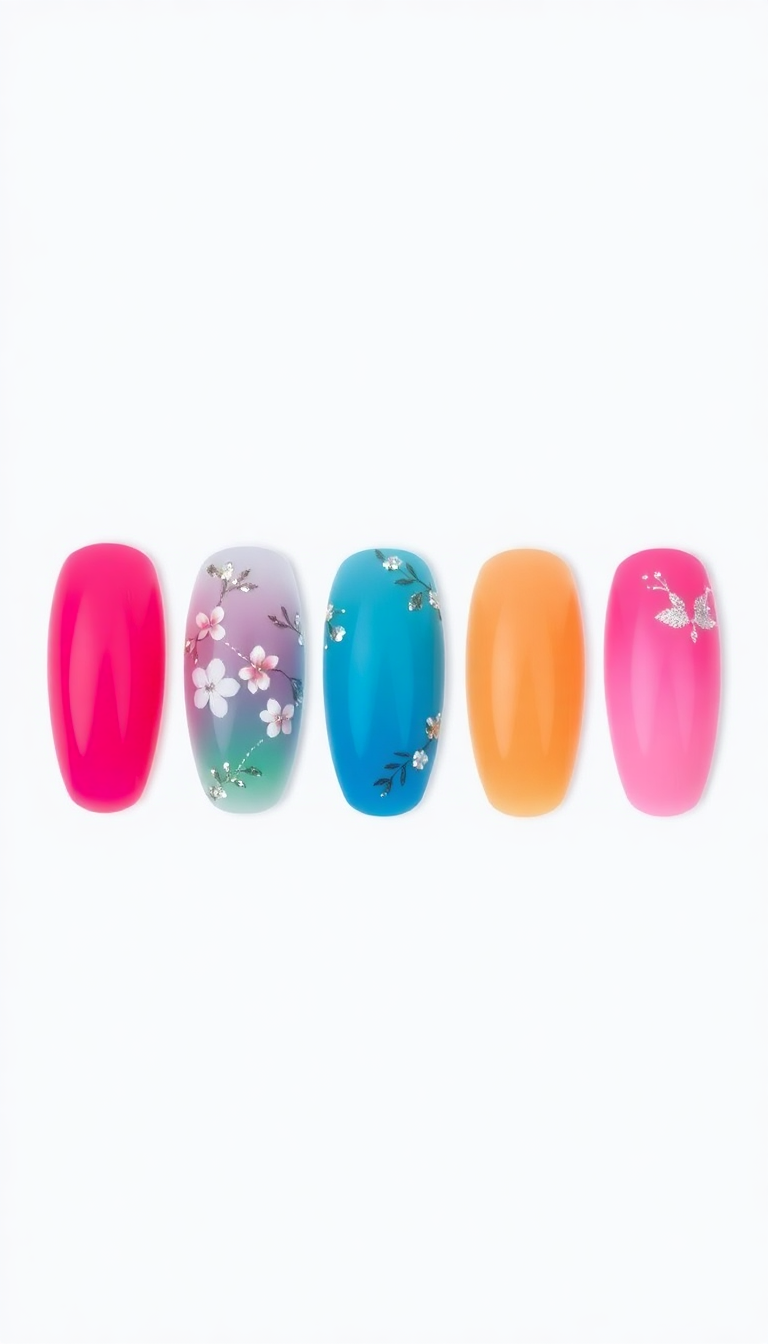
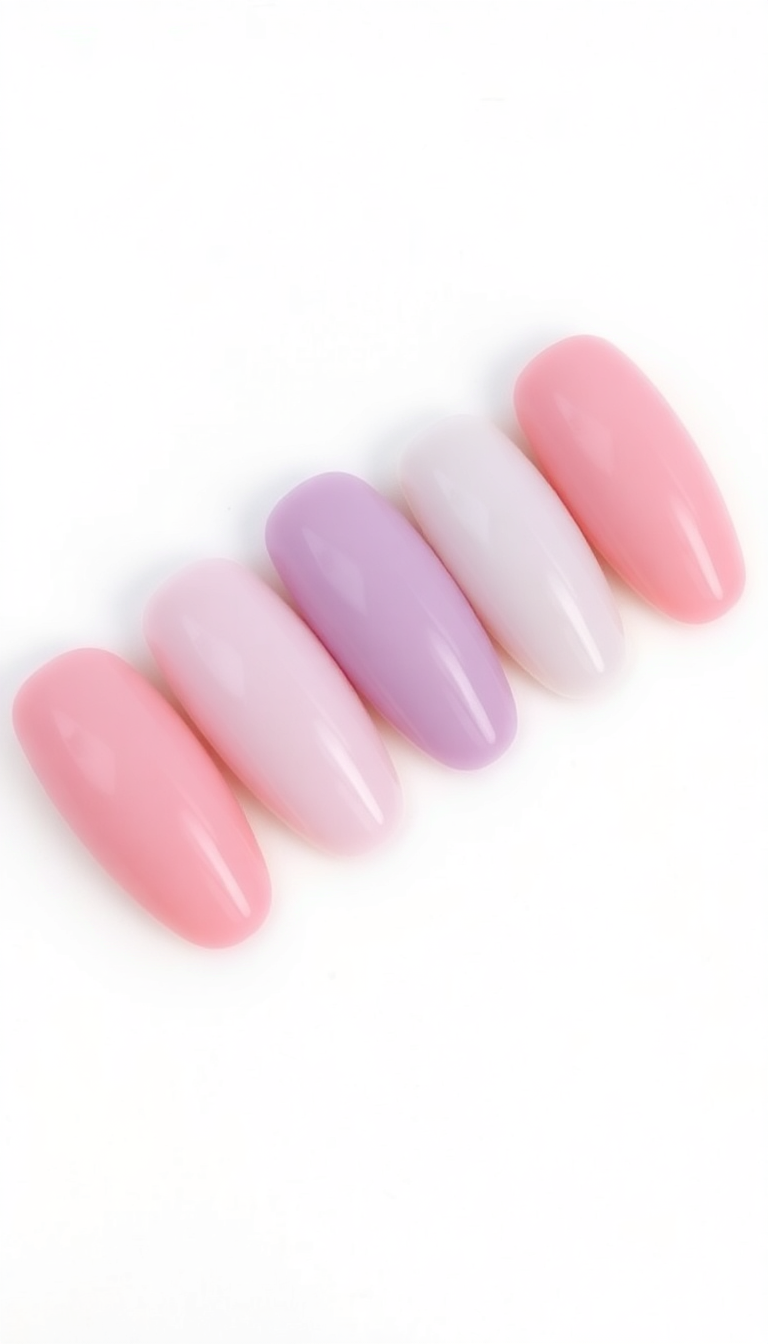
1. Choosing the Right Gel Polish Color for Winter
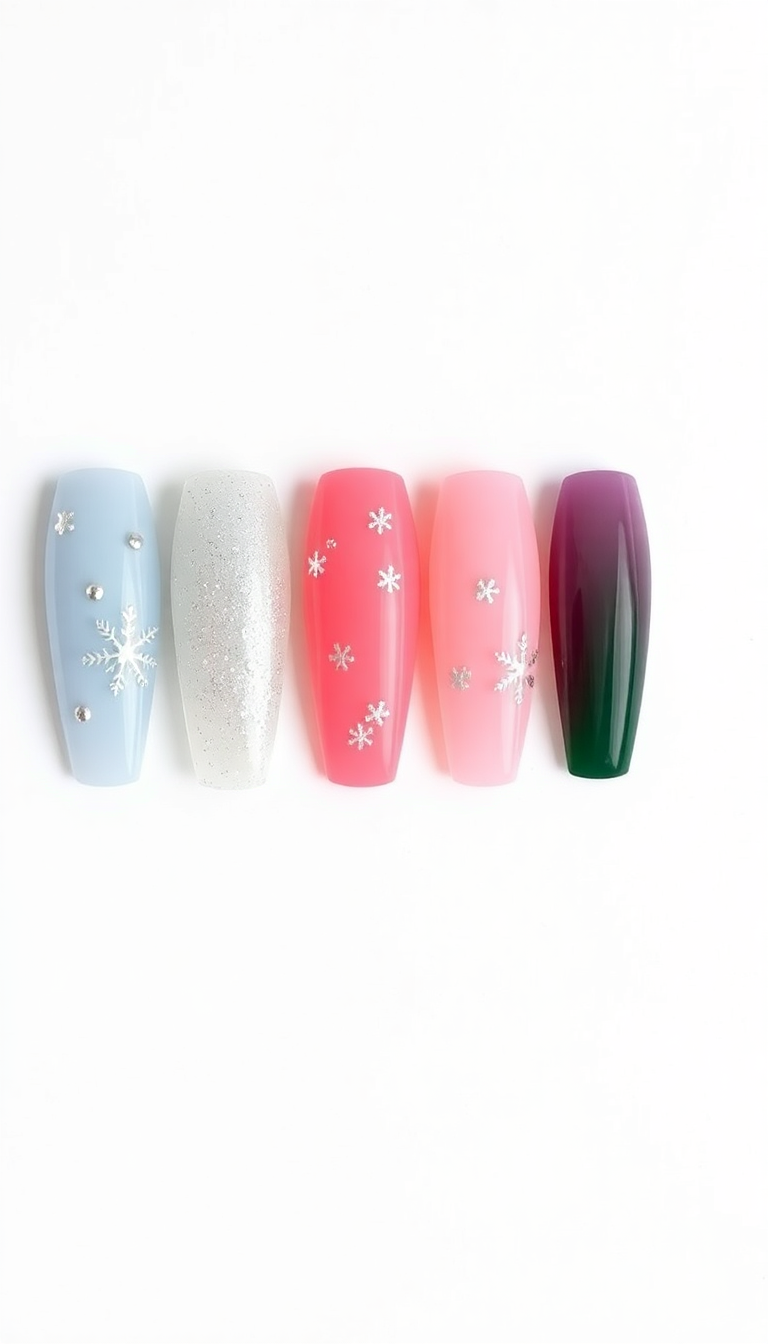
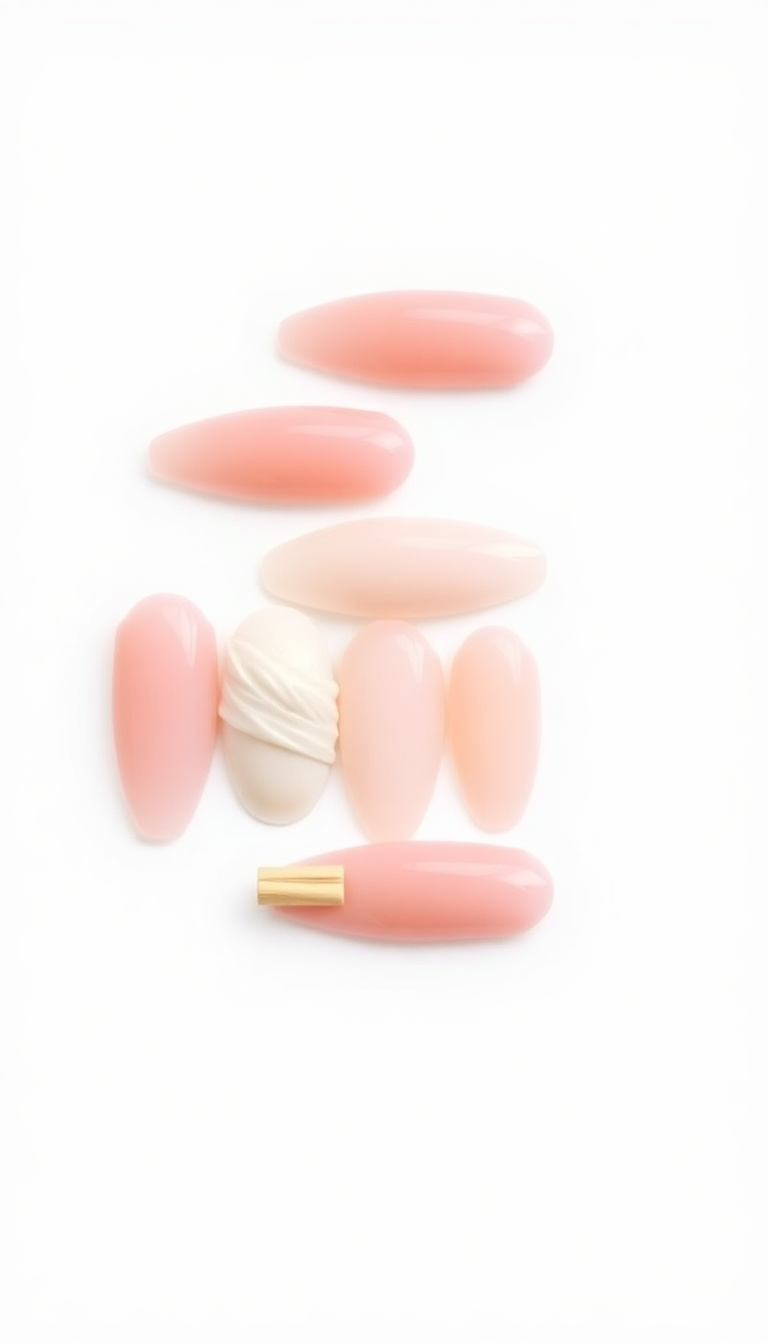
When winter rolls in, I opt for deep, rich gel colors. Navy, burgundy, and forest green feel right.
They mimic the season’s mood and festivities. Light glitters or metallics add a festive touch.
Choosing darker shades means fewer visible chips, perfect for longer-lasting beauty.
2. Prepping Your Nails for a Long-Lasting Gel
Before applying gel, I always clean my nails thoroughly. I remove any old polish and file my nails to even shapes. Buffing the nail surface gently helps the gel adhere better.
I push back my cuticles for a clean edge. Finally, I use a dehydrator to eliminate moisture and oils. This ensures my gel manicure lasts longer and looks flawless.
3. Essential Tools for At-Home Gel Manicures
I always start with a good UV or LED lamp; it’s key. High-quality gel polishes are a must for vibrant colors. Don’t skimp on a solid base and top coat—they really lock in the look.
Proper nail prep tools like files and buffers ensure a smooth surface. Lastly, a good cuticle oil maintains nail health, especially in winter.
4. Step-by-Step Gel Application Process

First, I clean my nails well. Next, I apply a thin base coat and cure it under a UV lamp.
Then, I choose a color and apply the first layer, making sure it’s even. I cure it again.
I repeat this with a second coat for richness and depth. Lastly, I finish with a top coat for shine and durability, curing one last time.
This process ensures my gel manicure looks professional and lasts long.
5. Tips to Avoid Bubbles and Wrinkles
To ensure a smooth gel manicure, apply thin layers. Each coat should cure fully. Use a gentle touch to prevent pushing polish into the cuticles, which can cause wrinkling.
Keep your nails level during curing to avoid bubble formation. Finally, use fresh polish as thick, old polish is more likely to wrinkle and bubble.
6. How to Achieve a Smooth Gel Finish
Achieving a smooth gel finish starts with clean nails. Use a fine buffer for an even surface. Apply a thin base coat; it prevents peeling.
Smooth application of the gel polish is key. Cure under LED light for a flawless set. A top coat seals and adds shine.
7. Curing Gel Polish Perfectly Every Time
Getting the perfect cure for gel polish is crucial. Ensure your lamp is right for your polish type.
Always position hands properly under the light. Thin layers help with even curing.
Stick to the recommended curing time for each coat. This method keeps my nails flawless and durable every time.
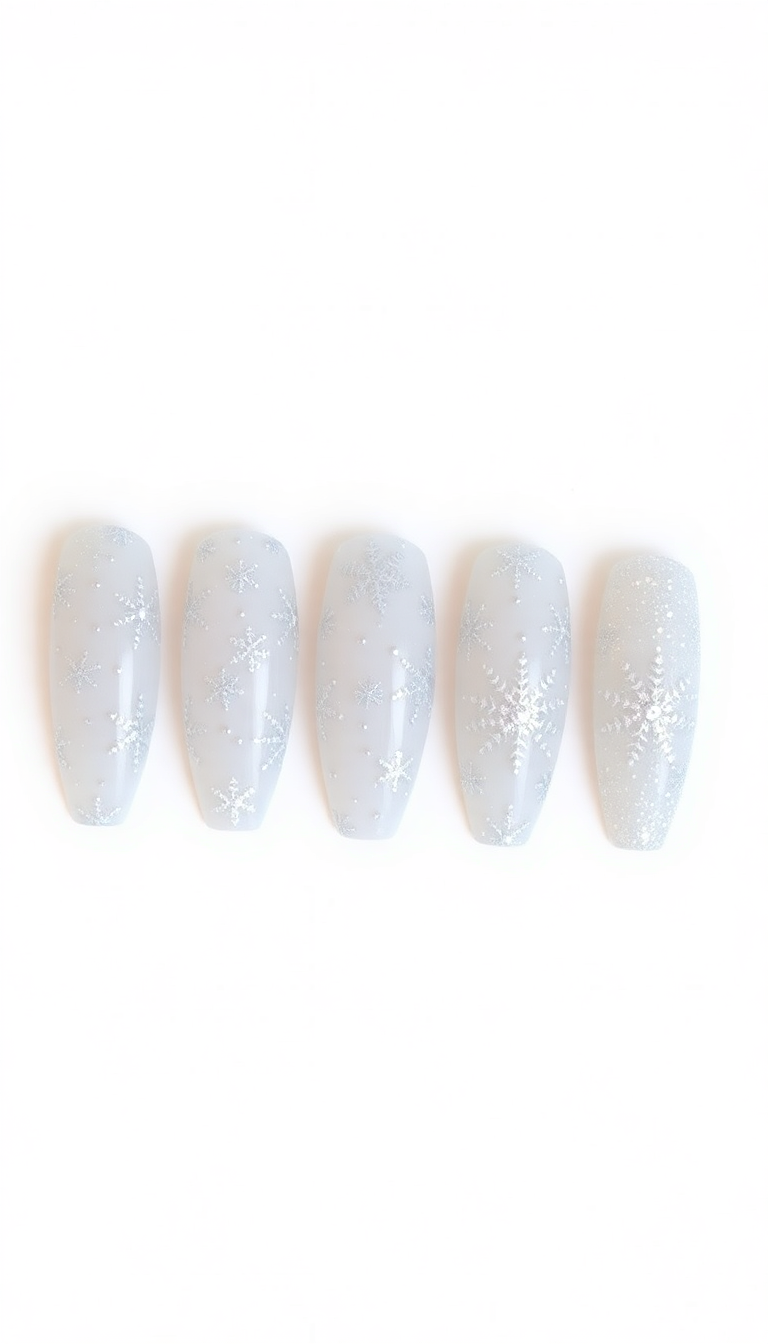
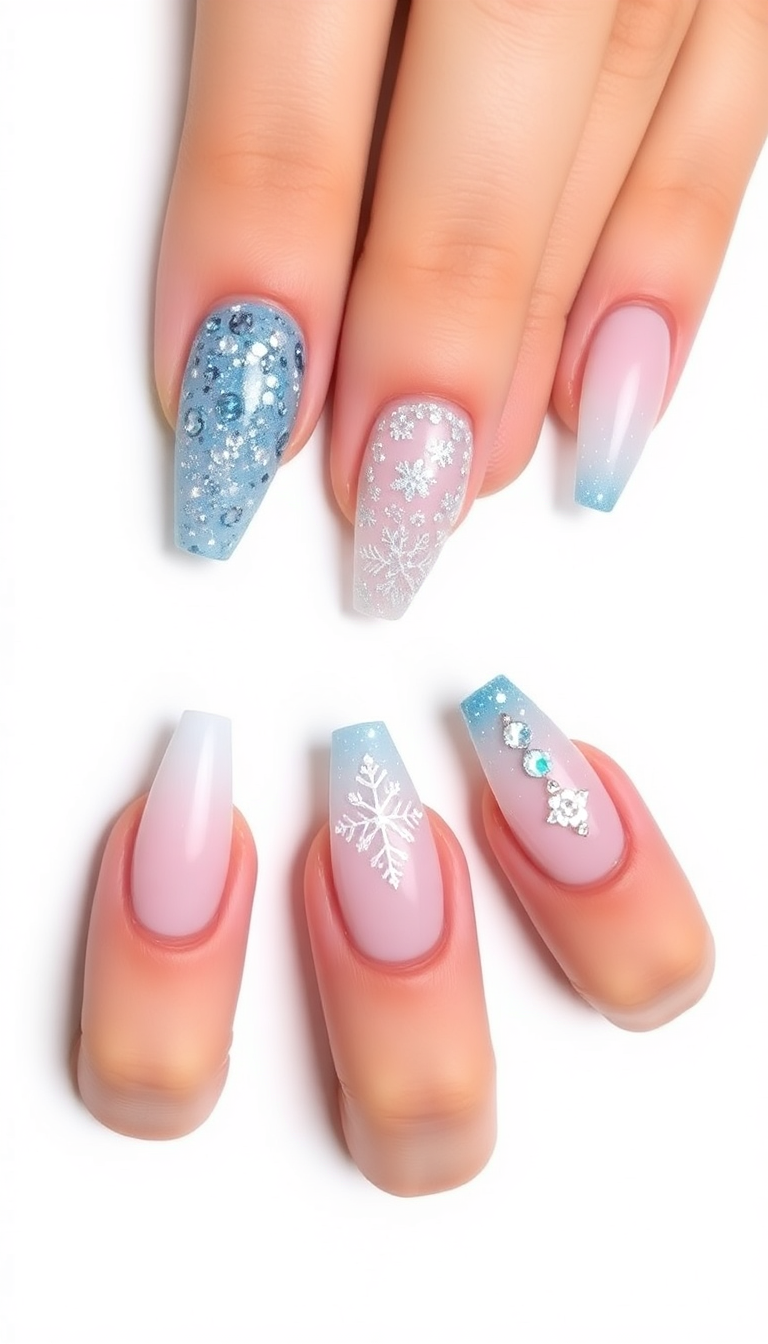
8. Creative Winter Nail Art Ideas
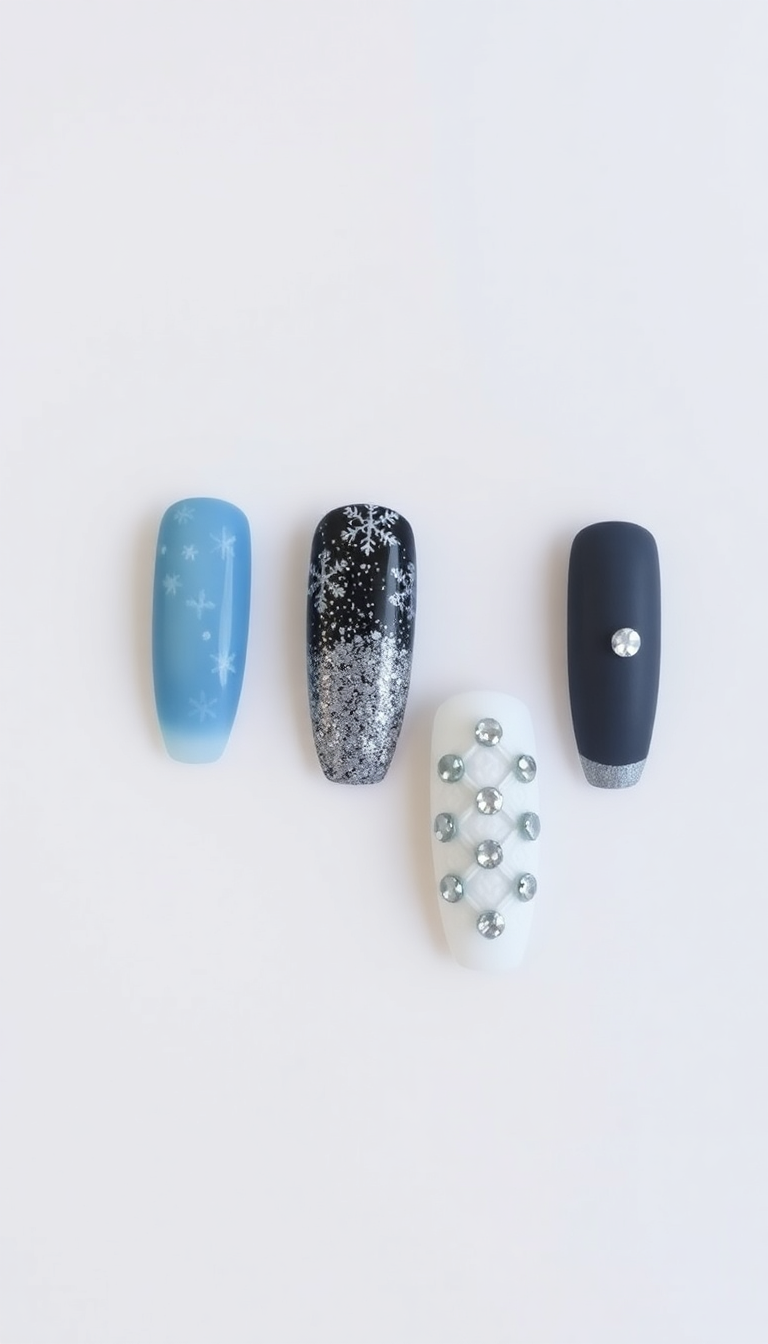
Winter calls for unique nail art. Snowflakes on icy blue polish look magical. I love adding tiny silver glitter for a frosty effect.
Another favorite is painting cute penguins on each nail. For a subtle touch, I opt for white and silver stripes. These designs bring joy on chilly days.
9. Maintaining Gel Nails During Winter
Maintaining gel nails in winter takes care. Cold air can dry nails, causing chips. Moisturize hands often.
Wear gloves outside to protect the polish. Use cuticle oil daily to keep nails healthy. This routine ensures my manicure stays perfect longer.
10. Quick Fixes for Gel Polish Mishaps
Had a slip-up with your gel polish? No problem. Dab a bit of acetone on a brush to fix smudges.
Nicks can disappear with a thin layer of top coat. For chips, gently file the nail edge, then reapply the polish. If your color looks uneven, add another coat after the first has cured.
Quick drying spray sets nails fast, reducing the chance of more mishaps. Keep calm and carry on for a flawless finish!
11. Safely Removing Gel Polish at Home
Removing gel polish at home can be quite easy. Start by filing the shiny top coat.
Next, soak a cotton pad in acetone and wrap it around each nail. Use foil to secure the pads.
Let it sit for about 15 minutes. The gel should lift off smoothly.
If any residue remains, gently scrape it off with a wooden stick. Finish by washing hands and applying moisturizer.
This method keeps nails healthy and ready for the next polish application.
12. Aftercare Advice for Healthy Nails Post-Gel
After getting a gel manicure, it’s crucial to care for your nails to keep them healthy and strong. Regularly apply a nourishing cuticle oil to hydrate and protect your nail beds. This habit prevents brittleness and breakage.
Also, make sure you keep your nails hydrated by using a moisturizer daily. Avoid using your nails as tools to prevent undue stress or damage. Lastly, when it’s time to remove the gel, opt for gentle, acetone-free removers and give your nails a break before the next application to allow them to recover.
These steps help maintain your nails’ health and ensure your manicures look great every time.