I love exploring creative DIY projects. Nail art caught my eye recently.
It’s amazing what you can do with a Cricut machine. Today, I want to share some simple yet stunning ideas for DIY nail stickers.
These designs can transform your nail game without needing a salon visit. Let’s dive in and see how easy and fun it is to create your own beautiful nail art at home.
Business Name Generator
1. Choosing the Right Vinyl for Nail Stickers
Choosing the right vinyl for nail stickers is crucial. I look for thin, flexible vinyl for seamless application. Glossy finishes give a professional look.
Durability matters; quality vinyl withstands washing and wear. I test samples to ensure they adhere well and maintain color.
2. Essential Tools for Creating Cricut Nail Art
To start, a Cricut machine is a must. You also need adhesive vinyl and transfer tape. A weeding tool helps remove excess vinyl.
Don’t forget a scraper to smooth out bubbles. Clear nail polish seals your design.
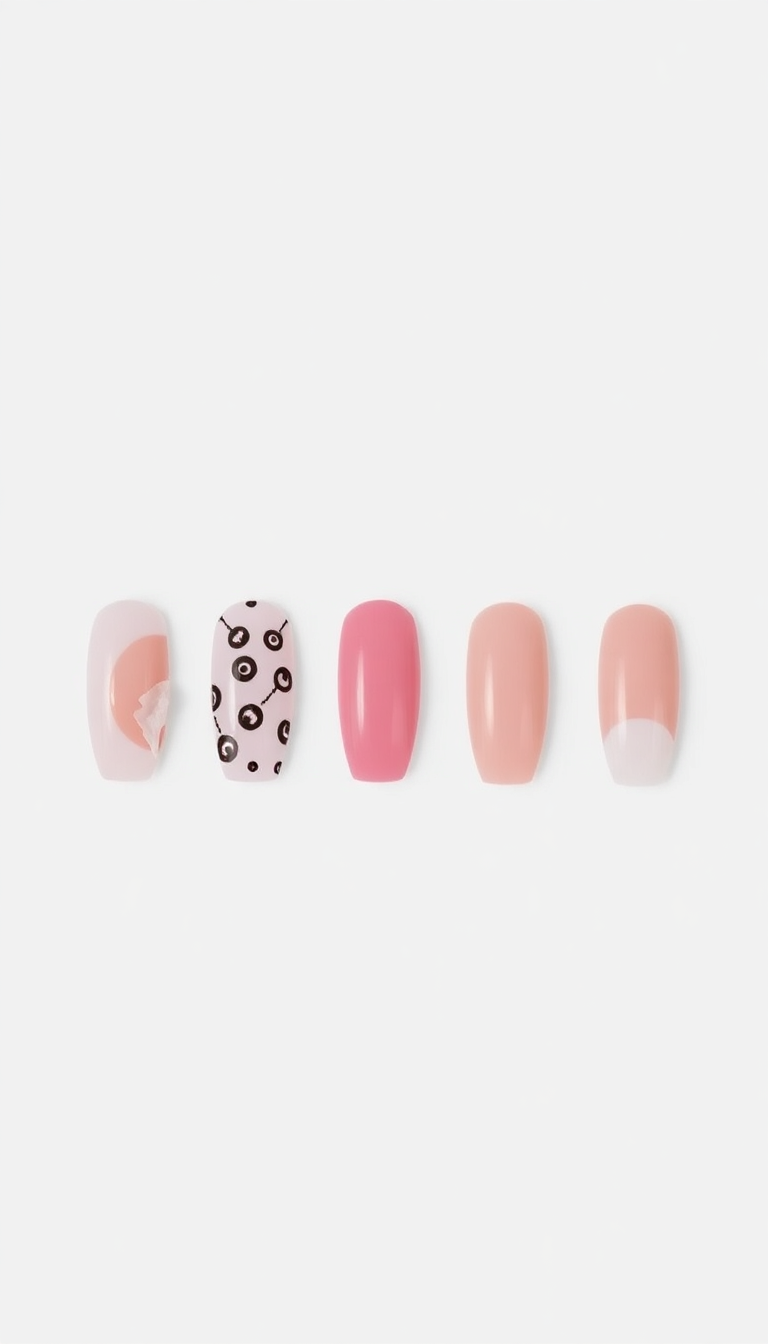
3. Basic Shapes and Patterns for Beginners

I started simple with basic shapes. Circles, squares, and triangles made easy templates. I experimented with stripes and polka dots too.
These patterns served as a foundation for more intricate designs. Slowly, I built up my skills and began mixing shapes to create unique nail art stickers.
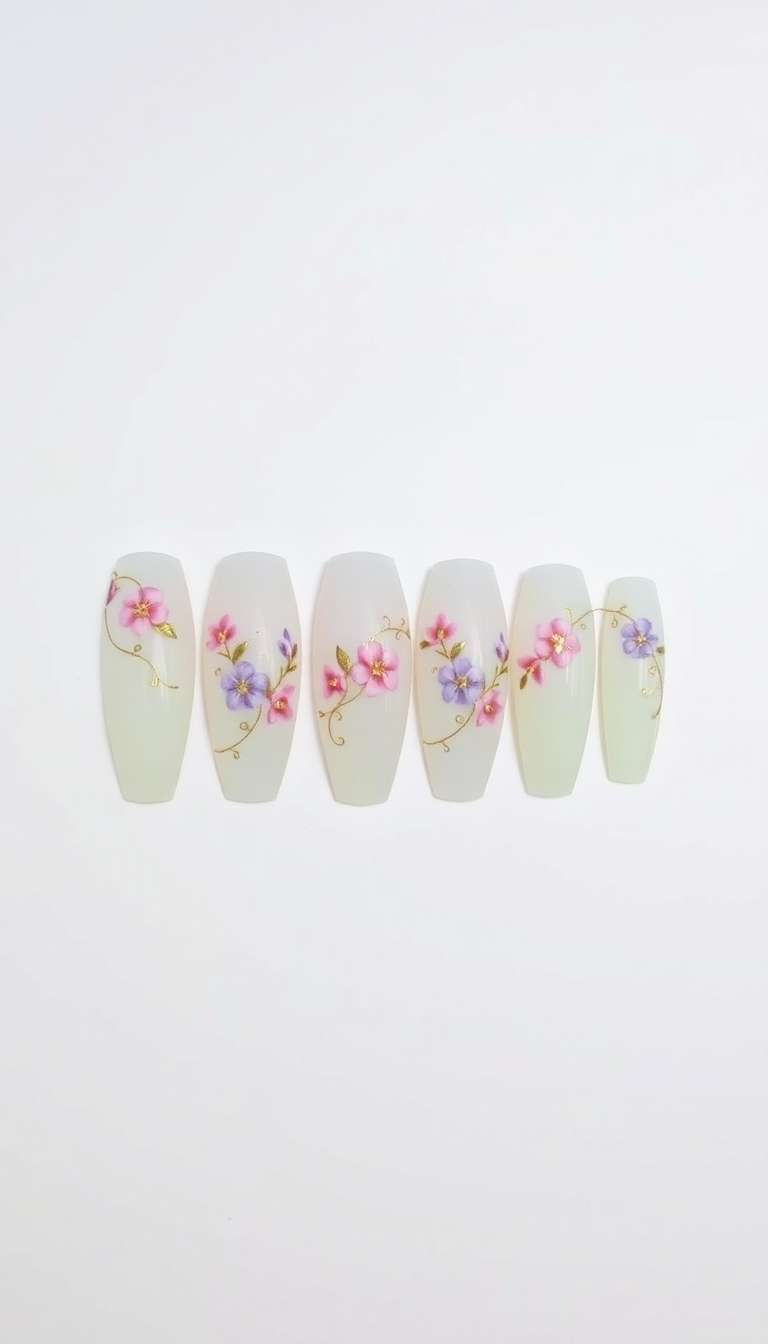
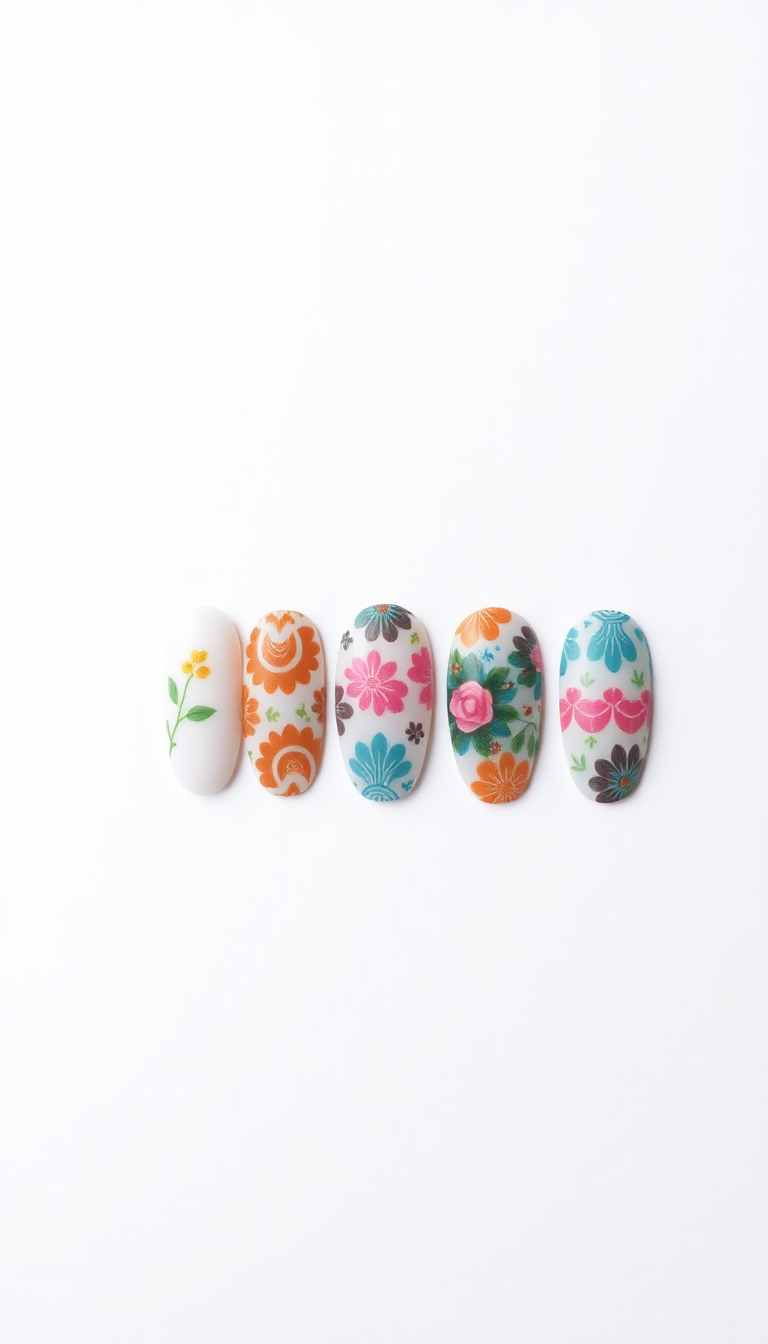
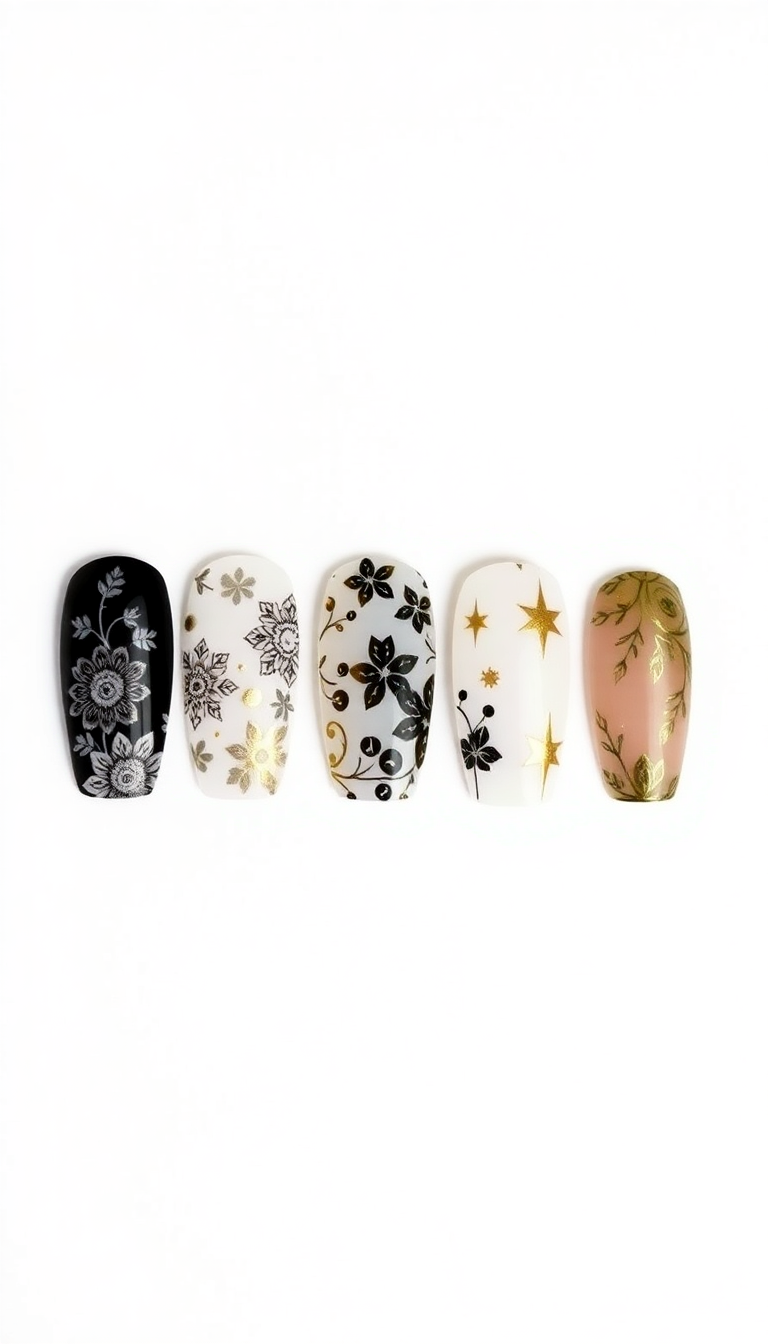
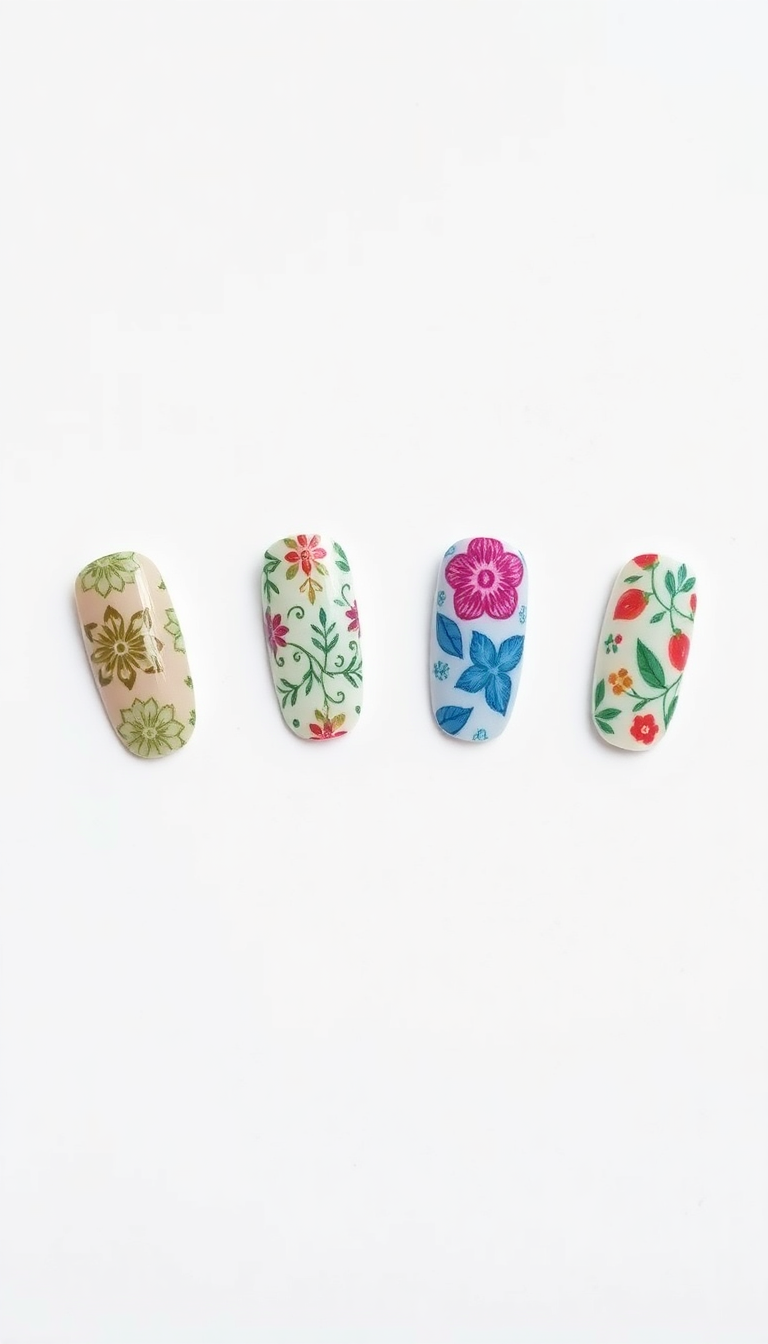
4. Floral Designs for a Touch of Elegance
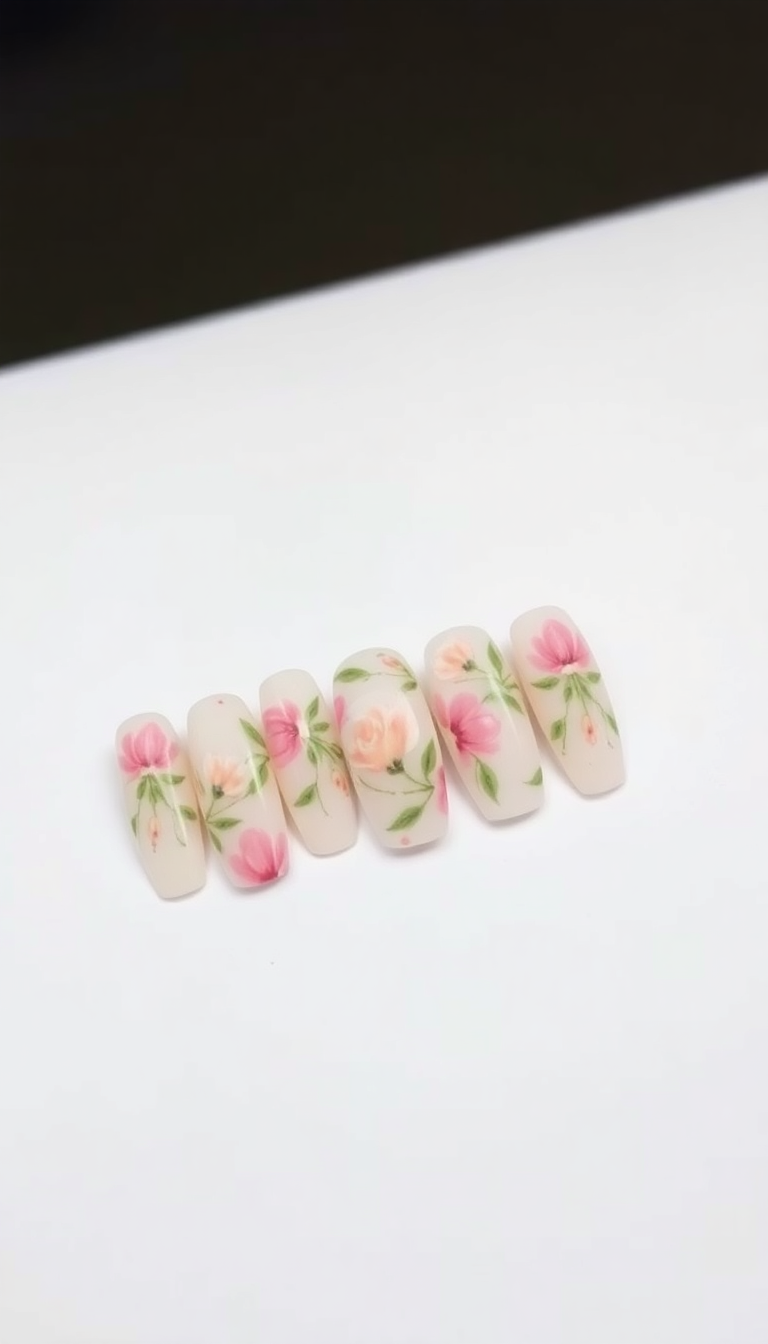
Floral designs add elegance to any look. I use my Cricut to cut intricate flower patterns.
These stickers transform my nails into mini canvases of art. Each petal and leaf detail enhances the overall grace of my manicure.
It’s a perfect choice for both everyday beauty and special occasions.
5. Geometric Patterns for a Modern Look

Geometric patterns give nails a crisp, modern edge. I like using contrasting colors for a bold effect. Simple lines and shapes transform into striking designs.
They’re perfect for anyone wanting a trendy, yet sophisticated look. Each sticker becomes a miniature work of art on my nails.
6. Festive Themes for Holiday Seasons
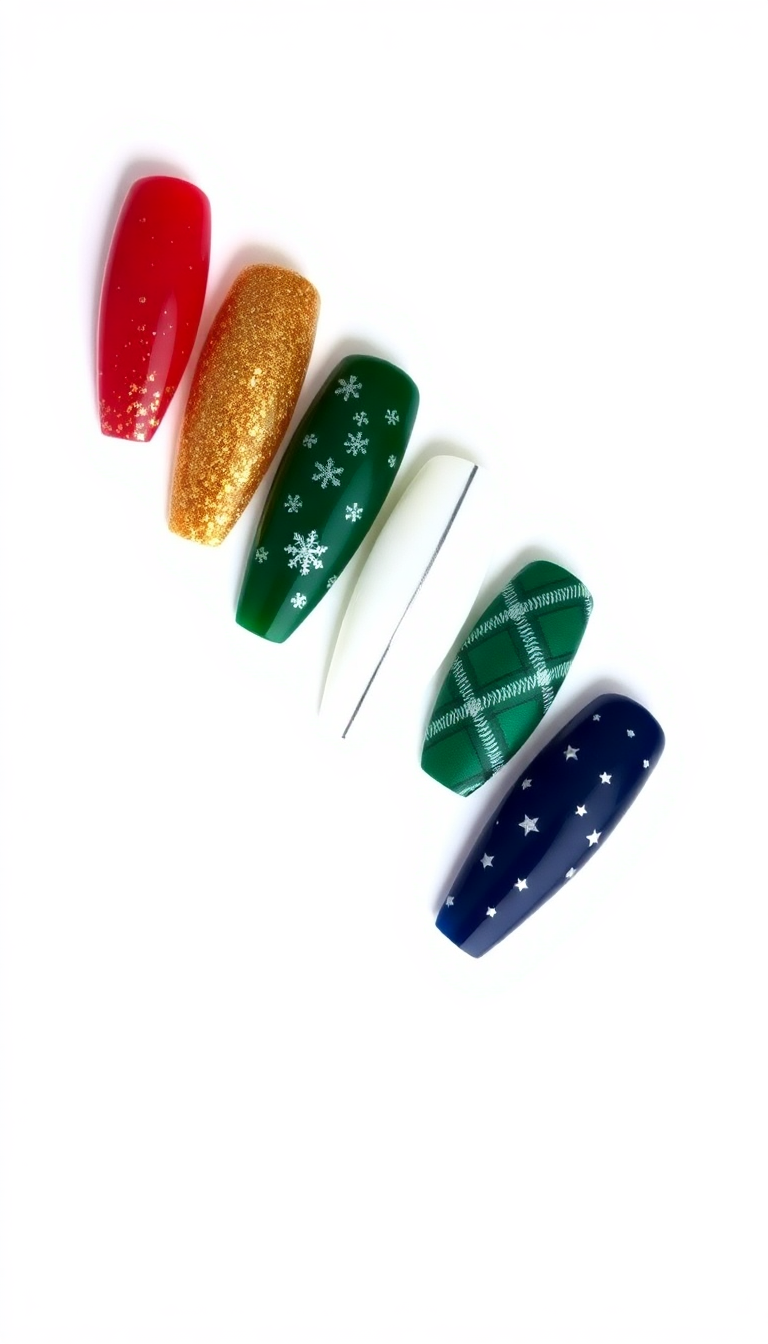
Holiday seasons inspire me. My Cricut turns festive with snowflakes and mistletoe designs.
I craft Santa hats and reindeer for my nails. Sparkling trees and stars join the fun.
They make every holiday party more joyful.
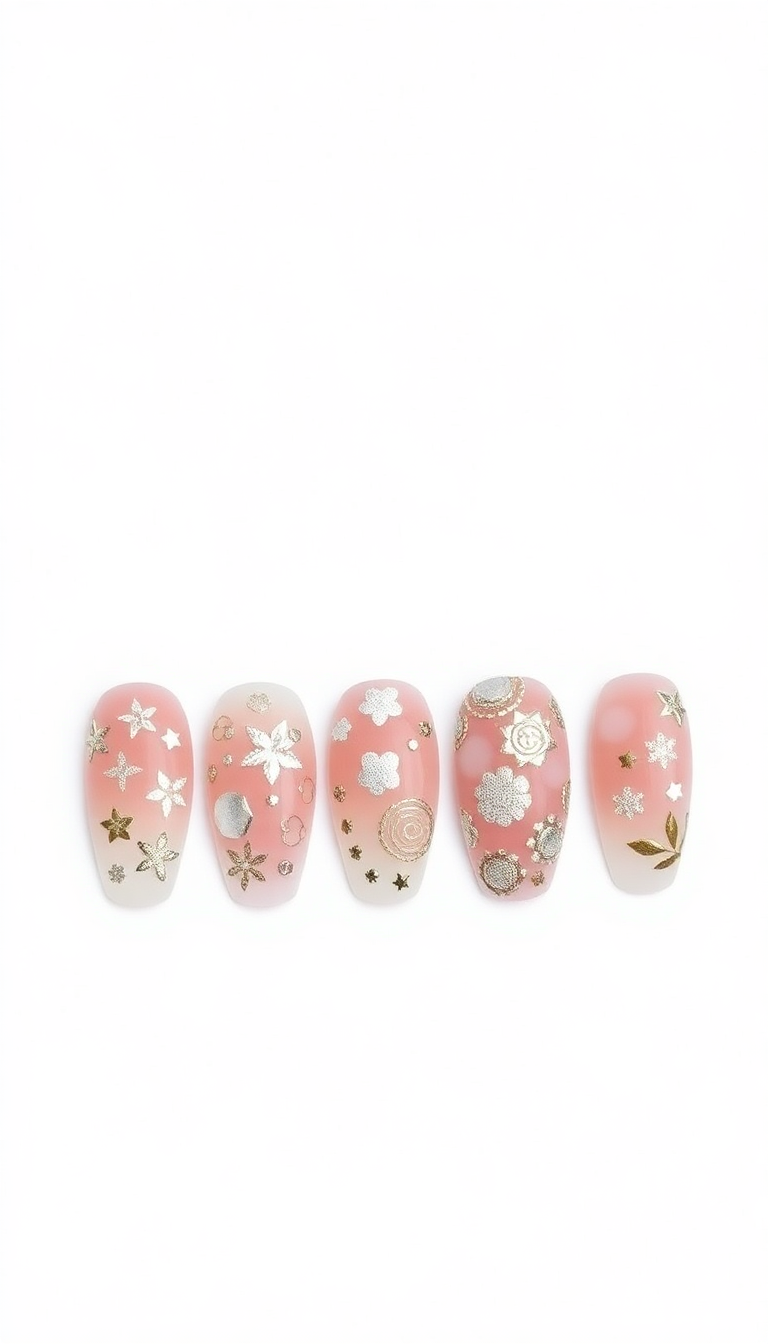
7. Glitter and Metallic Effects for Extra Sparkle
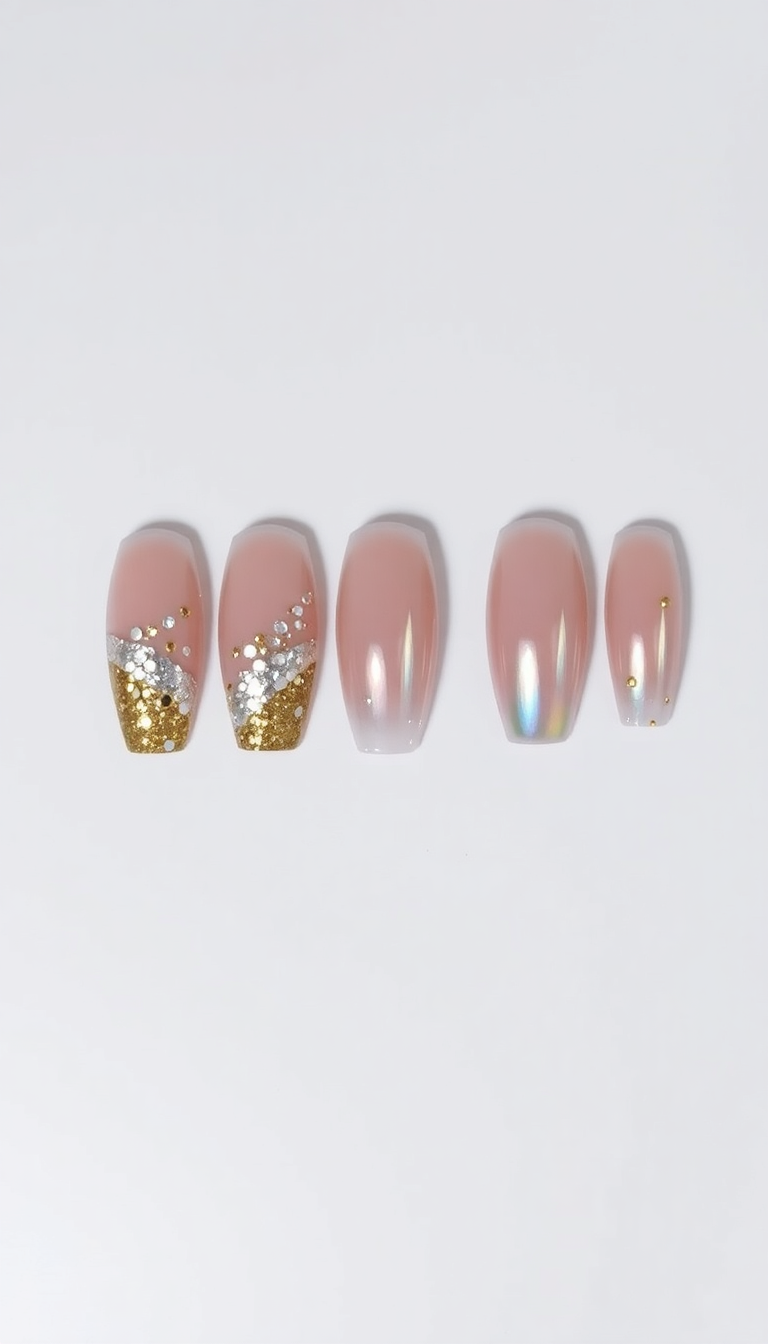
Glitter and metallic effects add that needed shine. They catch light beautifully.
Cricut machines cut precise, intricate designs. I mix silver and gold for a luxe look.
It turns simple manicures into stellar nails.
8. Incorporating Text and Monograms
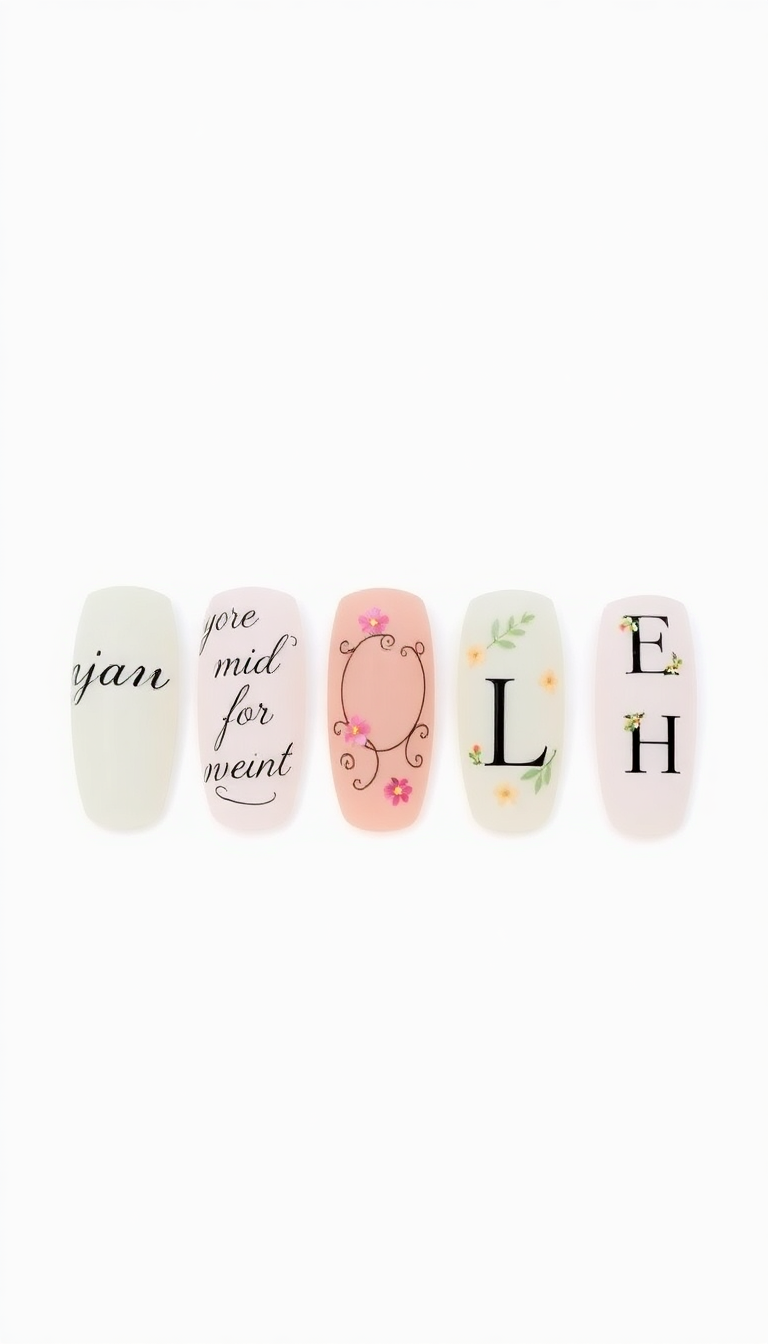
Adding text or monograms personalizes my nail art. I use Cricut to cut tiny letters and shapes. My name on my nails feels unique.
I enjoy picking different fonts for a stylish twist. Friends always notice and compliment the custom touch.
9. Animal Prints for a Wild Touch
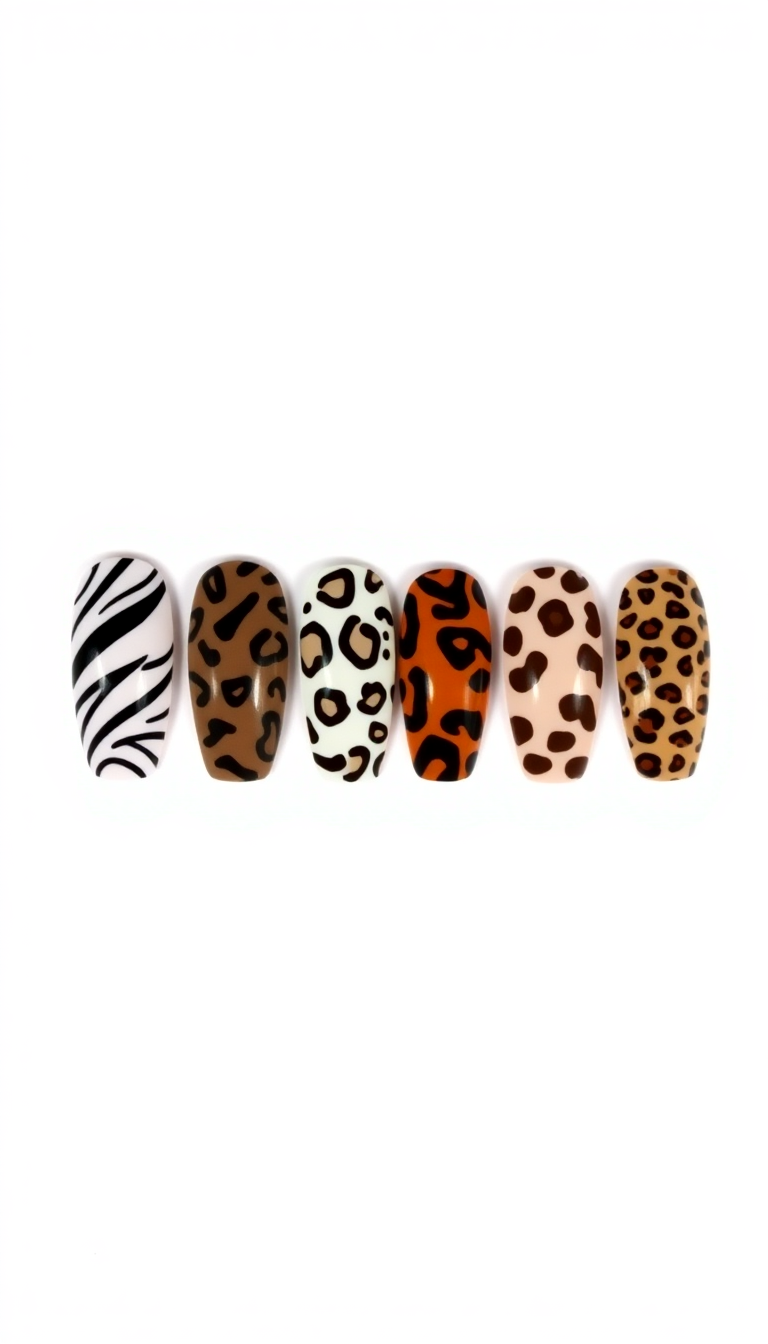
Animal prints bring out my wild side. They’re daring yet classic. Leopard spots or zebra stripes make a bold statement.
They transform my nails into a fashion highlight. Perfect for nights out or anytime I feel adventurous. Who says you can’t go wild with your style?
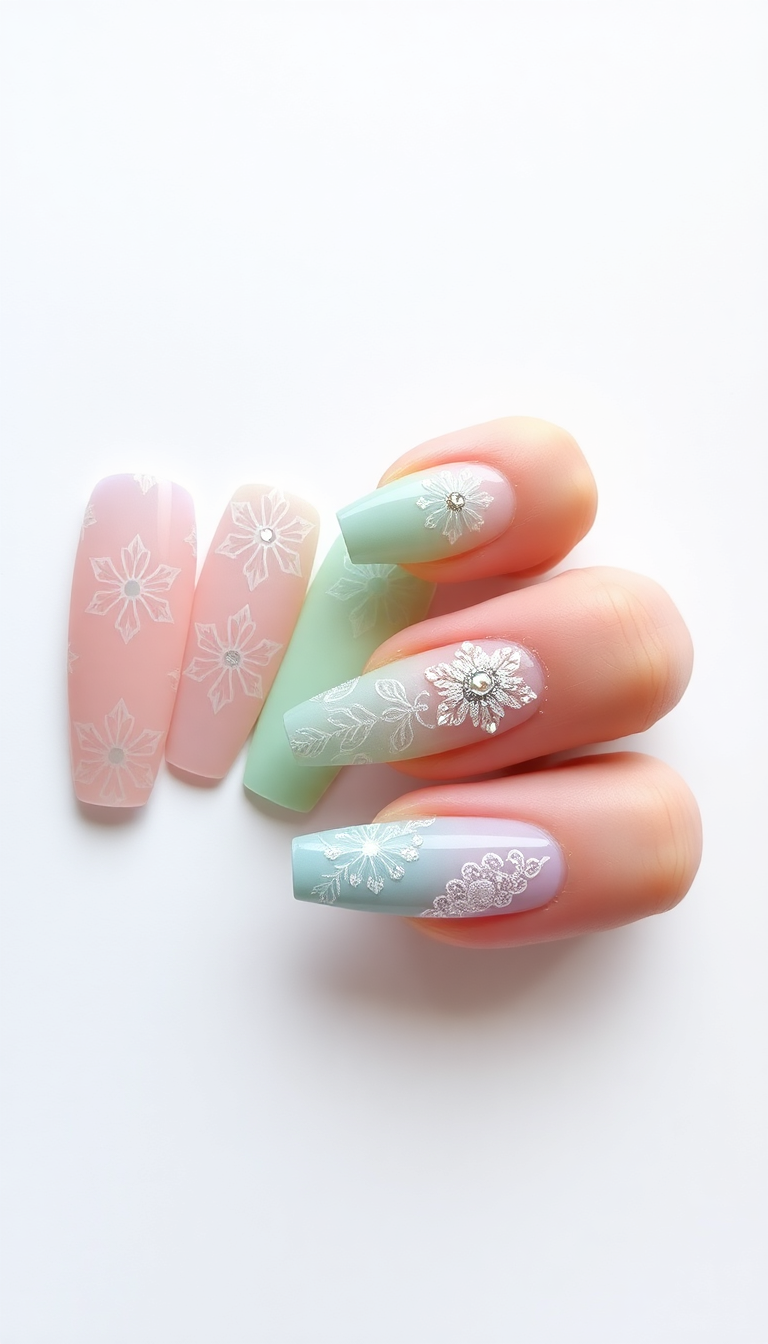
10. Gradient and Ombre Techniques
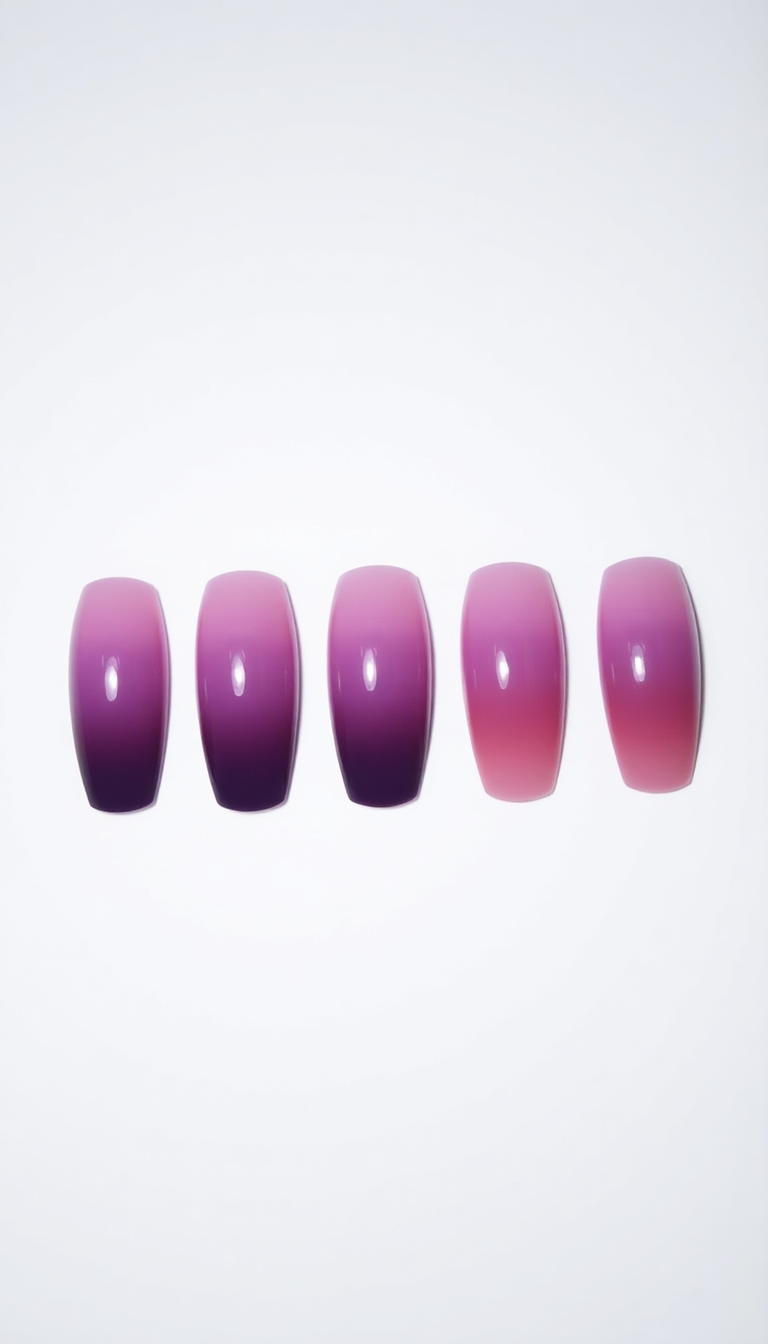
Gradient and ombre techniques make my nails pop! I use my Cricut to cut perfect fades. First, I select two colors that blend well.
Then, I design a smooth transition pattern. The end result is always a stunning, professional look. It turns heads every time!
11. Layering Colors for Depth and Intrigue
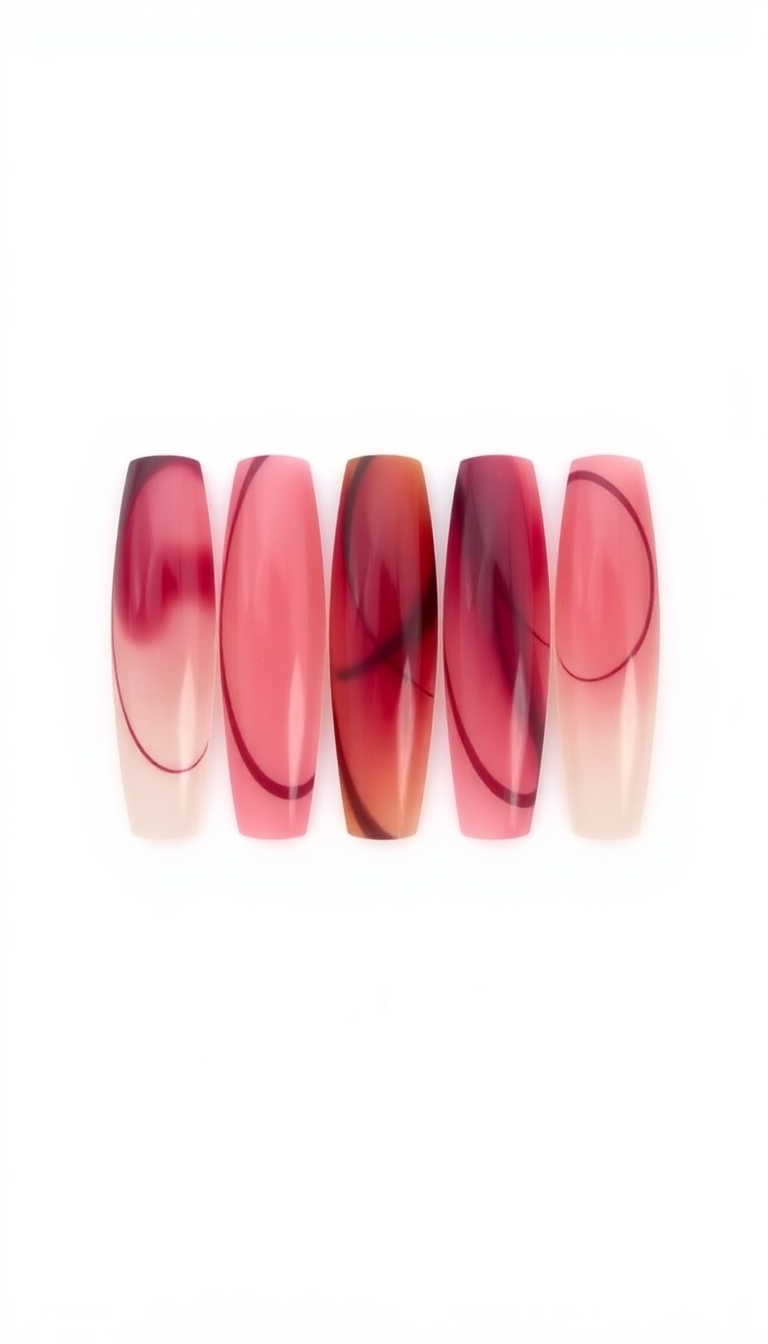
Layering colors adds depth to your nails. Start with a light base. Apply a darker shade on top.
Each layer should slightly overlap. This technique creates a captivating 3D effect. Your nails will look vibrant and intriguing, catching the eye with every move.
12. Personalized Nail Stickers for Special Occasions
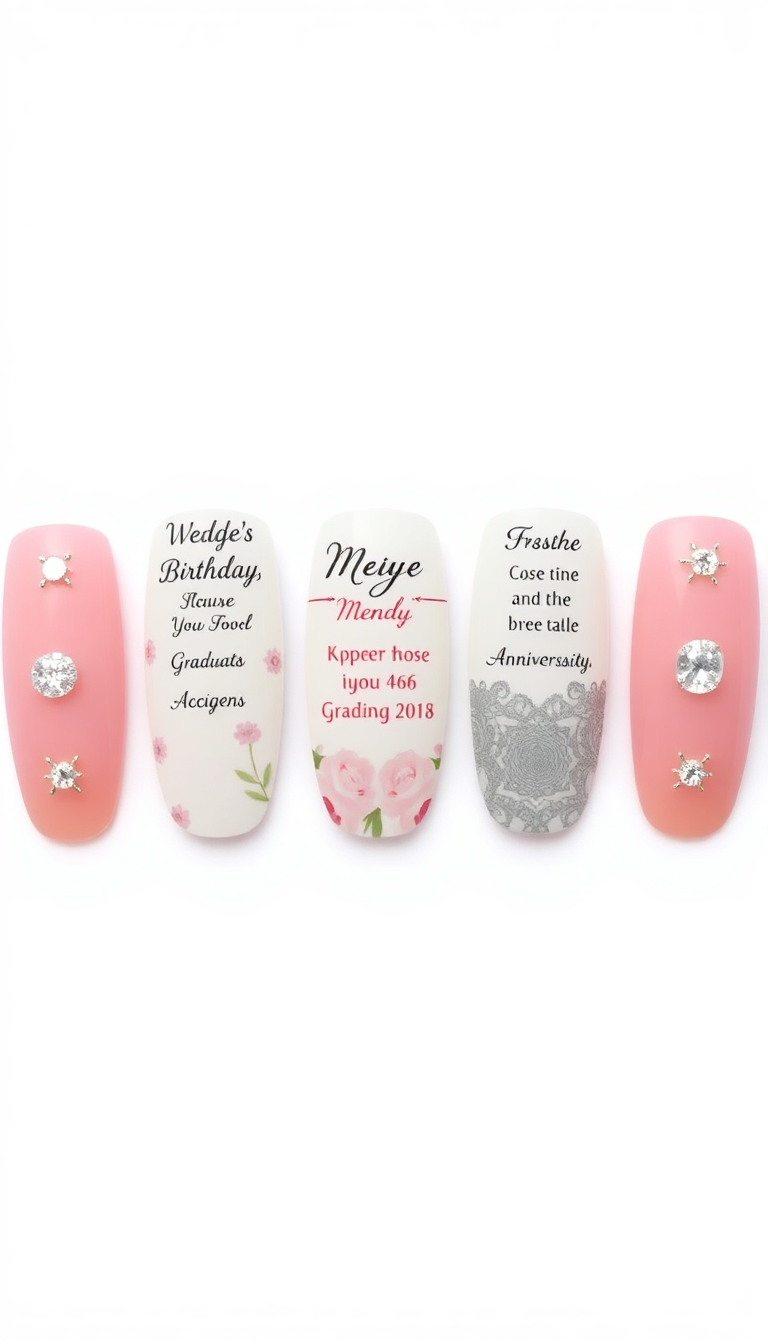
Personalized nail stickers jazz up any event. Design them with names, dates, or themes. They make each celebration unique.
Imagine wedding nails with your initials! Or birthday nails that shout your age in sparkle. Custom stickers ensure my nails always stand out.
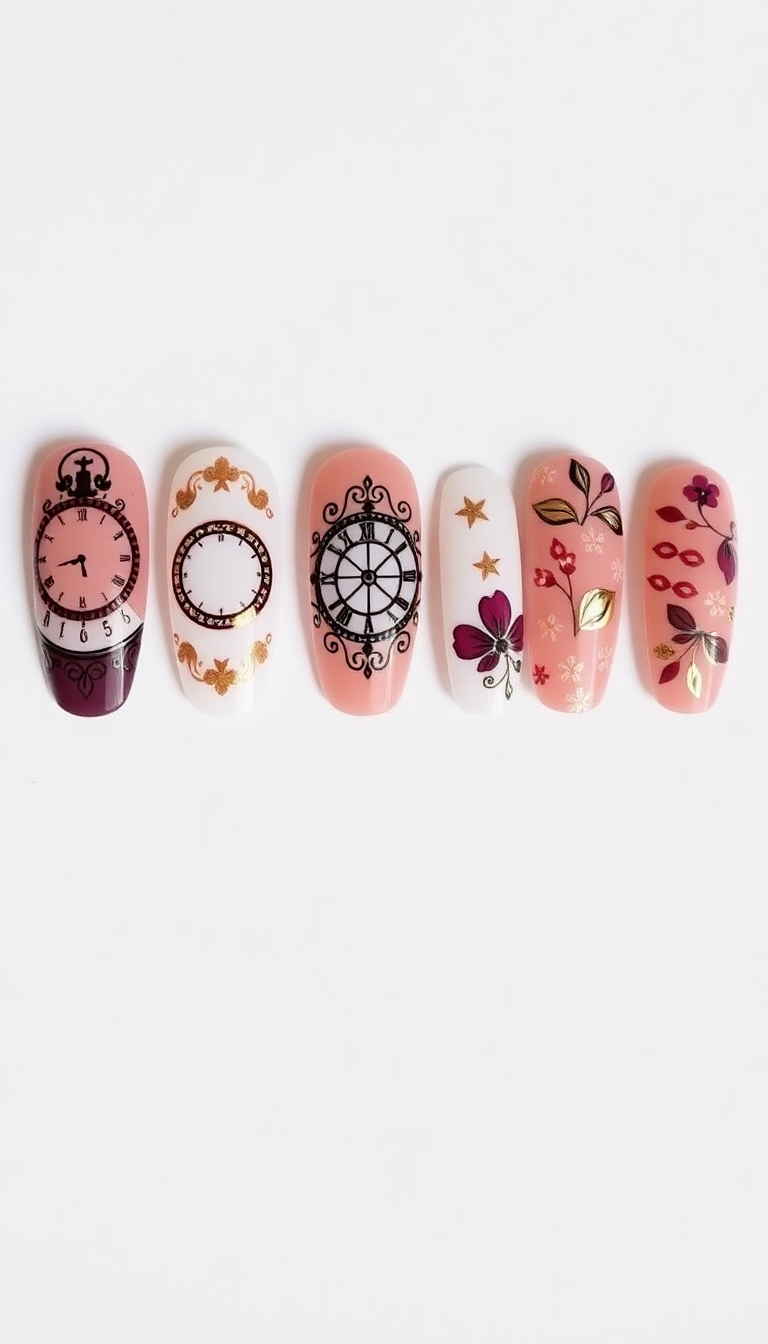
13. Using Stencil Techniques for Detailed Designs
Stencil techniques elevate my nail art detail. I choose precise patterns and apply them with care. The Cricut machine cuts each design perfectly, ensuring sharp, intricate details on every sticker.
This method allows me to create complex art that truly stands out. It’s ideal for achieving professional-level nail designs at home.
14. Tips for Applying Your DIY Nail Stickers
After designing your nail stickers, clean your nails well. Apply a base coat first. Place each sticker carefully, smoothing out any bubbles.
Seal them with a top coat for durability. Enjoy your unique look!
15. Longevity Tips for Cricut Nail Stickers
Ensuring my Cricut nail stickers last involves a few key steps. First, clean nails thoroughly to remove oils and debris. Next, apply a good base coat.
This helps the sticker adhere better and prevents lifting. After placing the sticker, seal it with a topcoat. This not only adds shine but also protects the design from wear and tear.
For added durability, consider a second topcoat after the first one dries completely. Avoid using hand sanitizers directly on your nails, as they can cause the stickers to peel.
16. Removing DIY Nail Stickers Safely
Removing my DIY nail stickers is crucial to maintaining healthy nails. I start by soaking a cotton pad in nail polish remover. I press it onto my nails gently, ensuring it seeps under each sticker.
After a minute or so, I peel the stickers off slowly. If residue remains, I dab a bit more remover and wipe clean. This method keeps my nails in top condition.
17. Inspiration Gallery of Cricut Nail Art
Explore our gallery packed with Cricut nail art designs. Find your next favorite style. Each example offers unique flair and creativity.
Perfect for any occasion, these designs elevate your nail art game. Get inspired and try them out!