Business Name Generator
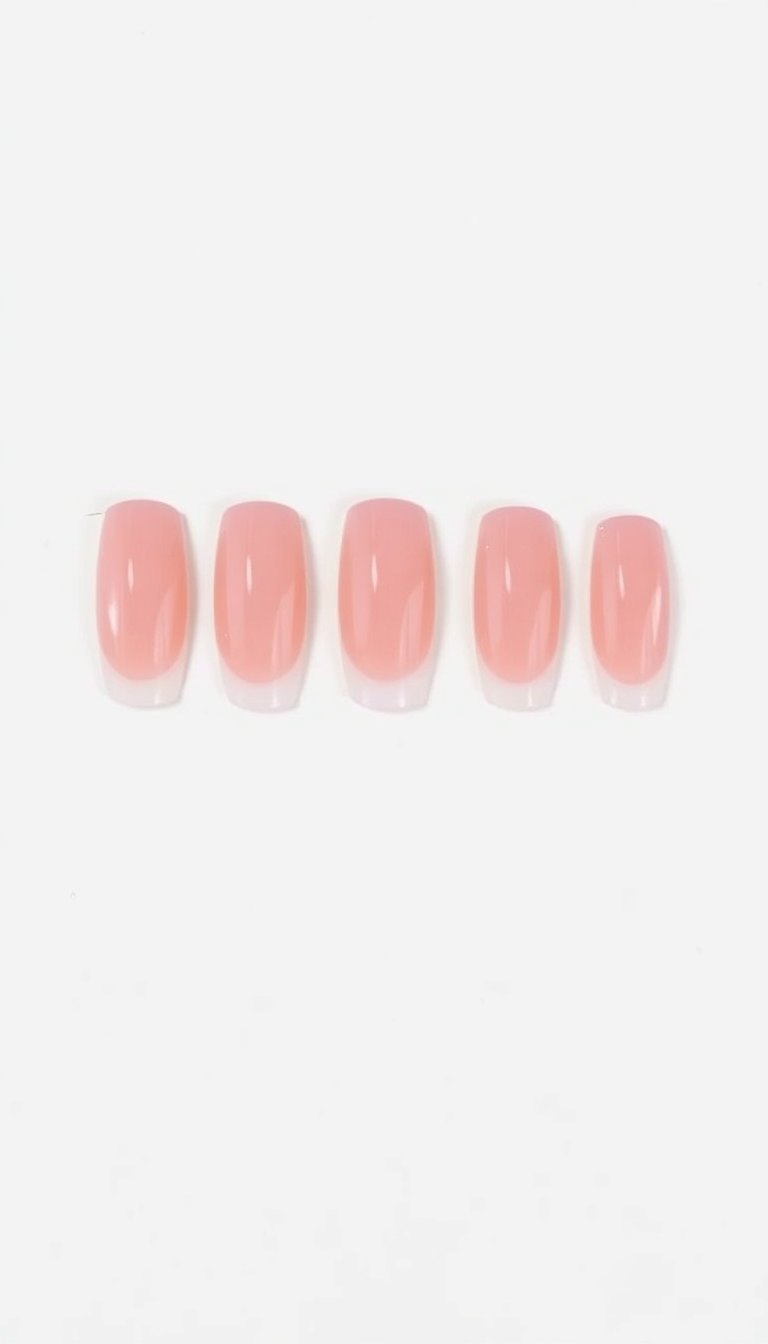
1. Choosing the Right Gel Formula
When selecting a gel formula, I focus on its longevity and shine. I check reviews to see which brands offer the best wear. A good gel should not chip easily and must cure well under light.
I also consider the removal process; it should be straightforward without damaging my nails. Price matters, but the quality is my priority to ensure a stunning, long-lasting manicure.
2. Prepping Your Nails for Gel Application
Before applying gel, I always start by cleaning my nails thoroughly. I remove old polish and shape each nail.
Then, I buff the surface to ensure the gel adheres well. Next, I push back my cuticles gently.
This step prevents any lifting or peeling. To finish, I wipe my nails with an alcohol pad to remove any remaining oils or debris.
This careful preparation guarantees a flawless gel application.
3. The Importance of a Good Base Coat
A good base coat is essential for gel nails. It protects your natural nails and ensures better adhesion for color.
I always apply a thin, even layer to avoid peeling. This step also prevents staining from darker shades.
With a strong foundation, my manicure stays flawless longer.
4. Mastering the Art of Thin Layers
Mastering thin layers is key in gel nails. Start with a very light coat. Let each layer cure fully under the lamp.
This avoids wrinkles and peeling. Thin layers help the color set better and last longer. Your nails will look smooth, professional, and beautiful.
5. Curing Techniques for Flawless Finish – UV vs LED
Choosing between UV and LED for curing gel nails is key. UV lamps take longer, usually about two minutes.
LEDs are faster, curing in about 30 seconds. Both ensure a durable, glossy finish, but LED is more energy efficient and tends to last longer.
For quick sessions, I prefer LED, especially when I’m in a rush. Always check if your gel polish is compatible with LED curing to avoid any mishaps.
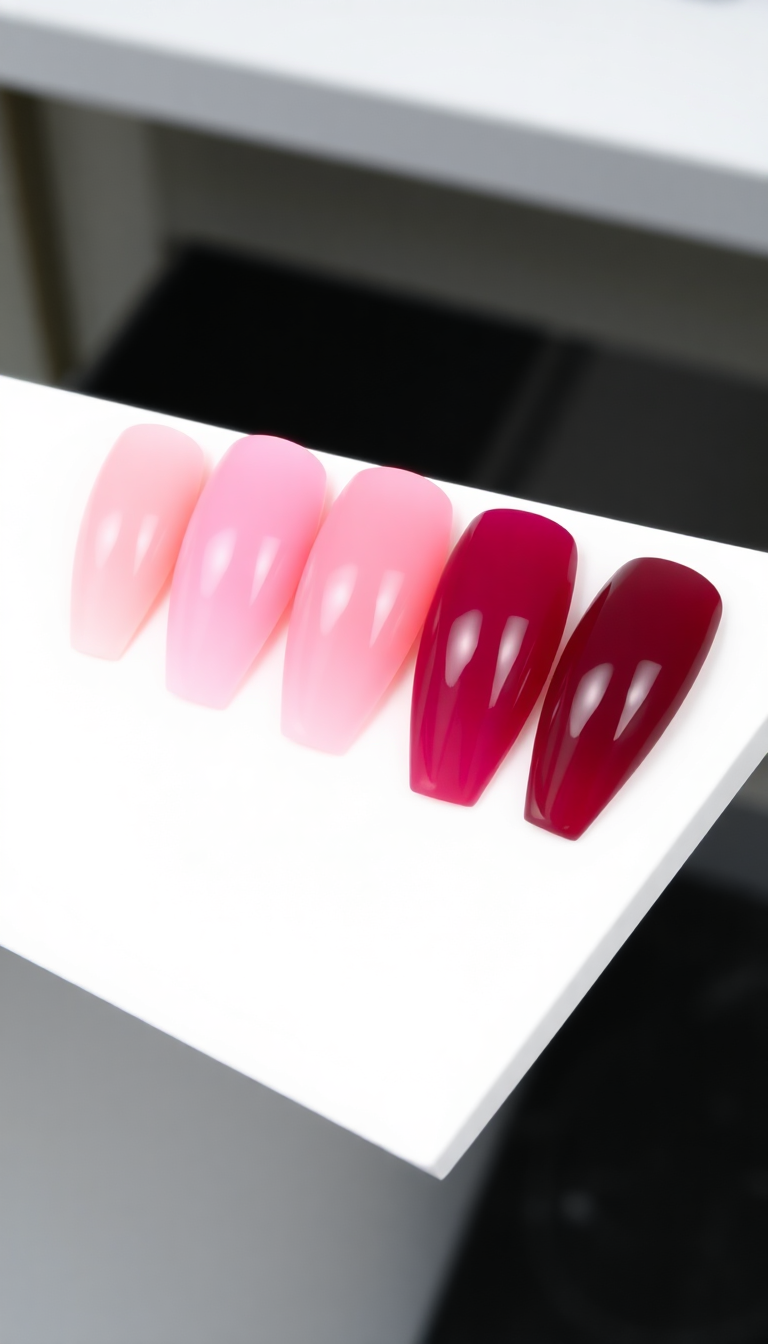
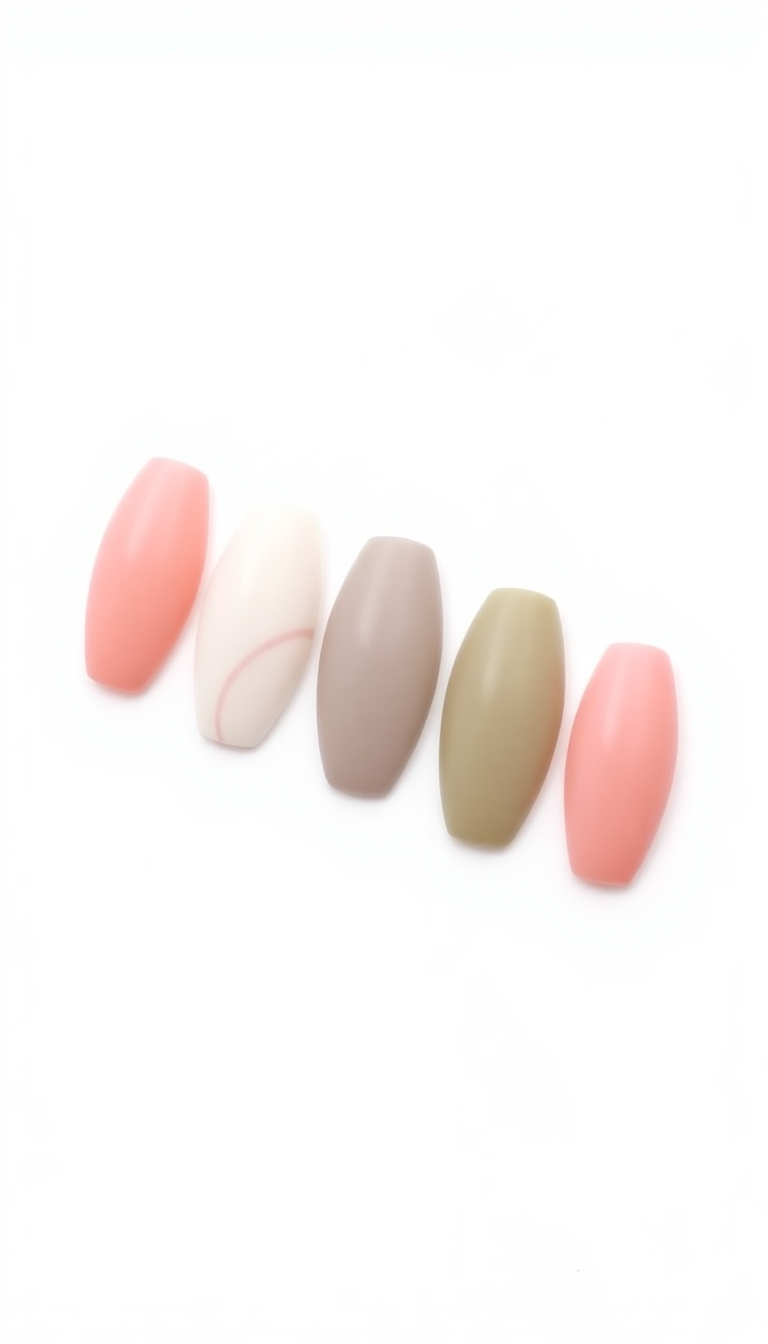
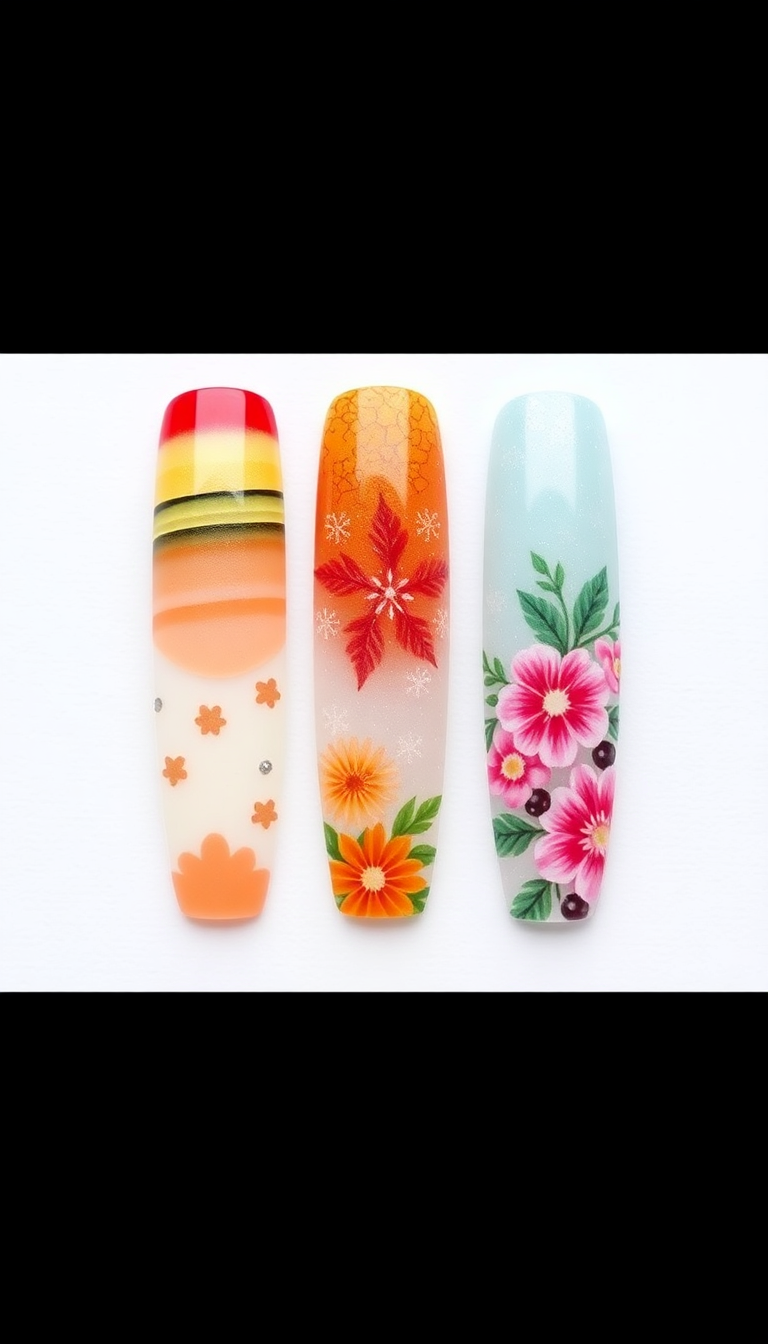
6. Exploring November Color Trends
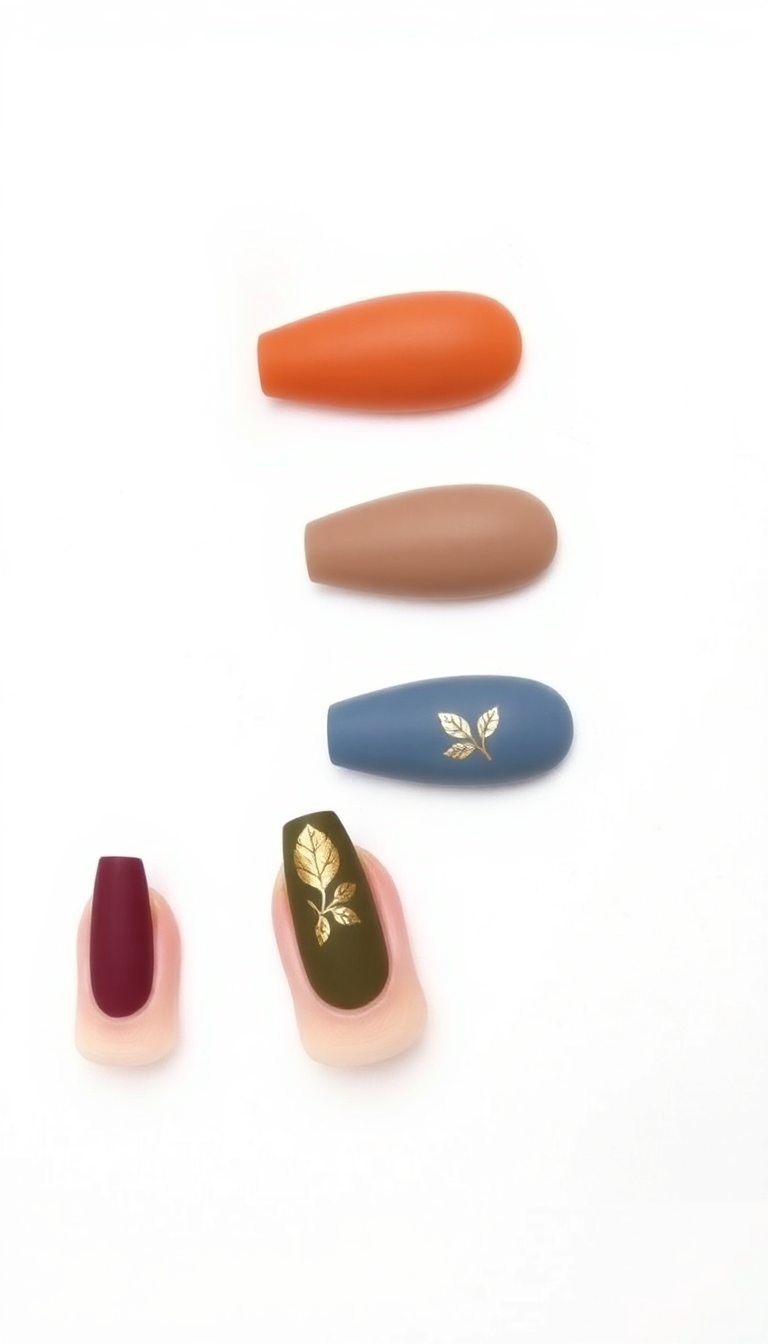
November brings out rich, warm hues that remind us of autumn leaves. Deep burgundy, burnt orange, and mustard yellow are trending.
These colors convey coziness and warmth, perfect for the season. I love incorporating these shades into my manicures to reflect the outdoor palette.
It’s a delightful way to celebrate the essence of fall on my fingertips.
7. How to Prevent Gel Nail Bubbles
To avoid bubbles in gel nails, I keep my polish well mixed. I apply thin layers and cure each under a lamp correctly. I also ensure my nails are clean and dry before starting.
This prevents trapped moisture which can cause bubbling. Lastly, I avoid shaking the gel polish bottle before use; instead, I roll it between my hands to mix without creating air bubbles.
8. Effective Ways to Avoid Smudging
I use quick-dry topcoats to seal my gel nails fast. I keep my hands still for a few minutes to prevent any smudges.
Light layers work best; they dry quicker. I avoid fans or strong airflows during drying.
I also touch up edges with a clean brush dipped in remover.
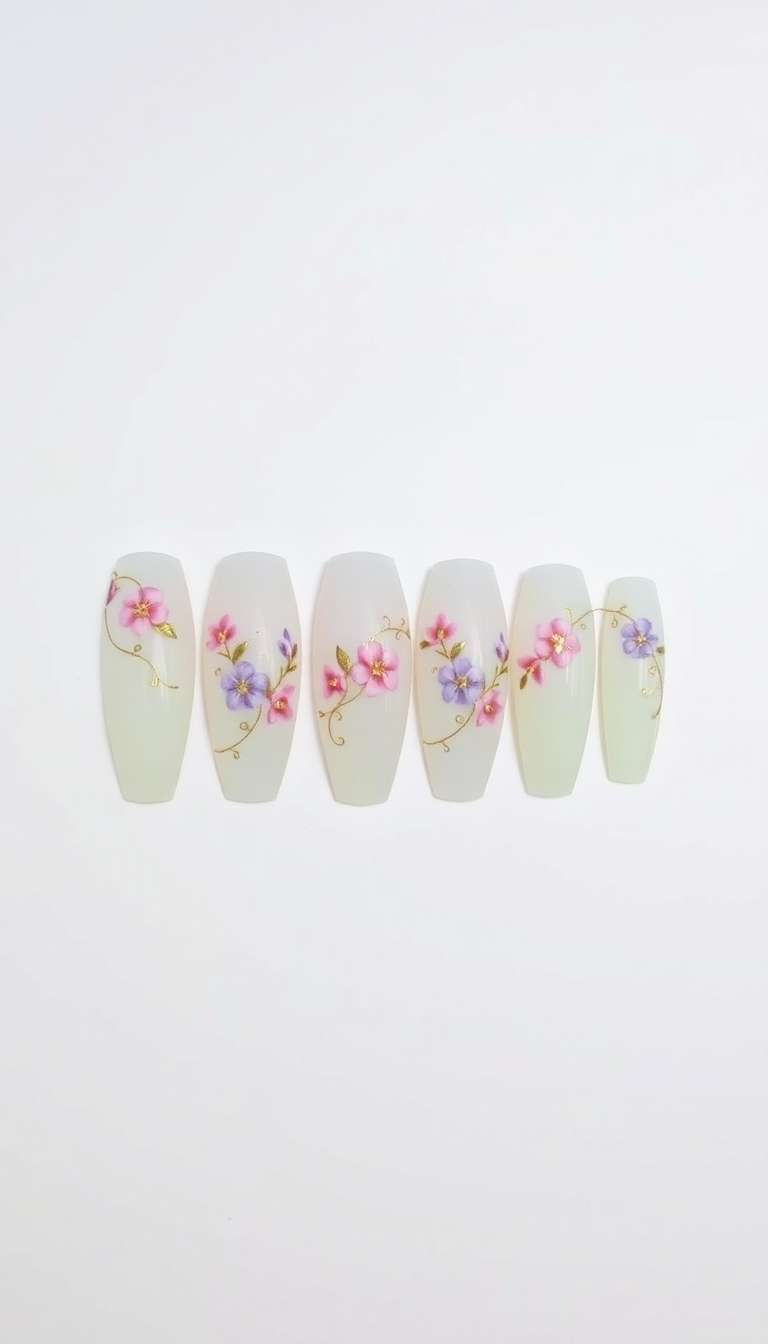
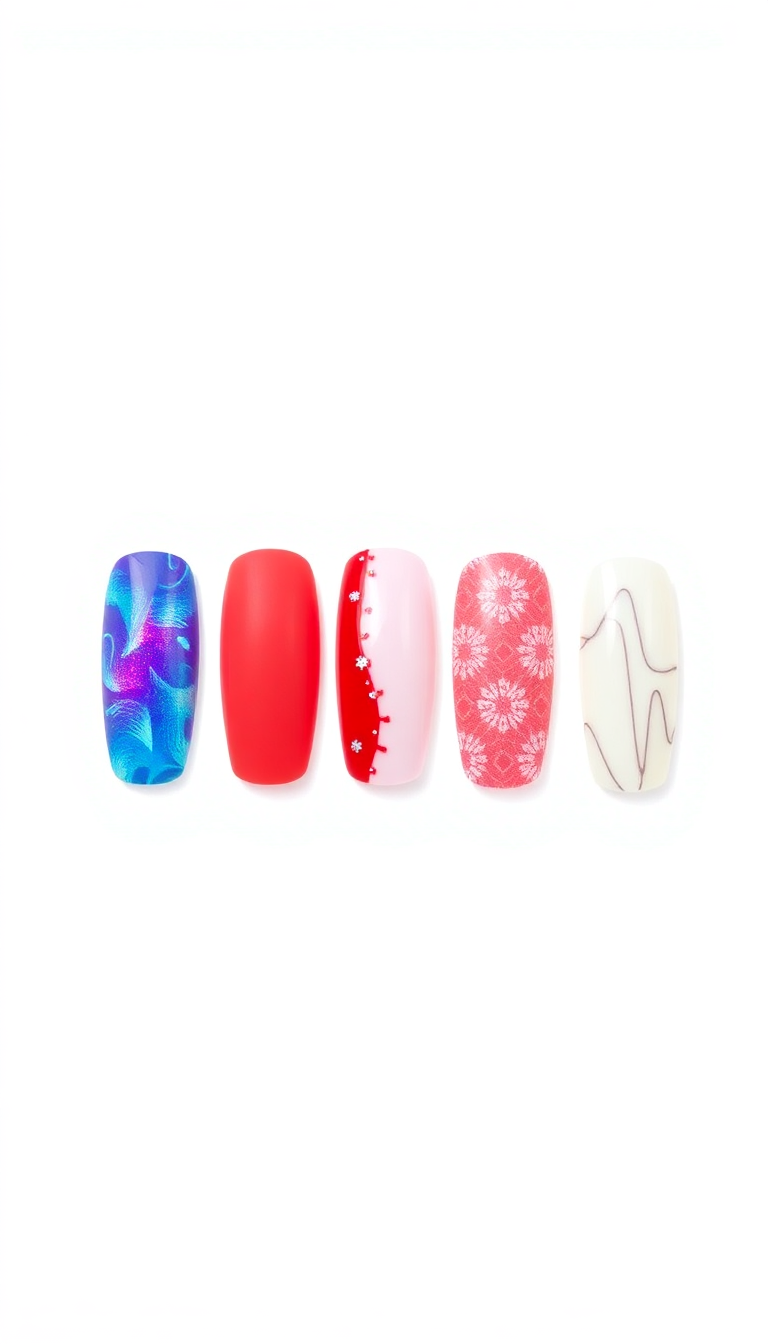
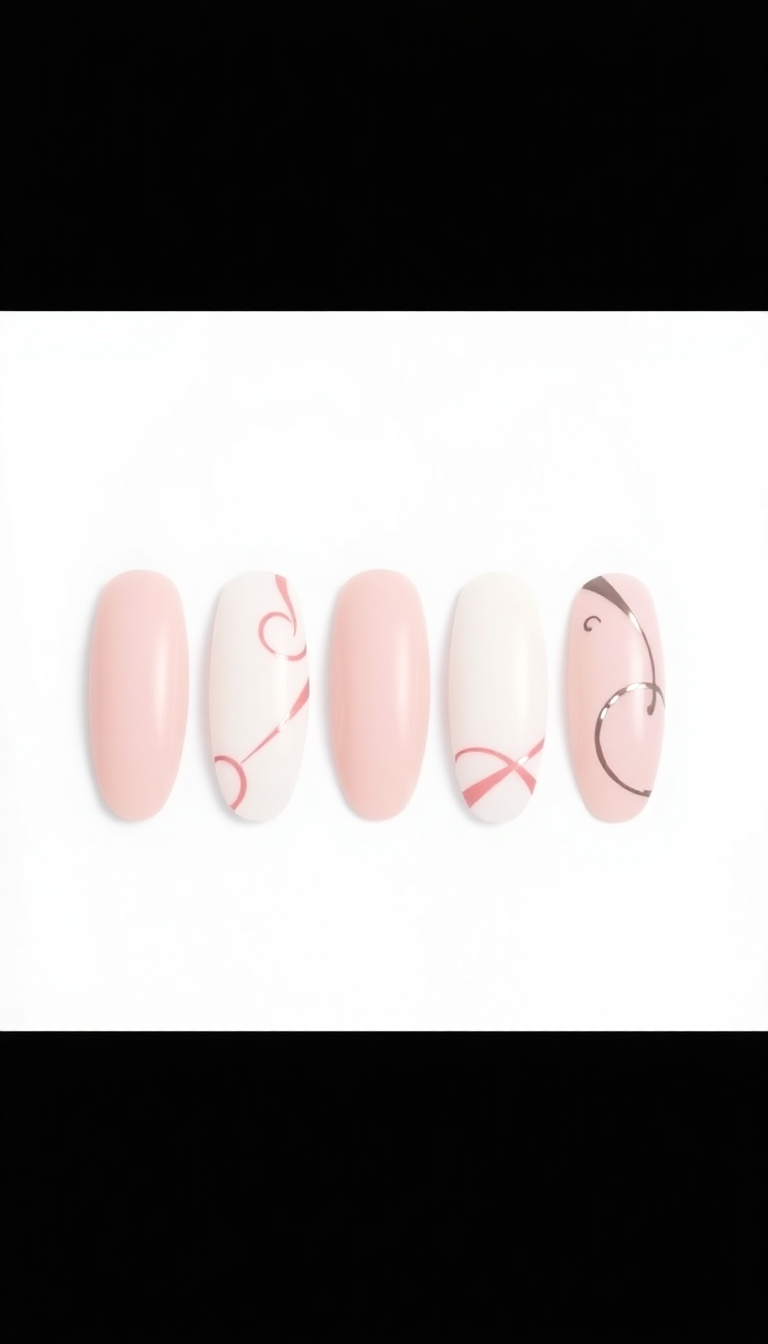
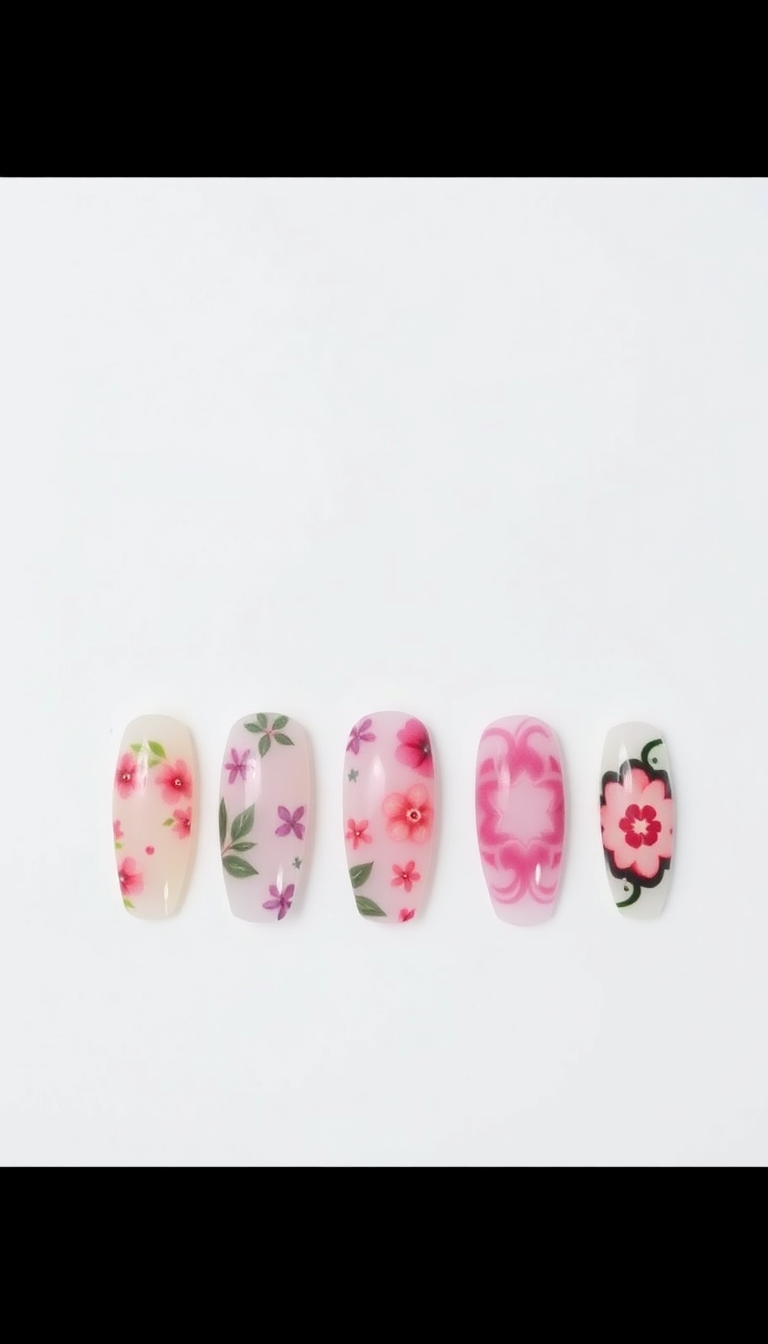
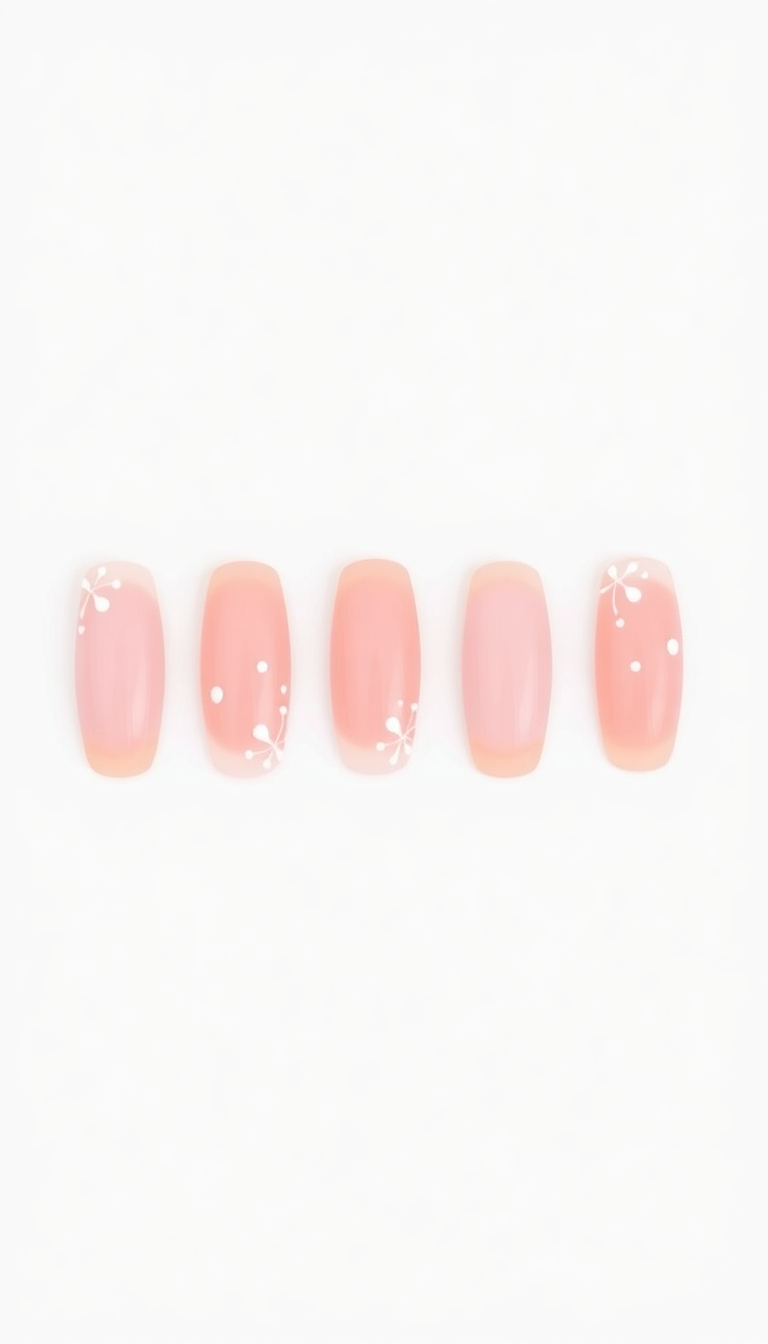
9. Nail Art Ideas for November
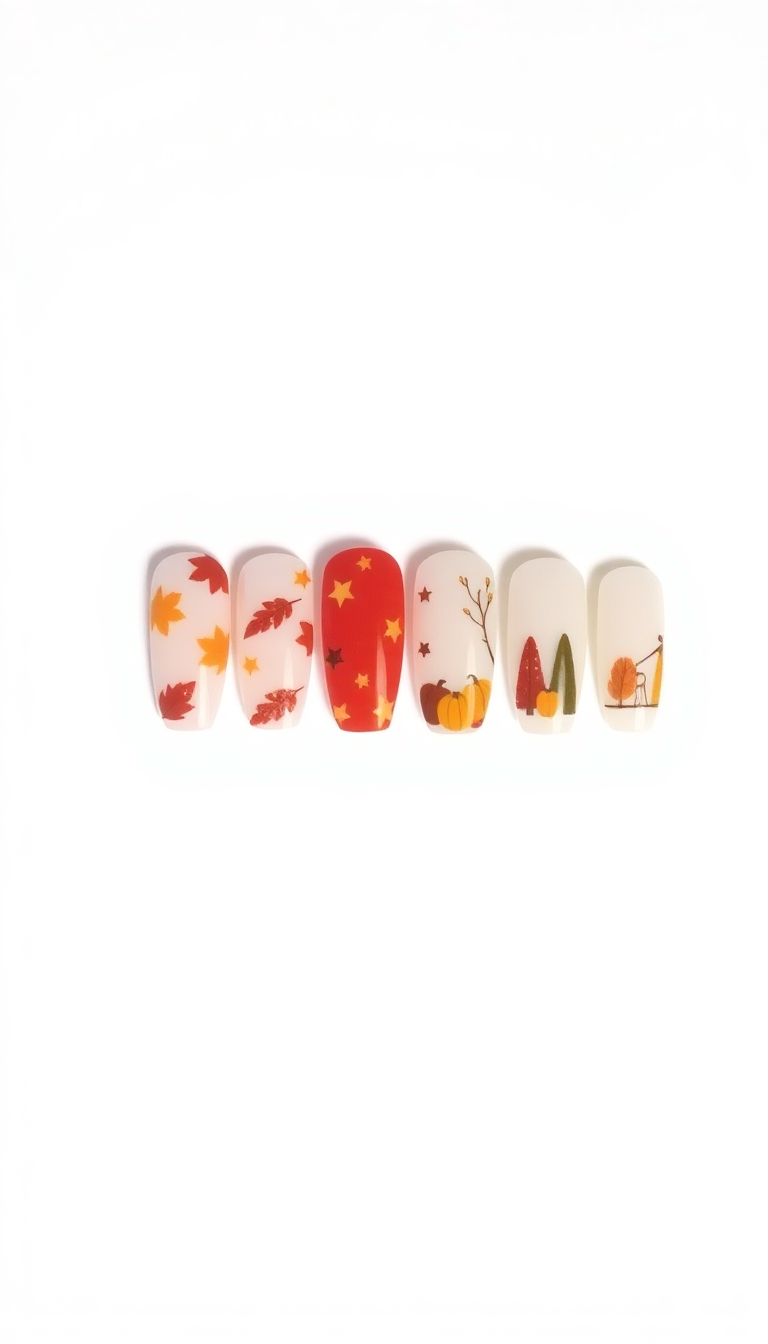
Warm hues mirror the fall season on my nails. Think deep oranges and rich browns.
I love adding a twist with matte finishes. A subtle glitter stripe enhances the autumn vibe.
For Thanksgiving, I design tiny turkeys or leaves on each nail, making each one unique and festive.
10. Keeping Your Cuticles Healthy
Use a good cuticle oil daily. It hydrates and protects.
Push them back gently after soaking. Trim only the dead parts.
Moisturize every night for best results.
11. The Role of a Top Coat in Durability
Top coat seals my gel nails, boosting durability. It shields from chips and scratches.
This clear layer ensures lasting shine and protection. I always apply a generous amount, covering the entire nail surface.
It’s my secret to maintaining a flawless manicure for weeks.
12. Quick Fixes for Gel Polish Mistakes
Messed up your gel polish? Don’t panic!
Grab an orange stick to gently push any gel off your cuticles. If the color smudges, dip a tiny brush in nail polish remover and carefully fix the edges.
For uneven layers, add a thin top coat to smooth things out. Quick drying drops can save you if you’re in a hurry.
Always keep these tools handy for a flawless finish.
13. DIY Gel Removal at Home
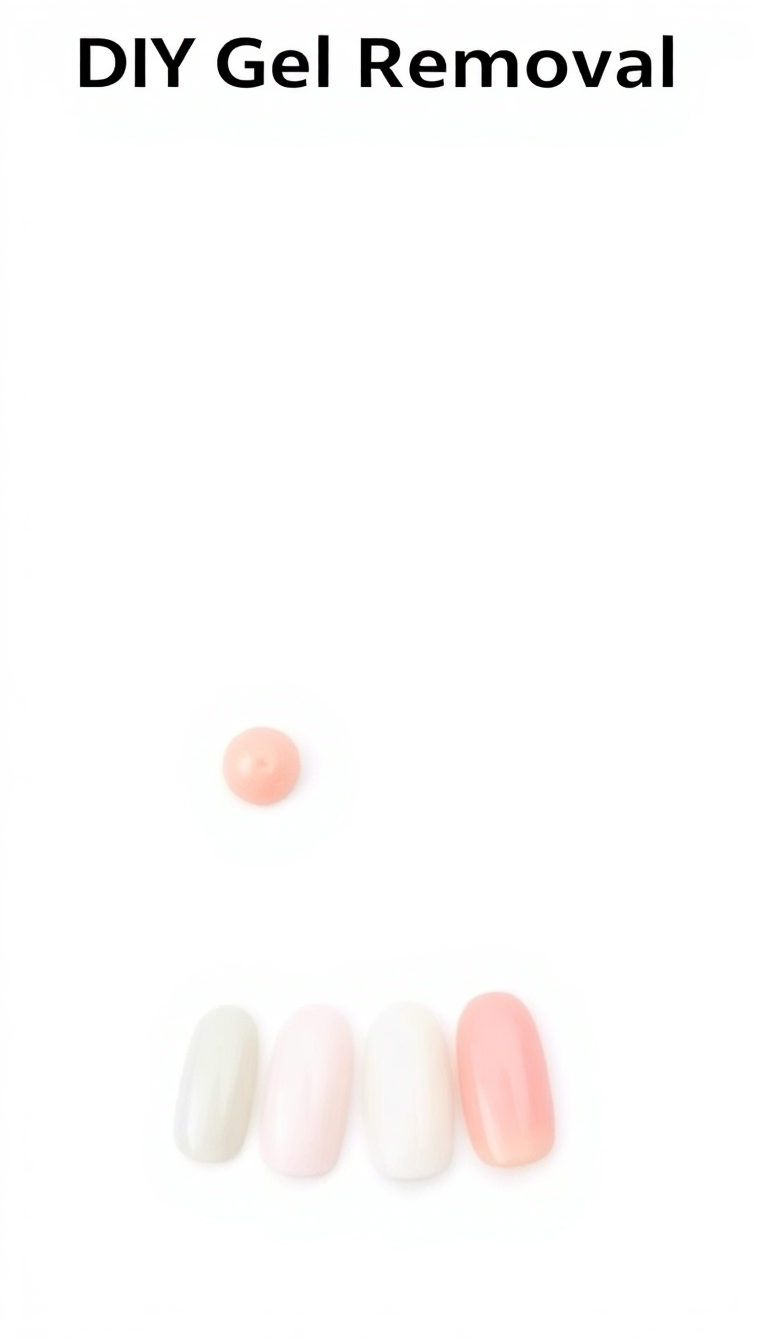
Removing gel nails at home can be simple. You need a few items: cotton balls, aluminum foil, and acetone.
First, soak the cotton in acetone. Then, place it on your nail and wrap with foil. Let it sit for about 15 minutes.
Gently scrape off the loosened gel with a wooden stick. Finish by moisturizing your nails to restore hydration. This method saves time and keeps your nails healthy.
14. Aftercare – Maintaining Gel Nails
Maintaining gel nails requires some know-how. Keep hands moisturized.
Avoid harsh chemicals. Regular touch-ups help a lot.
Wear gloves for chores. This routine keeps nails perfect.
15. When to Take a Gel Break
Gel nails need breaks to prevent damage. Plan a pause every three to four weeks.
This rest period lets nails breathe and recover. Keep them hydrated and nourished during breaks.
It ensures stronger, healthier nails for your next session.
16. Seasonal Nail Care Products
Seasonal changes demand specific nail care. Moisture-rich serums combat dry winter air. My routine swaps to hydrating cuticle oil.
I also use a thicker hand cream nightly. These products ensure my November manicure stays flawless and vibrant.
17. Tips for Faster Curing Times
Ensure your lamp has the right wattage for quick curing. Avoid thick gel layers; they slow the process. Keep the lamp bulbs fresh.
Always clean the nails properly before application. Curing times vary by brand, so check the guidelines.
18. Dealing with Gel Nail Allergies
Dealing with gel nail allergies requires caution. Spot symptoms early.
Redness or itching means stop use. Consult a dermatologist for safe alternatives.
Proper care prevents severe reactions. Always opt for hypoallergenic products to safeguard your nails and skin.
19. Upcoming Gel Nail Innovations to Watch
Exciting times lie ahead for nail enthusiasts. New gel technologies promise lasting shine. These innovations also aim to reduce drying times.
Imagine a manicure that cures in seconds! Plus, upcoming products will likely focus on eco-friendly solutions. We might soon see biodegradable gels.
This is fantastic news for both our nails and the environment.